Release Testing Instructions WooCommerce 7.4
WooCommerce 7.4 includes:
- WooCommerce Blocks Updates
- WooCommerce Core Updates
- WooCommerce Core Updates Added Jan 26
- WooCommerce New Product Editing Updates
Slack Workflow: WooCommerce Blocks
Blocks 9.1.2 Testing instructions
Blocks 9.1.3 Testing instructions
Blocks 9.2.0 Testing instructions
Blocks 9.3.0 Testing instructions
Blocks 9.4.0 Testing instructions
Blocks 9.4.1 Testing instructions
When we link directly to a Pull Request, please use the testing instructions in that Pull Request. If it mentions something like "Load this branch" you can assume the release you are testing.
Slack Workflow: WooCommerce Admin Start Manage
--
Slack Workflow: WooCommerce Admin Start Manage
--
Slack Workflow: WooCommerce Admin Start Manage
- Start a new store, finish the onboarding, and load the sample products in Step 7 (personalize your store) or import these products -> https://github.com/woocommerce/woocommerce/blob/trunk/plugins/woocommerce/sample-data/sample_products.csv
- Set up payments ( I usually select cash on delivery )
- Create a new order through the store, adding two different variable products of the same product (ex: Hoodie - Red, Hoodie - Green ) and checkout.
- Go to WooCommerce > Status > Scheduled Actions and make sure there are no outstanding actions left (there is usually one daily one), if there is more then one, you can click
runon each item to finish it. - Go to Analytics > Orders a single order should be displayed
- Now select an advanced filter and select the Products filter. Search for your variable product (in my case: Hoodie) and select that.
- Click
Downloadand notice how it shows the popup to immediately download the reports - You can also check the network panel and look for the
wc-analytics/reports/orders?request and check if theX-WP-Totalresponse header returns the correct order number
--
Slack Workflow: WooCommerce Core Setup List
--
_Slack Workflow: WooCommerce Core Setup Wizard
--
_Slack Workflow: WooCommerce Core
- Ensure you have one product that is sold individually, and another regular product.
- Visit the single product page of each:
- For the sold individually product, the quantity input should be hidden.
- For the regular product, the quantity input should be visible.
- Add each item to the cart. Within the cart page:
- The sold individually product quantity selector should be hidden.
- The regular product should have a visible quantity selector.
--
Slack Workflow: WooCommerce Admin Start Manage
--
Slack Workflow: WooCommerce Core
- Go to Settings > Reading. Select the radio button labeled "A static page" and choose your "Shop" page from in the "Homepage" dropdown.
- Go to Appearance > Widgets and add some product filter widgets, such as "Filter by attribute" or "Filter by price".
- Go to your site's homepage.
- You should see the regular "Shop" page with products.
- Use any of the filter widgets to filter the results and filtering should work as expected
--
Slack Workflow: WooCommerce Core
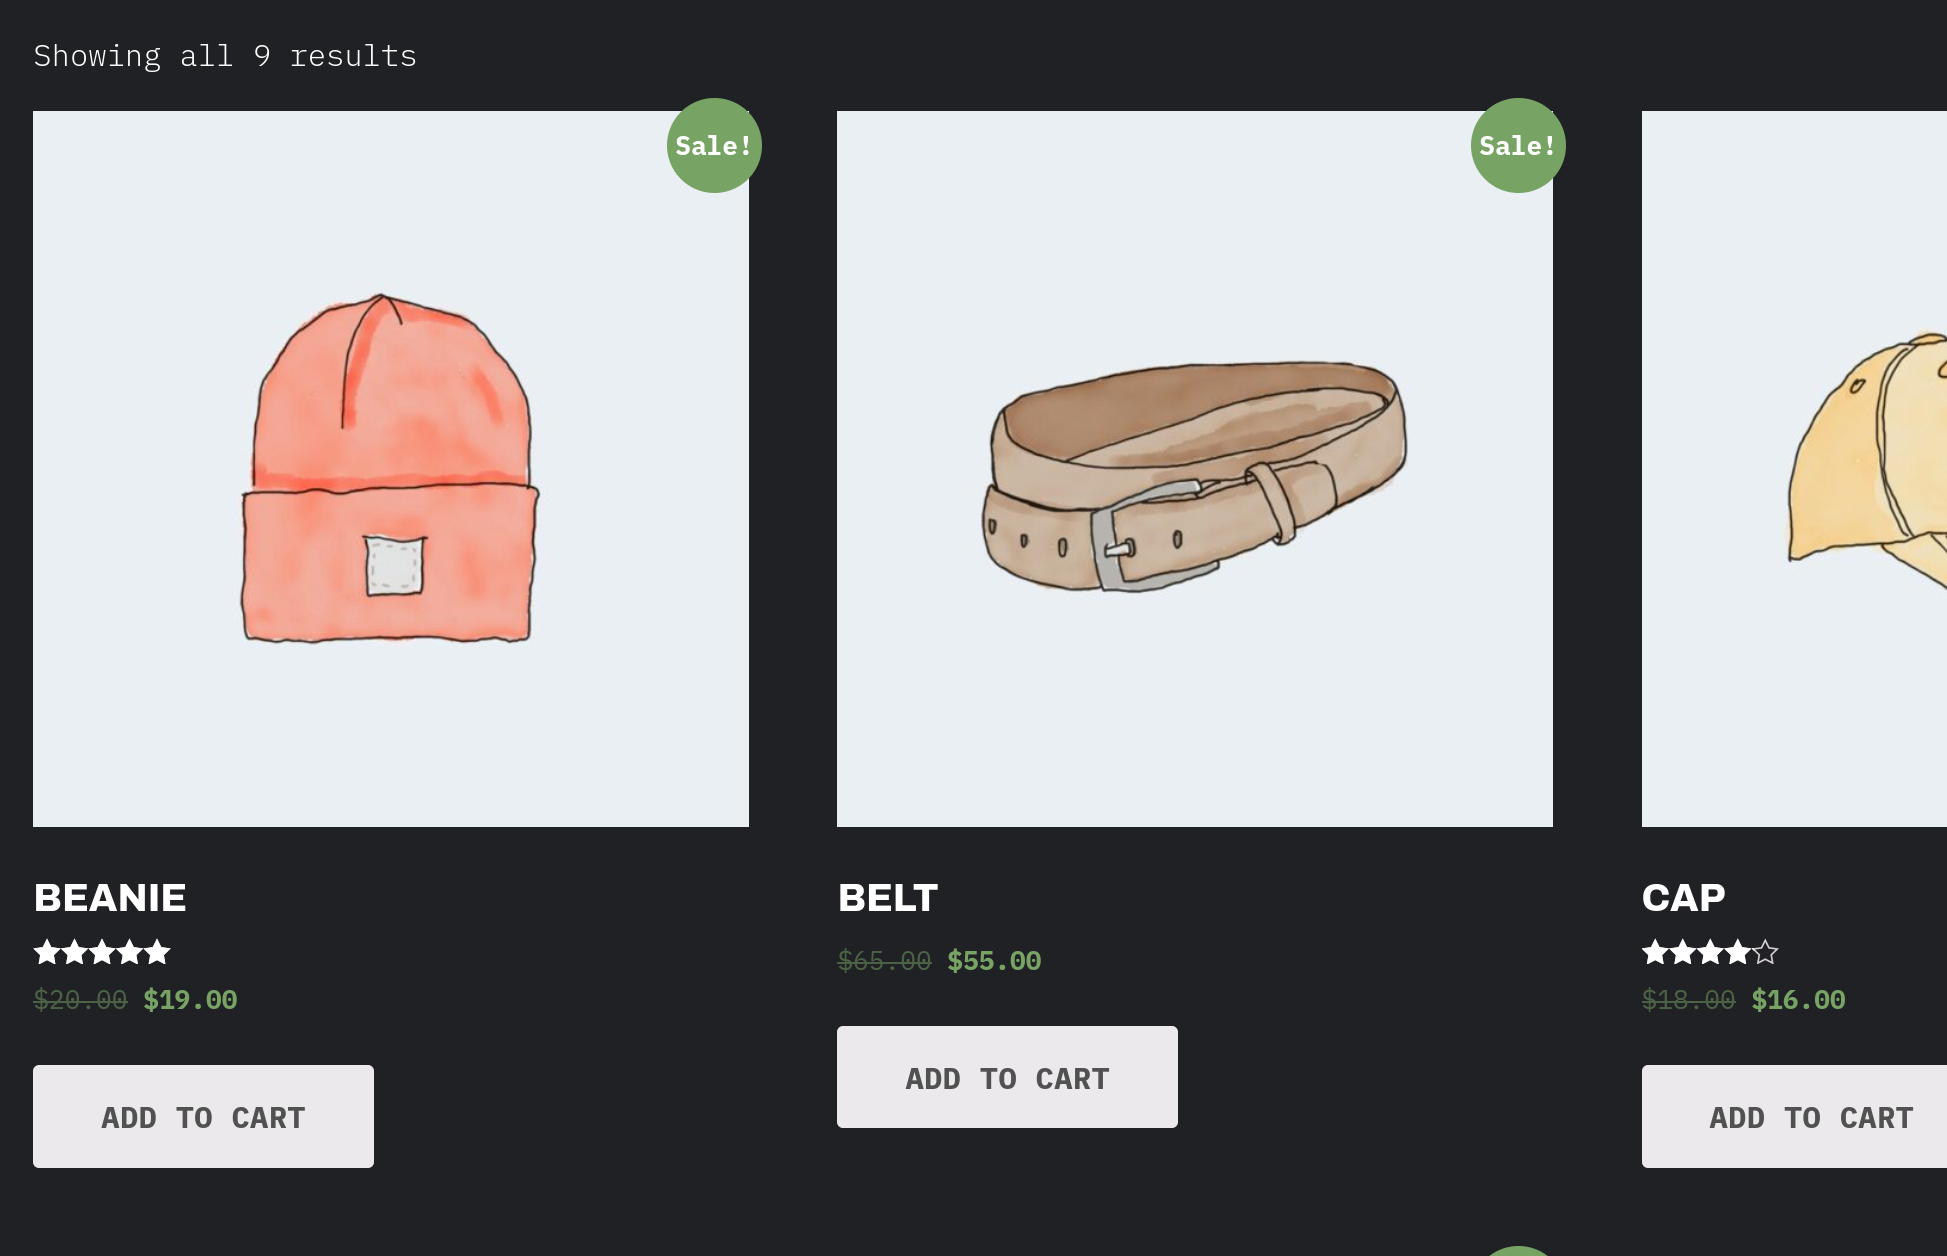
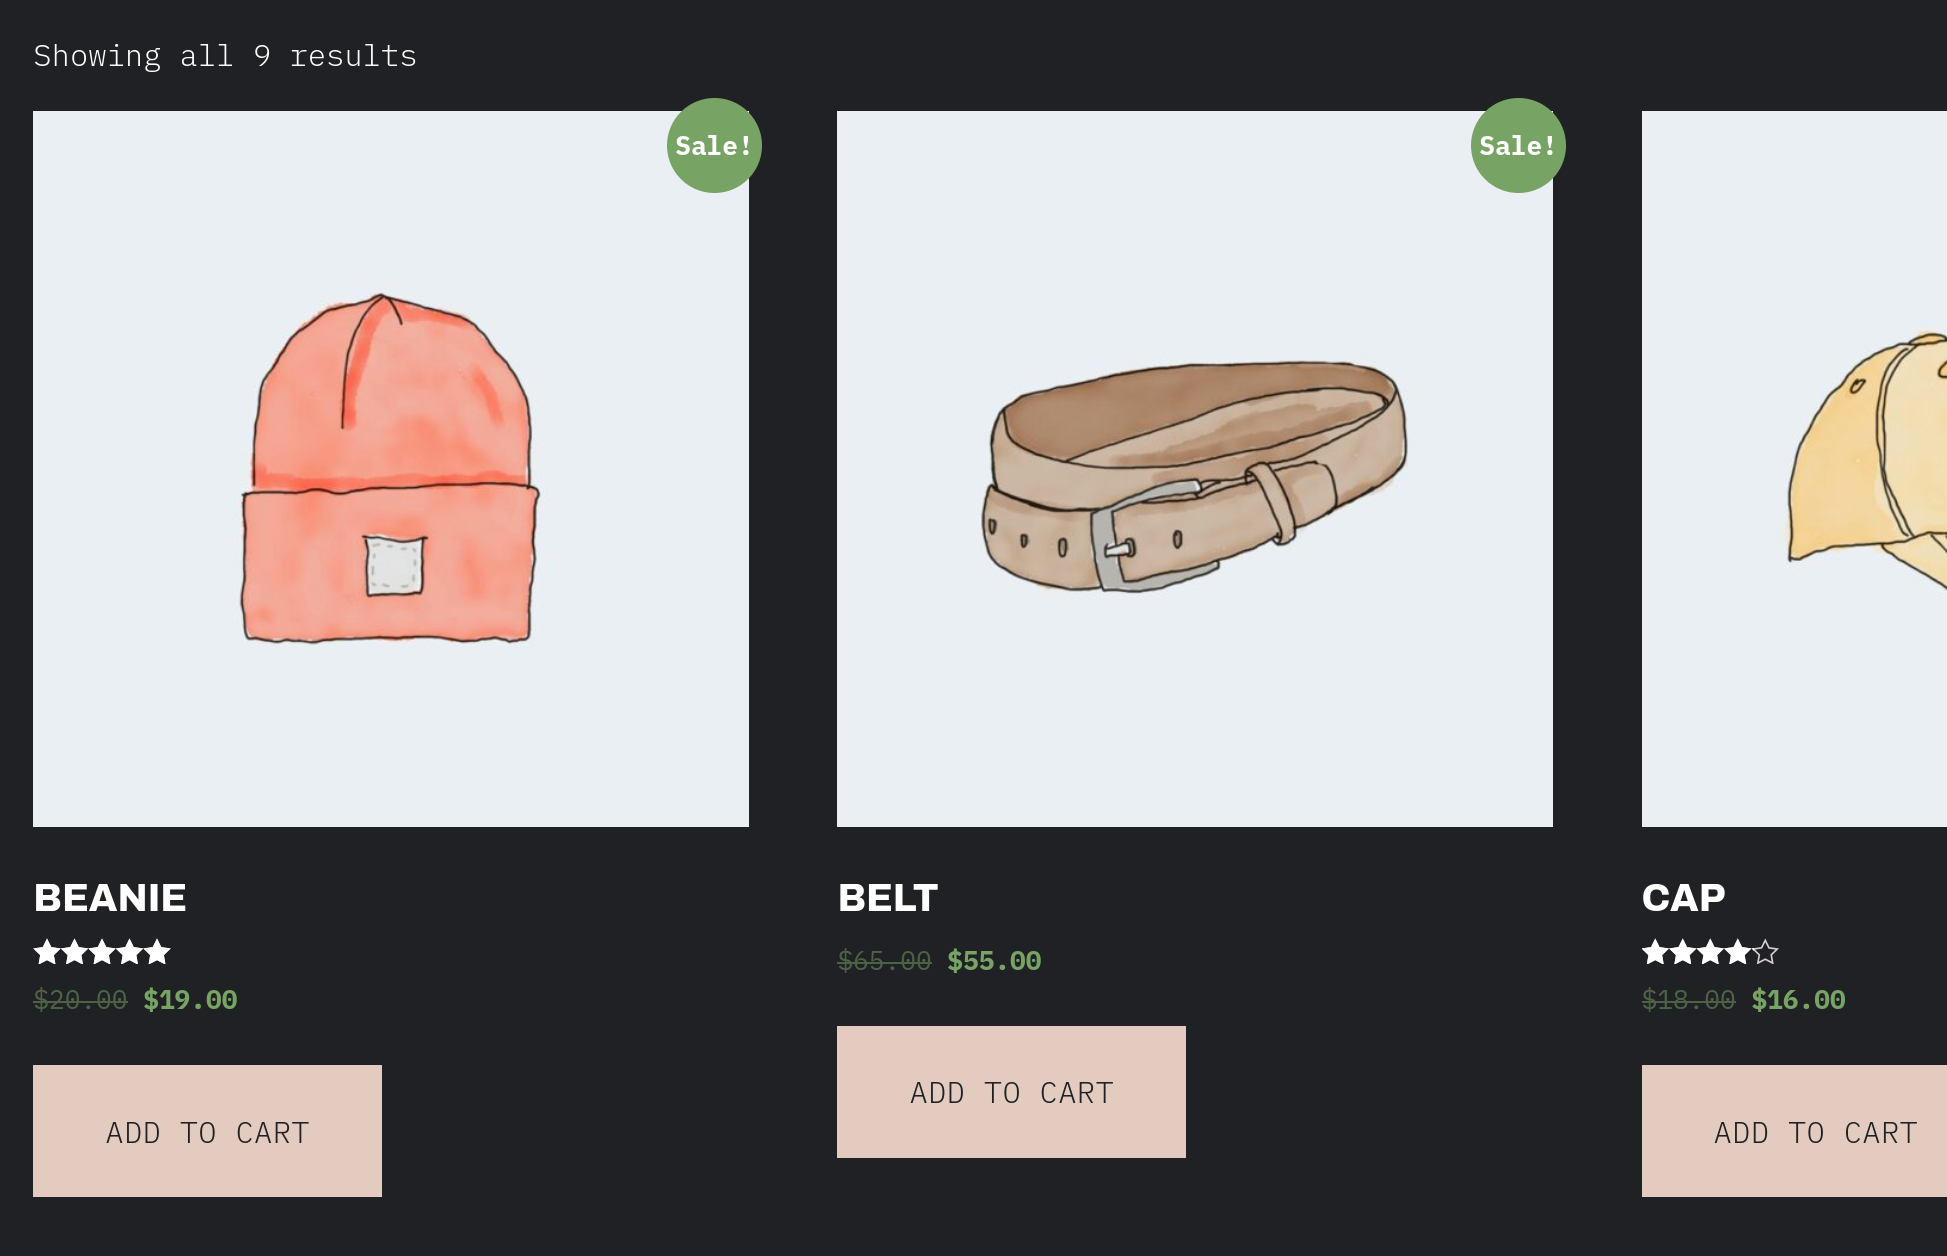
- Enable a theme which adds button styles via
theme.jsonand is not Twenty Twenty-Three (ie: Zaino: you will be provided with the ZIP and install it). - Go to the Shop page.
- Verify Add to Cart buttons follow the theme style.
| Before | After |
|---|---|
 |
 |
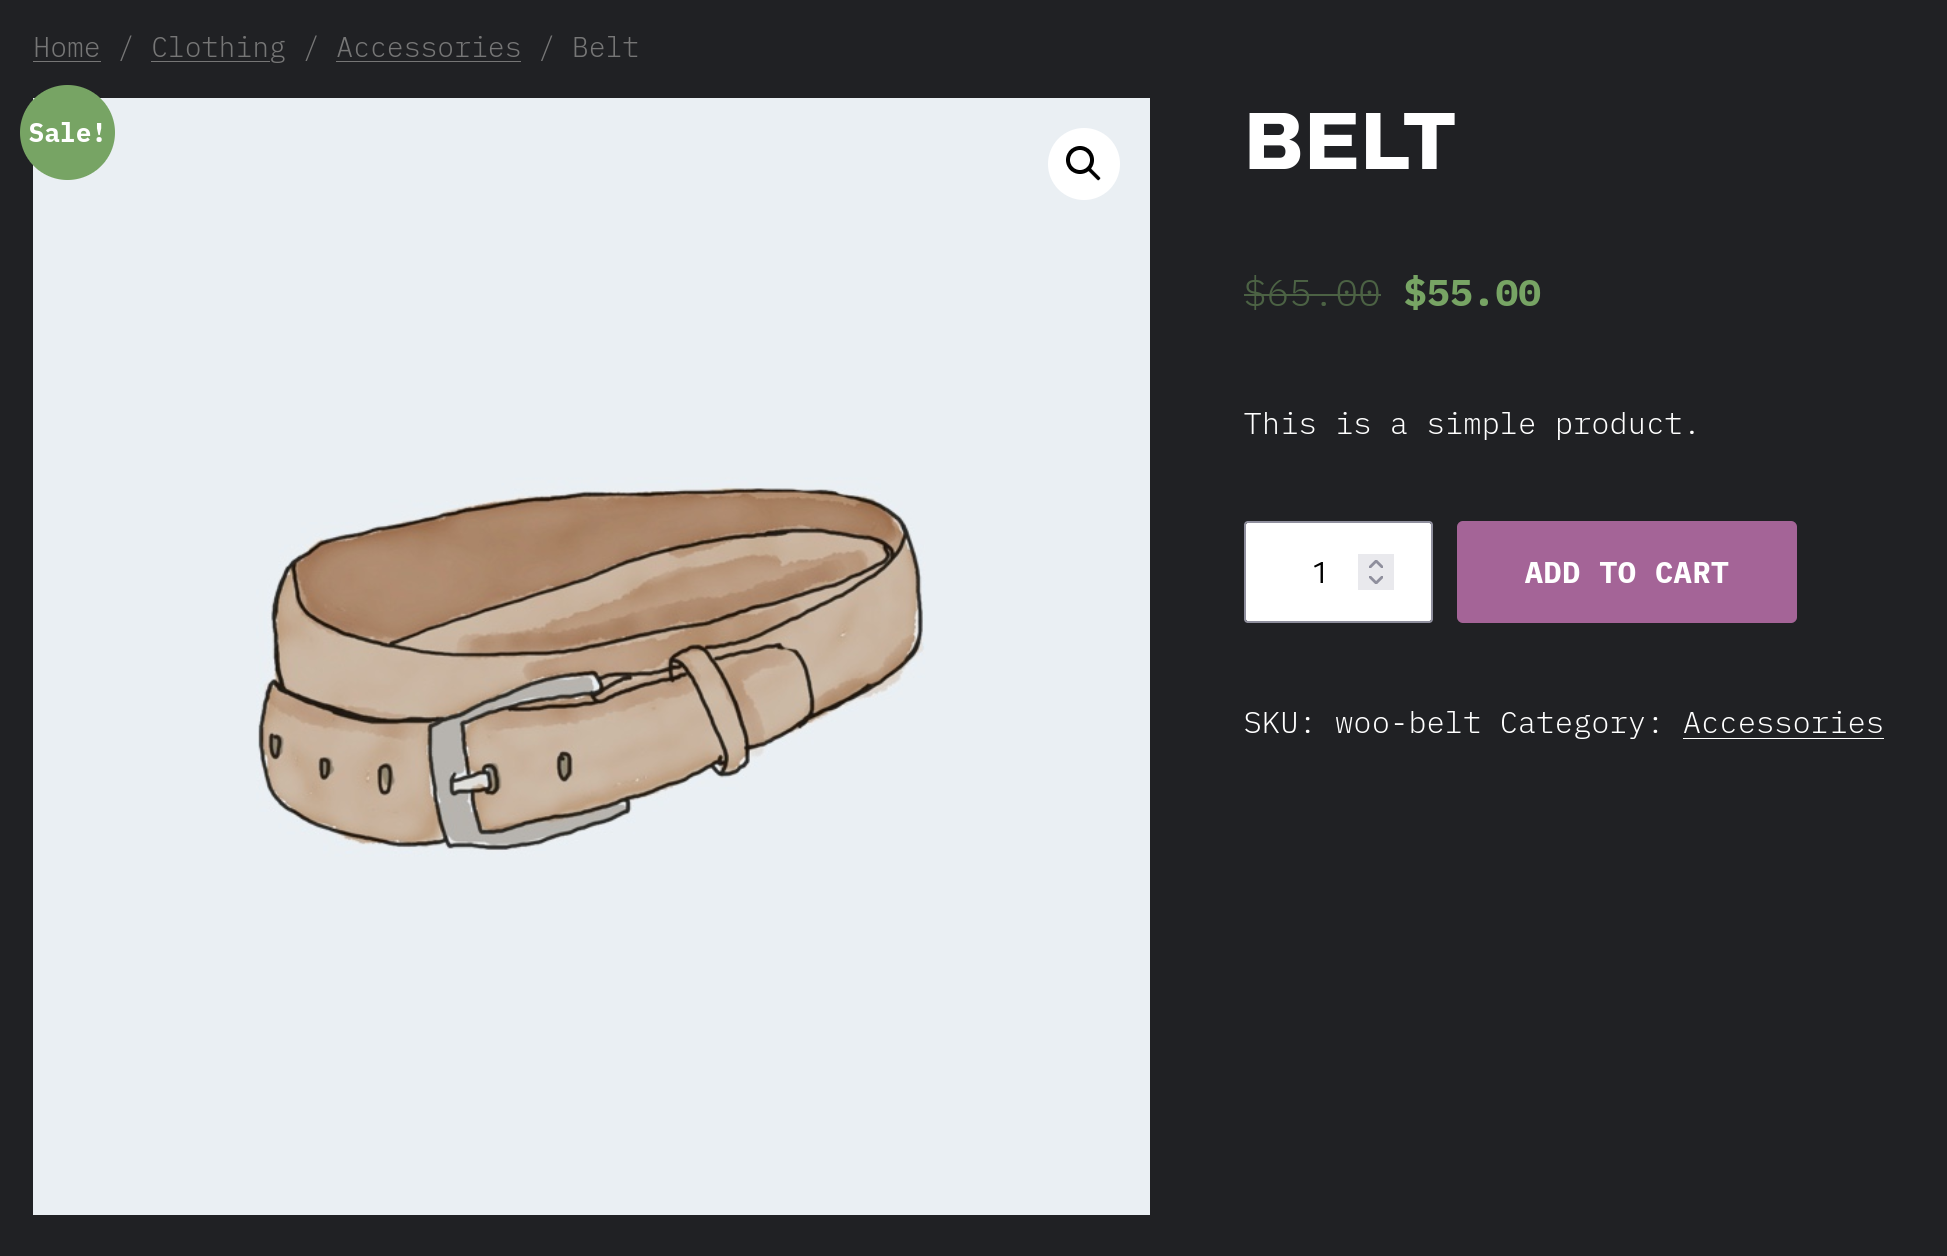
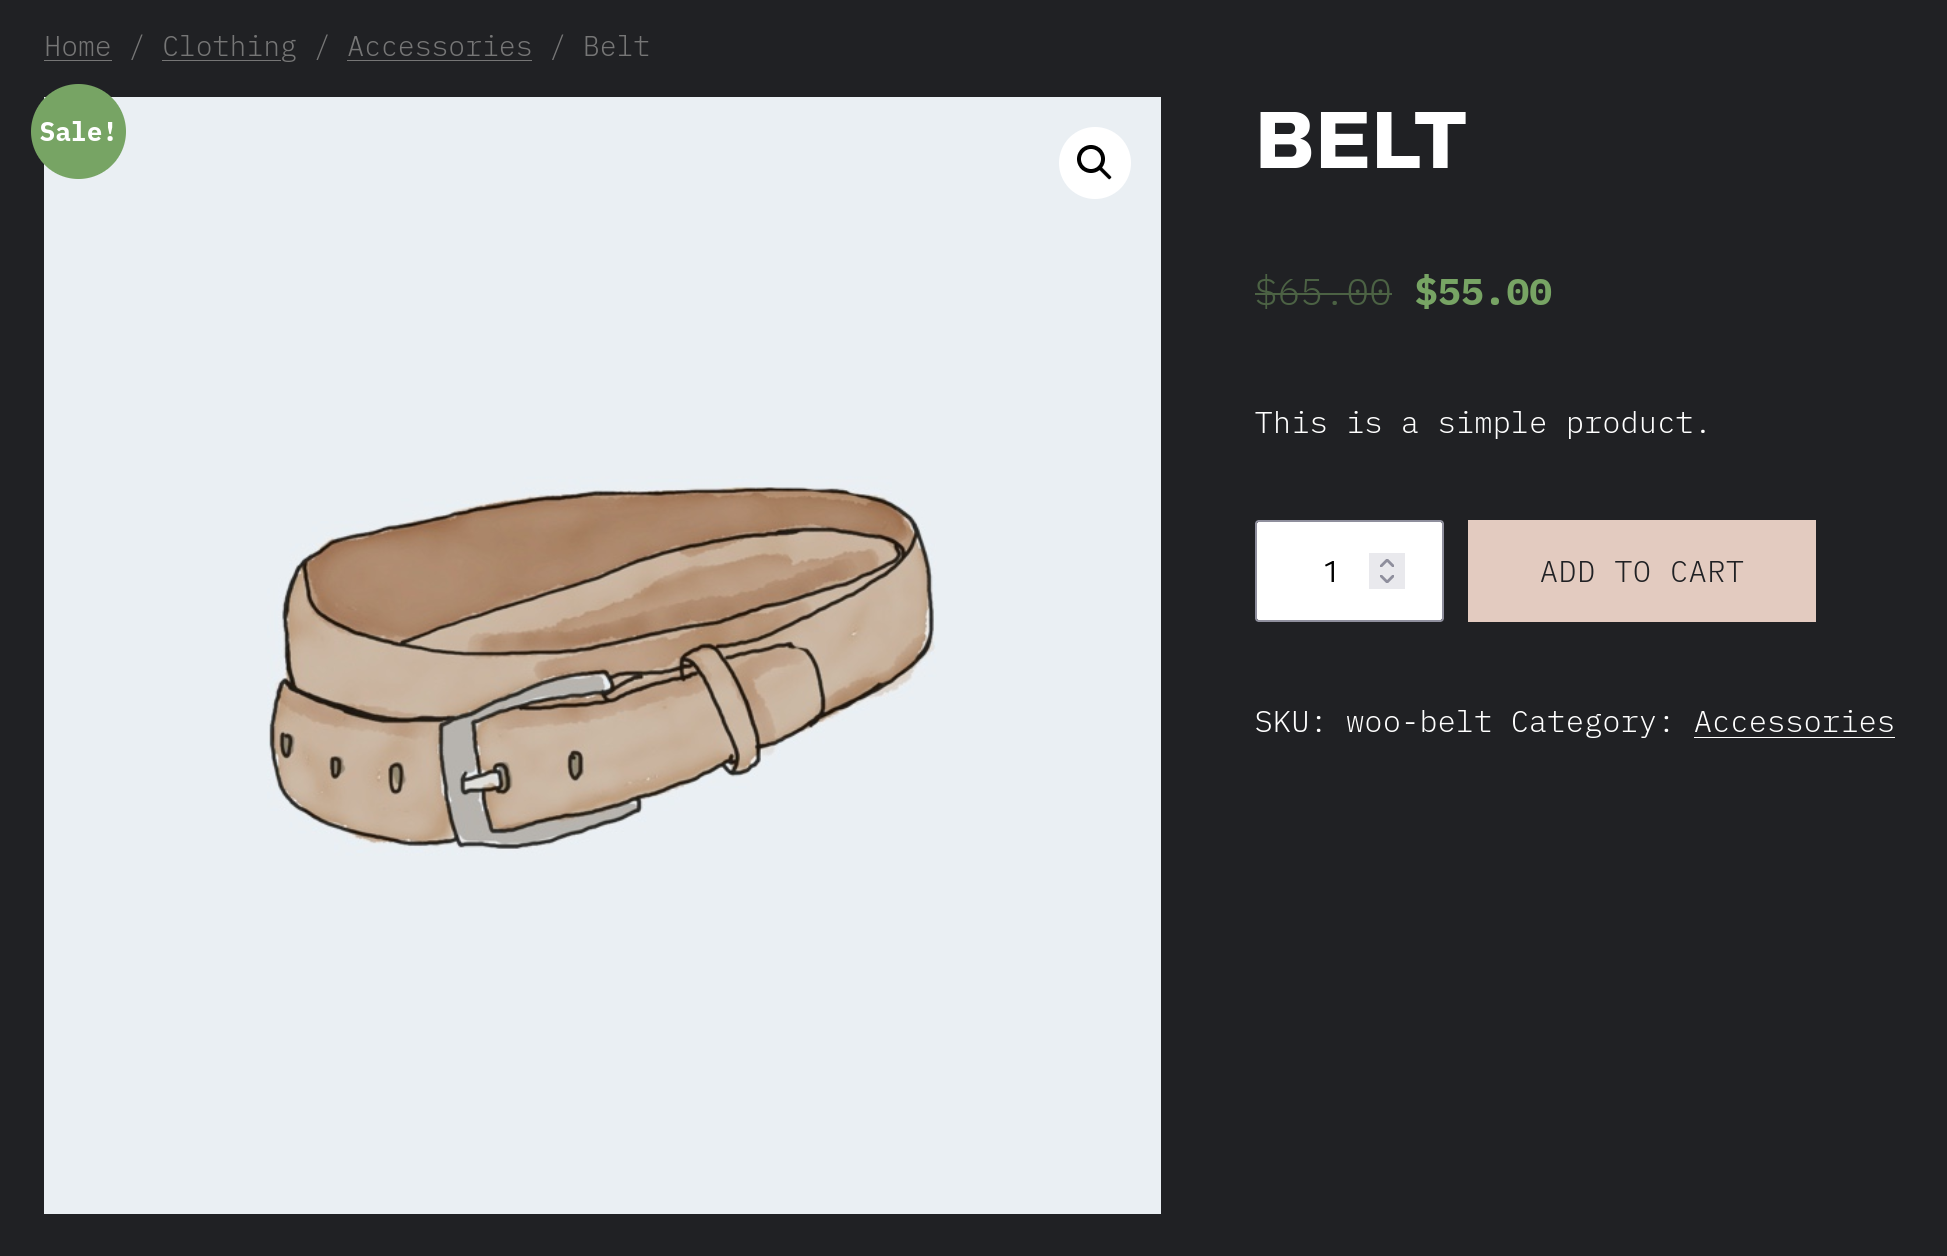
- Go to the single product page.
- Verify Add to Cart button follows the theme style.
| Before | After |
|---|---|
 |
 |
- Repeat the same in other pages with buttons. Ie: Account details, Cart (with cart shortcode), Checkout (with checkout shortcode), etc.
| Before | After |
|---|---|
 |
 |
- Now repeat the steps above with Storefront, another classic theme (ie: GeneratePress), Twenty Twenty-Two and Twenty Twenty-Three.
--
Slack Workflow: WooCommerce Core
--
Slack Workflow: WooCommerce Core Setup List
- In a new site, skip OBW
- Go to
WooCommerce > Home > Add tax rates - Do all the steps and connect the site
- Click on "Yes please" button when seeing "Jetpack and WooCommerce Tax can automate your sales tax calculations" texts.
- Observe that the tax task is marked as completed
--
Slack Workflow: WooCommerce Core
--
Slack Workflow: WooCommerce Admin Start Manage
- Setup a new site with WooCommerce 7.3
- Add some sample products and orders to the site
- Setup an additional site with WooCommerce 7.4
- Add some sample products and orders to this site
- Compare Analytics -> Products and Analytics -> Orders side by side and see if there are any differences between 7.3 and 7.4.
--
Slack Workflow: WooCommerce Admin Start Manage
Slack Workflow: WooCommerce Admin Start Manage
- Check the Analytics > Variations report for regressions. Nothing should change
--
Slack Workflow: WooCommerce Admin Start Manage
- Enable tracking under WooCommerce > Settings > Advanced > Woocommerce.com
- Add a product (or multiple)
- Go to Products -> All Products
- Export your product to a csv file.
- Go back to Products -> All Products
- Click "Import" button.
- Without continuing the import, click back to Products -> All Products (or another page).
- Observe the notice appear as seen in the screenshots

 10. Submit or Dismiss the survey
13. Go back to the product importer, and complete the product import for the csv you exported.
14. After complete, navigate to another page again.
15. You should not see the notice after navigating.
10. Submit or Dismiss the survey
13. Go back to the product importer, and complete the product import for the csv you exported.
14. After complete, navigate to another page again.
15. You should not see the notice after navigating.
--
Slack Workflow: WooCommerce Admin Start Manage
-
Enable tracking under WooCommerce > Settings > Advanced > Woocommerce.com
-
Go to Products -> Add New
-
Notice that the Feedback button appears in the header above:

-
Click the feedback button.
-
Notice that the icon color changes, and the CES modal is displayed.
Slack Workflow: WooCommerce Admin Start Manage
-
Use a site which already has some products (simple and variable products, you can use the sample products)
-
Go to
WooCommerce>Settings>Advanced>Features. -
Verify the option the New product editor is under experimental features and an additional note is displayed underneath.

-
Enable the
New product editorand verify that the new experience is turned on by going toProducts>Add New -
Do some exploratory testing of adding a new product by using the product tour.

-
Do some exploratory testing of adding a new product without using the product tour.
-
Try editing an existing simple product, confirm that it is using the new product editor
-
Do some exploratory testing of editing an existing simple product.
-
Try editing an existing variable product, confirm that it is using the normal existing product editor not the new editor
-
Go to
WooCommerce>Settings>Advanced>Featuresand disable theNew product editor -
Verify that the new experience is turned off by going to
Products>Add New -
Try editing an existing simple product, confirm that it is not using the new product editor any more.