Operator Runbooks
This page collects practical checklists for common Cindr3D workflows. Use it when you want the short path through the wiki rather than the full reference.
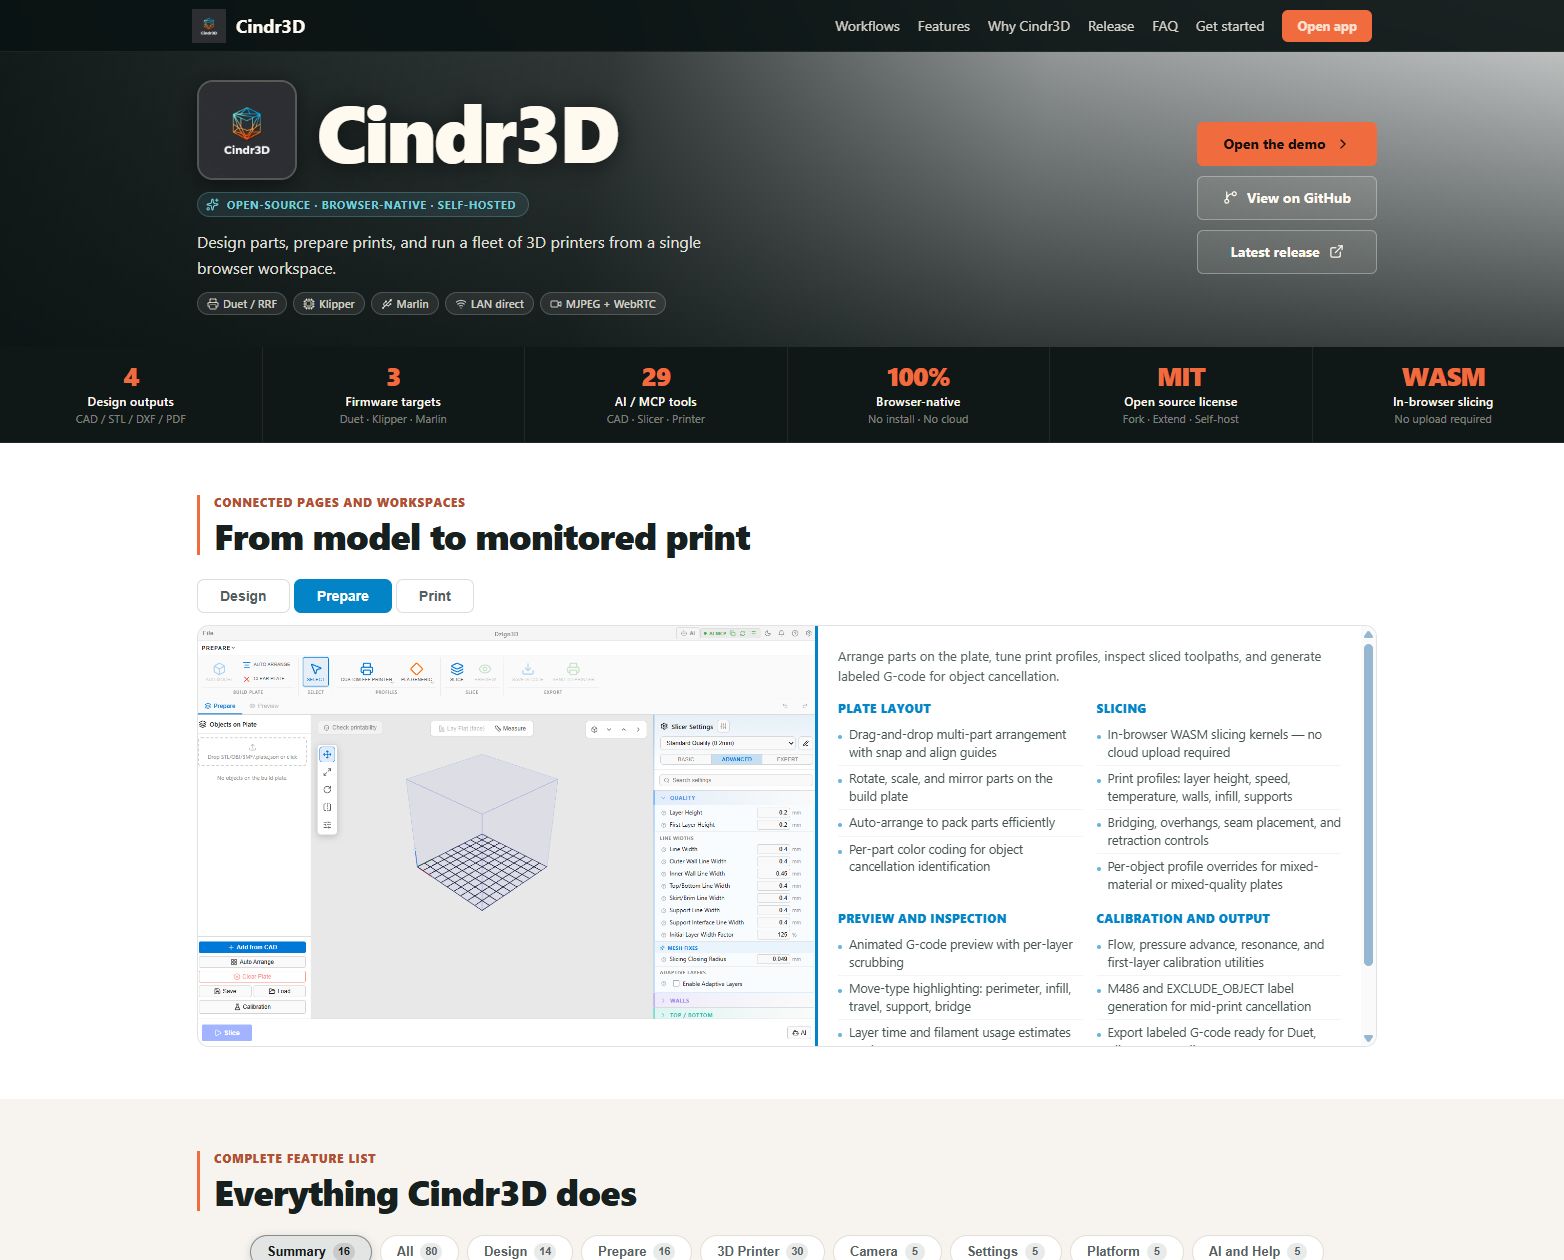
- Clone the repository.
- Install dependencies.
- Start the development server.
- Open the local app URL.
- Confirm the home page, Design, Prepare, and 3D Printer workspaces load.
- Open Help from the top bar and confirm the in-app guide appears.
References:

- Open Design.
- Start a sketch on the XY plane.
- Draw a closed profile.
- Add dimensions and constraints.
- Finish the sketch.
- Extrude the profile.
- Add fillets/chamfers if needed.
- Rename important bodies/features.
- Send the body to Prepare.
References:
- Import the STL/OBJ/mesh file.
- Inspect orientation and scale.
- Run mesh repair diagnostics.
- Weld duplicate vertices if needed.
- Recompute or flip normals if faces look wrong.
- Re-run diagnostics.
- Send the repaired body to Prepare.
- Slice before changing slicer settings.
References:
- Open 3D Printer.
- Add or select a printer card.
- Open Settings.
- Choose a printer preset if one matches the machine.
- Select firmware type.
- Choose Network or USB.
- Fill host/password or serial port/baud rate.
- Run Test Connection.
- Connect only after the test succeeds.
- Save backup/settings once the printer is stable.
References:
- Open printer Settings.
- Choose Camera.
- Pick Network, Browser USB, or Server USB.
- Enter the simplest host/URL first.
- Run Test Connection.
- Save camera settings.
- Open Monitor and confirm the dashboard preview.
- Open the full Camera workspace for recording, snapshots, overlays, or PTZ.
References:
- Open Prepare.
- Add a model or Add from CAD.
- Select the printer profile.
- Select the material/filament profile.
- Arrange objects on the bed.
- Check printability.
- Review slicer settings.
- Slice.
- Inspect Preview, layer slider, G-code panel, and simulation.
- Save G-code or send to a connected printer.
References:
- Prepare Object Walkthrough
- Prepare Profiles and Printer Creation
- Slicer Settings Reference
- G-code Preview Simulation and Breakpoints
- Start with first-layer calibration.
- Tune temperature for the material.
- Tune flow/wall accuracy.
- Tune retraction.
- Tune pressure advance.
- Tune input shaper.
- Validate dimensional accuracy.
- Record final values in profiles/settings.
References:
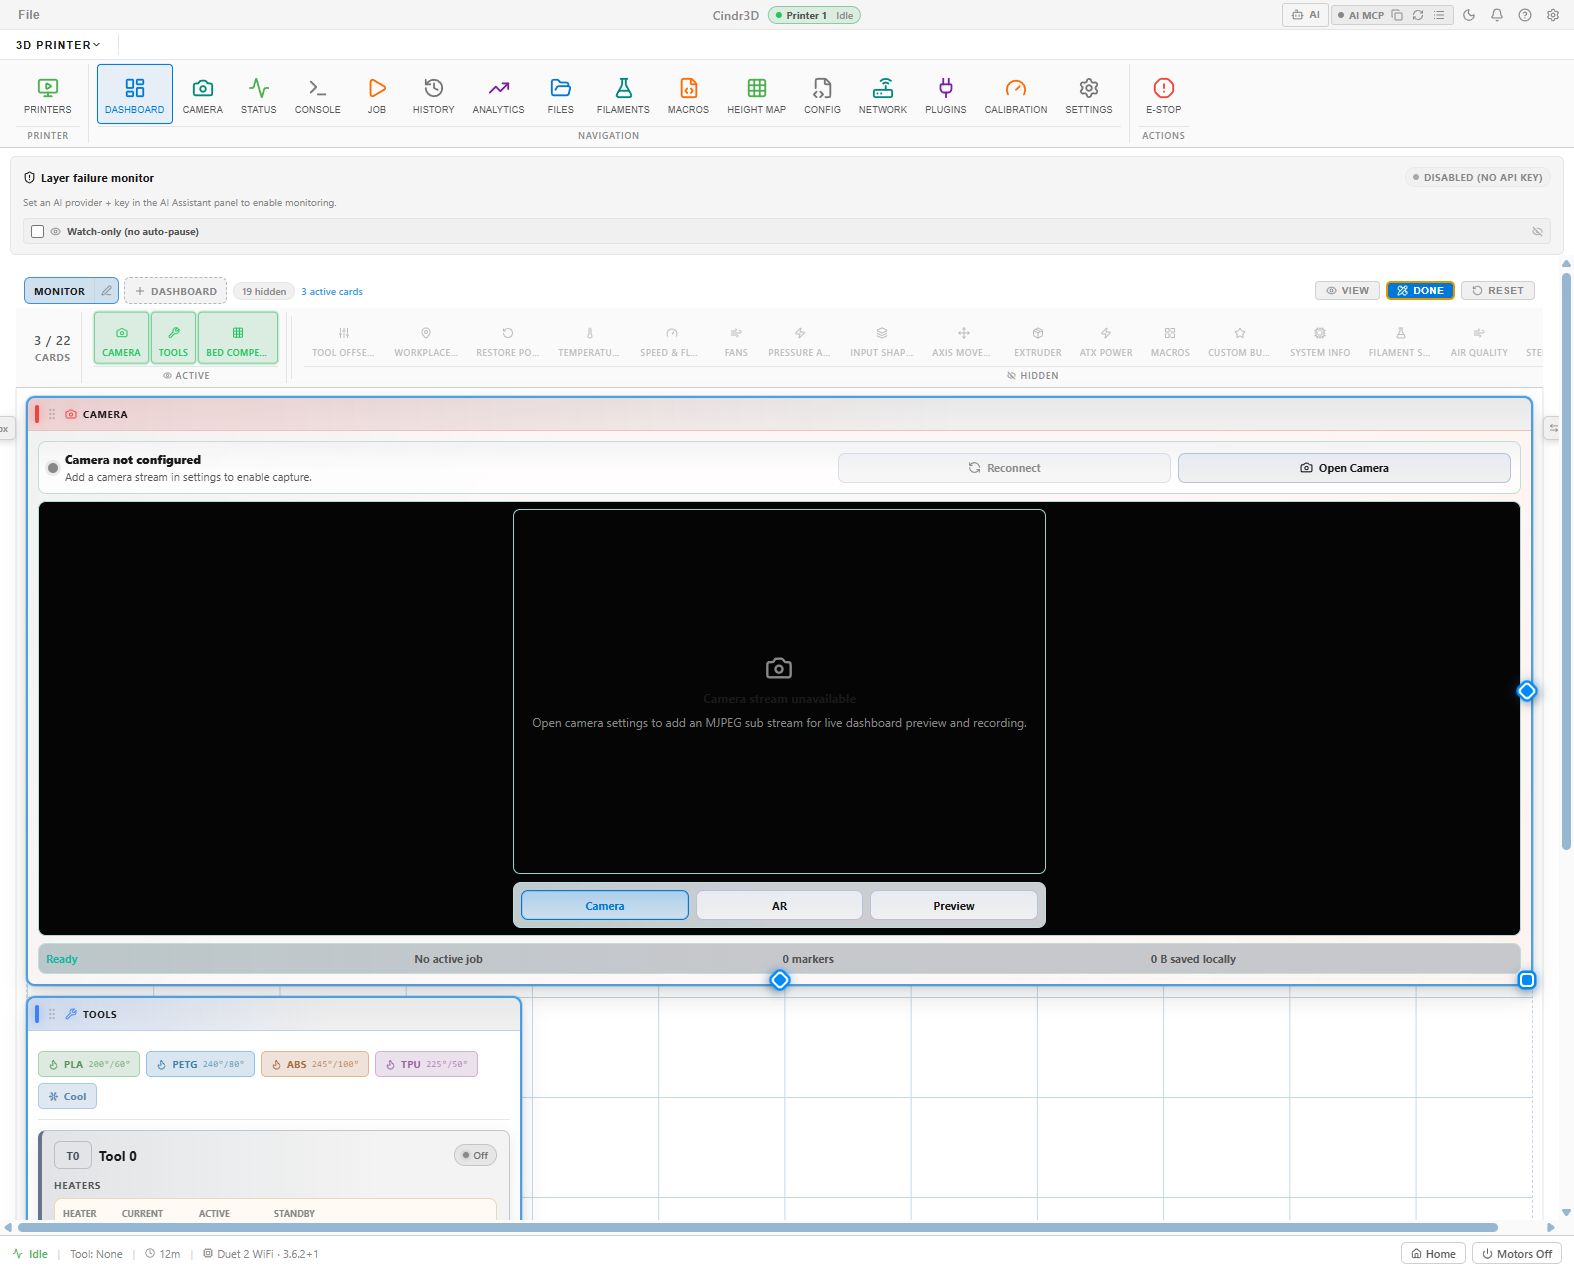
- Open Monitor.
- Enter dashboard edit layout mode.
- Move live status, camera, temperature, files, macros, and preview cards into the first viewport.
- Hide rarely used cards.
- Resize cards for the operator's screen.
- Leave diagnostic cards lower on the page.
- Save/confirm layout persistence.
References:
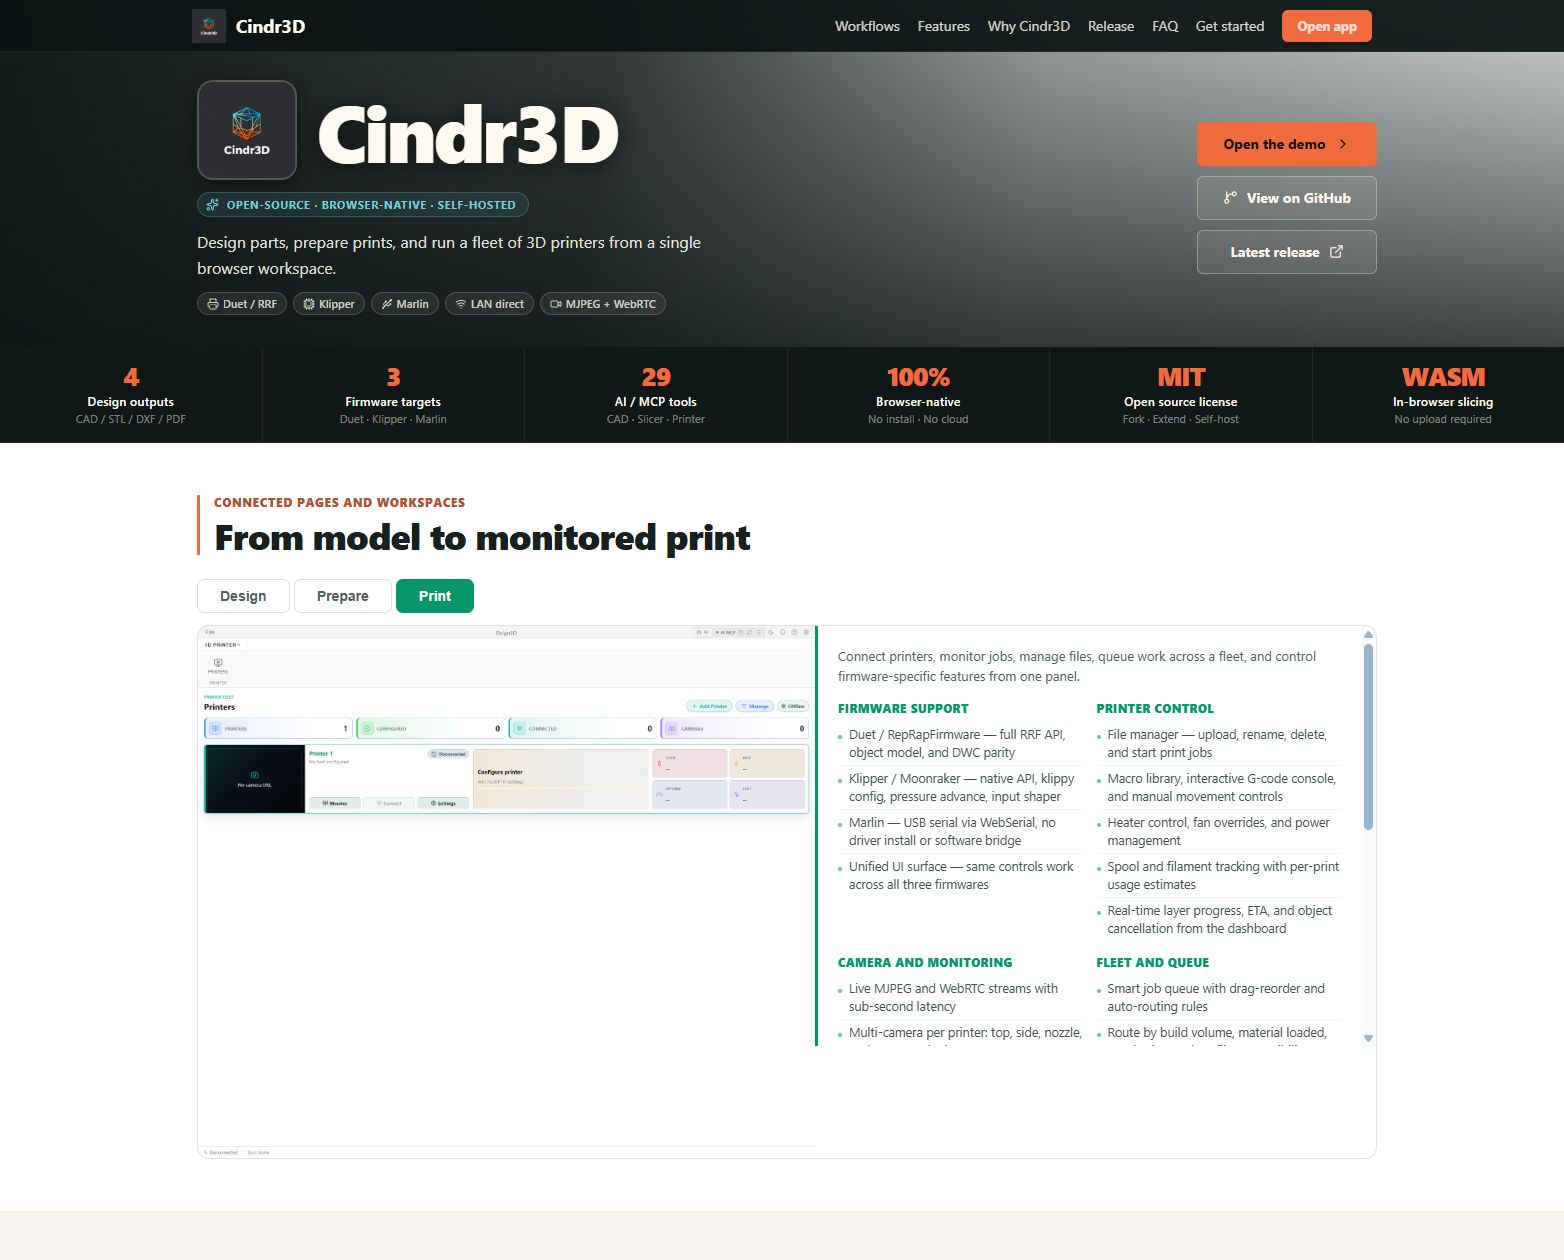
- Confirm each printer has connection settings, material profile, and camera if needed.
- Assign loaded spools/materials.
- Add G-code to the queue.
- Check build volume, nozzle, material, and printer availability.
- Split copies where useful.
- Use All Cameras during active production.
- Review layer gallery evidence after long or risky jobs.
References:
- Export important design files separately.
- Export settings bundles for workspace settings.
- Export printer/app backups for connection, camera, filament, and local preferences.
- Move files/backups to the new machine.
- Load settings/backups.
- Re-test each printer connection.
- Re-test cameras.
References:
- Read the current status bar or disabled-button tooltip.
- Reload after a dev build change.
- Test the printer/camera URL directly in the browser.
- Use raw IP if
.localnames fail. - Check USB port permission and baud rate.
- Repair geometry before tuning slicer settings.
- Export a settings backup for debugging.
References: