0.96_Inch_OLED_Display_Module_For_Raspberry_Pi_SKU_DFR0413

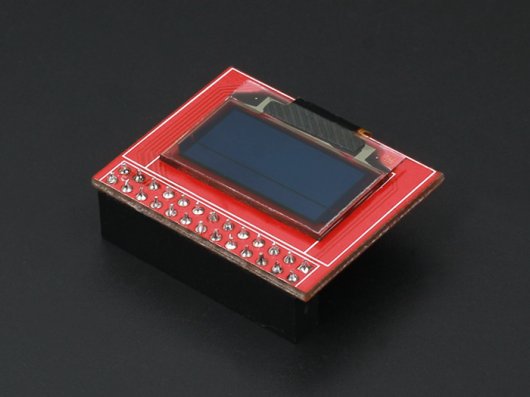
It is hard to find a small OLED screen designed for Raspberry Pi. In many applications, it only need to display some simple information such as system status, IP address .etc. And there is a higher demand for portability. It is inappropriate to pick up a big display with HDMI interface, and a small OLED will just meet this requirements. This is a 0.96 inches, 128 x 64 pixel OLED display. The controller is SSD1306, communicates via 4-wire SPI. And the display have its own backlight, which could reduce the power consumption. And this is reason why the display has such high contrast, extremely wide viewing angle.
- Operating Voltage: 3.3V (1.6~3.6V)
- Continuous Current: 12.25uA
- Maximum Current: 100uA
- Ultra low power supply
- Internal DC/DC voltage converter
- SPI driver support , AT 64MHz[TYP] 125MHZ[OB]
- FP frequency: 64fps[TYP] 368fps[OB]
-
hardware
- Raspberry Pi x1
- 0.96 Inch OLED x1
- HDMI cable x1
- Keyboard and Mouse x1
- Display with HDMI port x1
- 8G SD card x1
-
software
- Raspberry pi image click to download
- Installation image tools win32diskimager click to download
====Ready to work:==== 1.a more than 8G SD card, preferably a high-speed card ,is recommended Class4 cards or more, because the card had a direct impact on the speed of the speed of raspberry pi.
2.Download Raspberry Pi debian system image file at the following address: http://www.raspberrypi.org/downloads
3.Installation tool win32diskimager mirror under 3.winXP and win7 Download: http://www.onlinedown.net/soft/110173.htm
1.Unzip the downloaded archive debian system to give img image file

2.Use the SD Card Reader or Cato, connected to the computer
3.Extract and run the tool win32diskimager
 4. Select the debian in software img file, select the SD drive letter under "Device", then select "Write", if the next chart dialog box appears, select "Yes"
And then began to install the system, based on the speed of your SD, the installation process fast or slow. 
- After the end of the installation completion dialog box will pop up, indicating that the installation is complete, if unsuccessful, please turn off the firewall for a class of software installation re-insert the SD

| ### Installation and start your Raspberry Pi |
- Raspberry Pi system is installed above the SD card(See above mounting system)
- 2.5V / 700mA power over usb interface, 1.5A or more recommended
- HDMI cable
- usb interface, keyboard and mouse
-
First install the system SD card into the Raspberry Pi

-
Then usb keyboard and mouse interfaces connected Raspberry Pi

-
Connect HDMI cable

-
Connect the power cord and turn on the power

-
Follow the steps after the power monitor will display the text as shown, if the display does not appear, hdmi cable or adapter may have a problem, please check

-
Normal will stop at the user interface and password (the system is debian), please enter your user name: pi, password: raspberry, if you find the keyboard does not respond, indicating compatibility problems, please try to change the keyboard,

-
This interface Step 1 appears, you may lack the power usb interface, keyboard and mouse can not give you the power, replace with a keyboard or with a HUB with power supply for use with

-
Enter the correct username and password, the following screen appears, indicating that Raspberry Pi has been properly started

-
keyboard input "startx" to start the graphical interface, at this point your Raspberry Pi will start normally done!

| ### OLED driver |
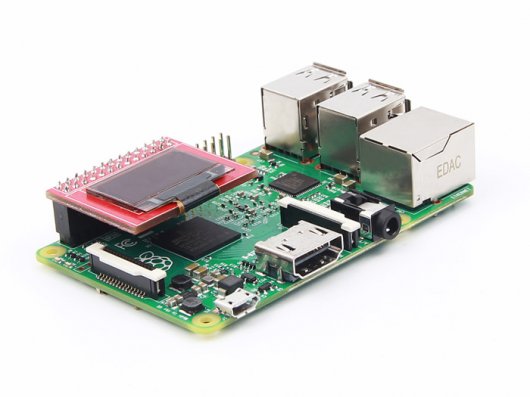
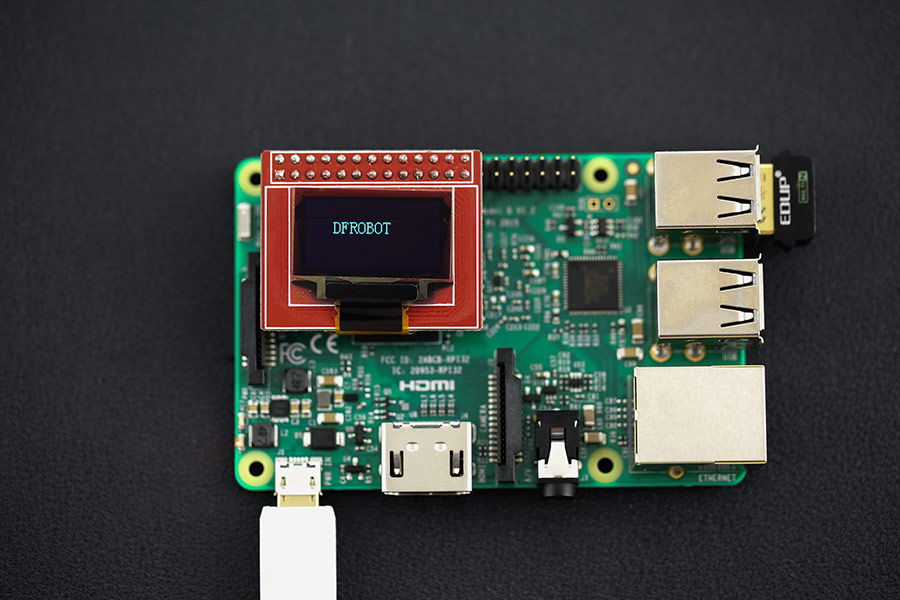
Because this product is supporting with raspberry pi, line can be as shown: 
Raspberry Pi default SPI and I2C ports are disabled, you must first open before use First log in via ssh to come in raspberry:
1.vi /etc/modprobe.d/raspi-blacklist.conf
2.#blacklist spi-bcm2708 #Comment out this line
3.blacklist i2c-bcm2708 #If you want to use i2c to comment out this line
restart raspberry pi After saving,sudo reboot,This will open the Raspberry Pi port of gpio,Specifically you can see two files in the / dev directory:spidev0.0 spidev0.1,Corresponds to GPIO port SPI port,0and1 It represents select pin CE0 of CE1
Ssh to log directly into the Raspberry Pi:
- sudo apt-get update
- sudo apt-get install vim
- sudo apt-get install build-essential
- sudo apt-get install cmake
- sudo apt-get install git
- mkdir oledtest
- cd oledtest
- vim oledtest.c download.
- The program will be copied into ledtest.c lcdtest,and compile:

- gcc -Wall -o oledtest oledtest.c -lwiringPi

- sudo ./oledtest

Sample code oledtest.c and product details download.
 get it from oled 2828 color display module or dfrobot distributor.