RS232_Shield
Angelo edited this page Sep 22, 2016
·
4 revisions

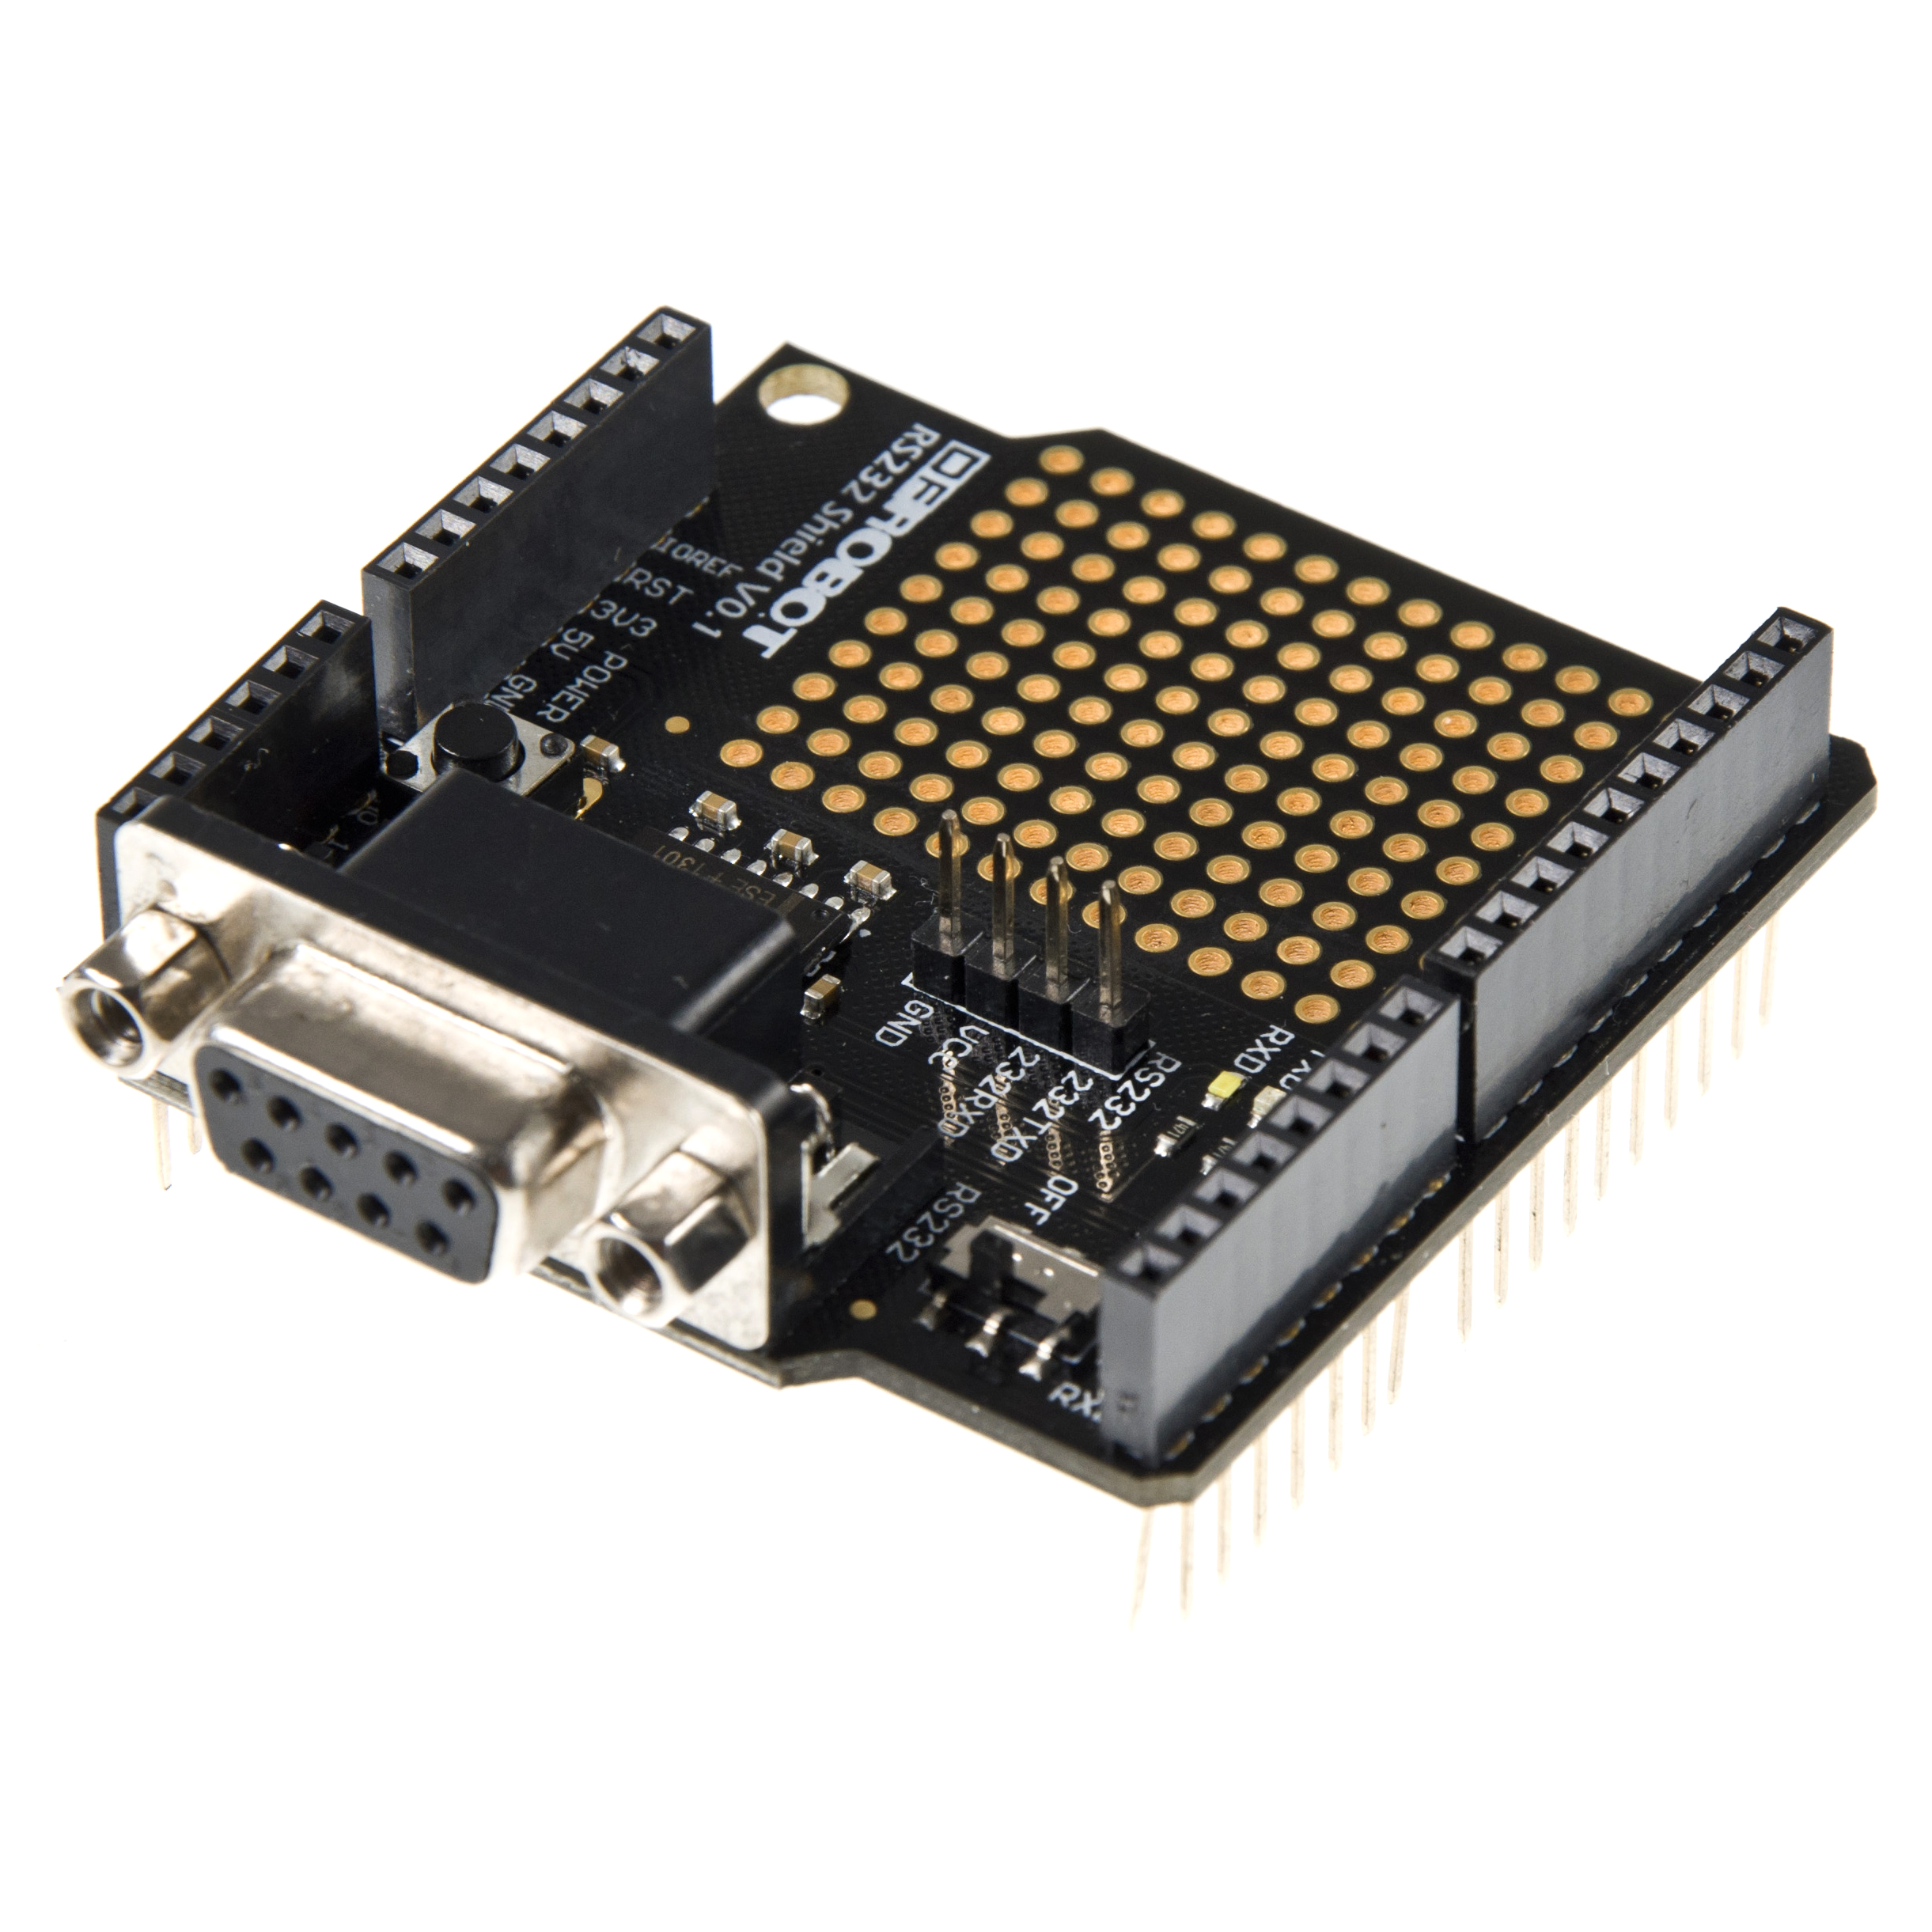
- This RS232 shield is designed for the Arduino controller,and it can easily convert UART to RS232 interface.
- This shield integrates DB9 connectors (female), so it can be easily connected to various RS232 interface devices.Also the shield integrates RS232 headers to facilitate your connection and commissioning.
- The shield provides the welding areas to maka full use of space on it. And it's convenient for your DIY design.
- The shield provides a run / program mode switch. To OFF at the time, to Arduino master programmer;To ON at the time, the shield normal use.
- Gold immersion PCB. Long pins on the back adapt to most Arduino controllers.
- Power module: +5V
- Module size: 55mmx53mm
- 16 digital IO port (including a I2C interface)
- 6 analog IO port and power
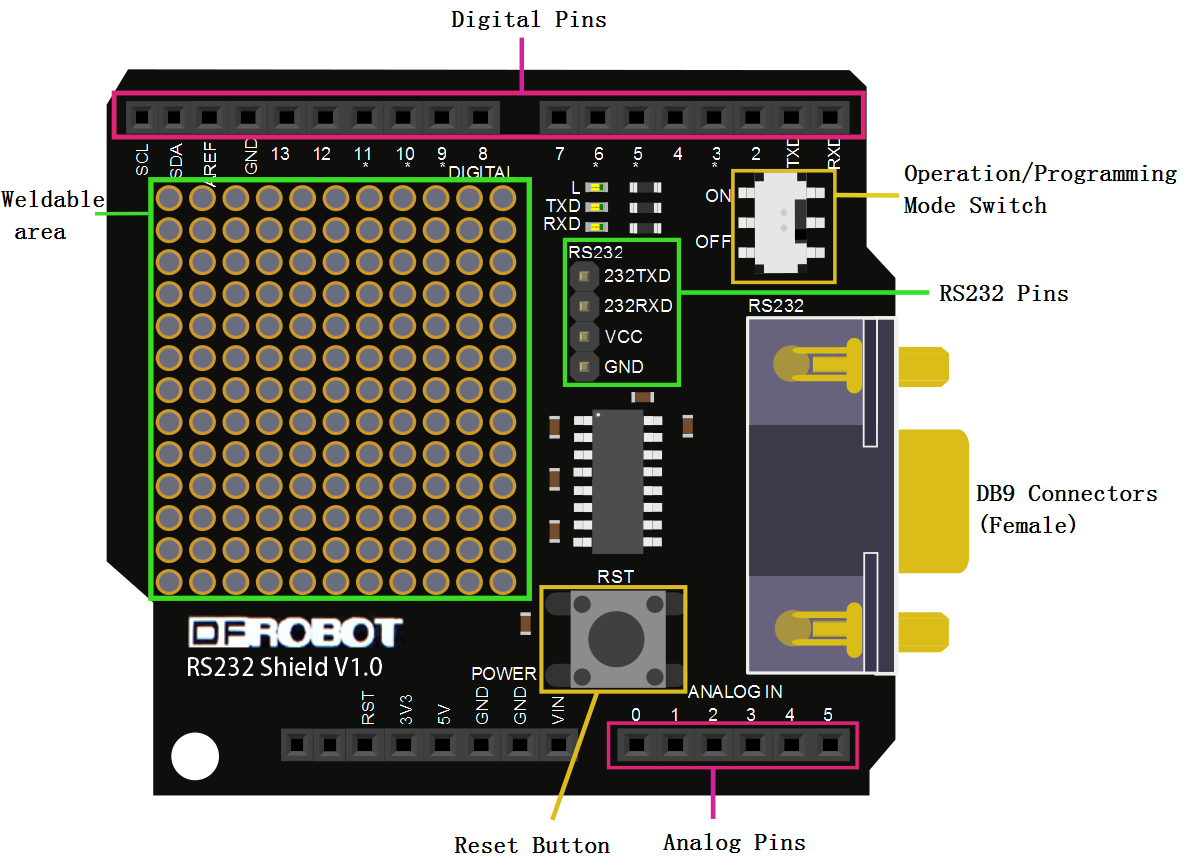
- Operation/programming mode switch
- Transceiver indicating LED
- DB9 connectors (female), RS232 pins
- Weldable area
- Reset button
- RS232 communication

| DB9母头接口定义 | |
| pin 2 | TXD |
| pin 3 | RXD |
| pin 5 | GND |
| Operation/programming mode switch | |
| OFF | download the program for the Arduino controller |
| ON | convert the UART to the RS232 |
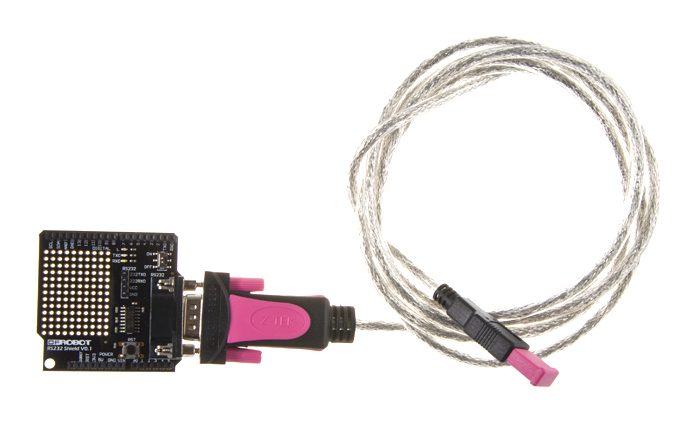
When you install the RS232 shield on your Arduino board, and connect the USB-RS232 converter(DB9 male) with the RS232 shield(DB9 female).Then download the following sample code (Note: Downloading code,operation/programming mode switch must hit the OFF position, otherwise it will lead to the download fails. When downloaded,it is complete to ON, and the shield to normal use).

/*
# This sample codes is for testing the RS232 shiled.
# Editor : YouYou
# Date   : 2013.9.25
# Ver    : 0.1
# Product: RS232 shield
# SKU    : DFR0258
*/
int led = 13;
void setup()
{
  Serial.begin(9600);
  pinMode(led,OUTPUT);
}
void loop()
{
  int temp;
  if(Serial.available())
  {
    temp=Serial.read();
     if(temp=='V'){
      digitalWrite(led,1-digitalRead(led));
    Serial.println("OK");
     }
  }
}

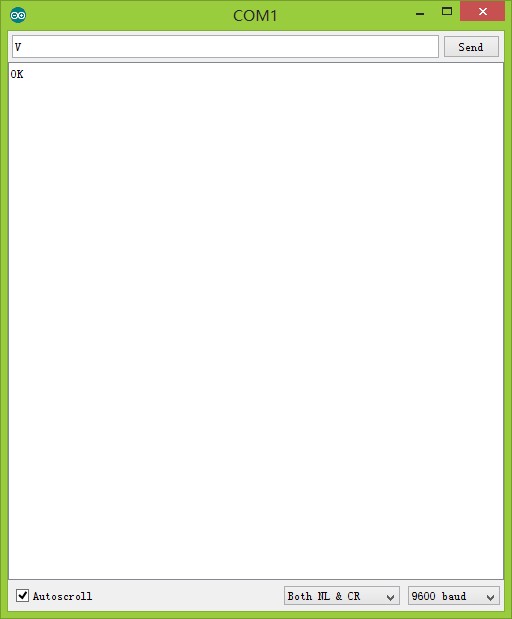
Open serial monitor of Arduino IDE, find USB-RS232 converter corresponding serial port, send character "V", you can see the LED status may change, and reply "OK".
More question and cool idea, visit DFRobot Forum
