Arduino_Motor_Shield_(L293)_(SKU__DRI0001)

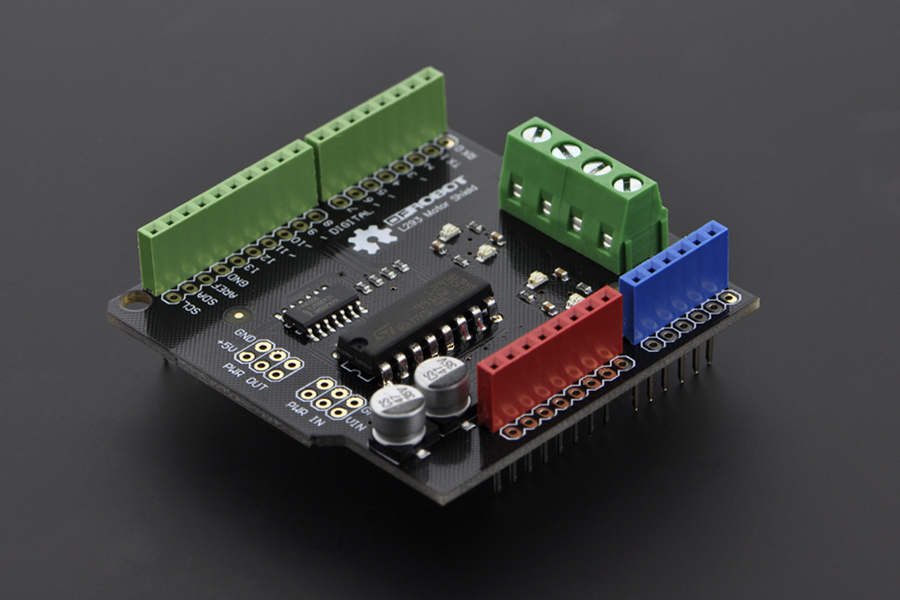
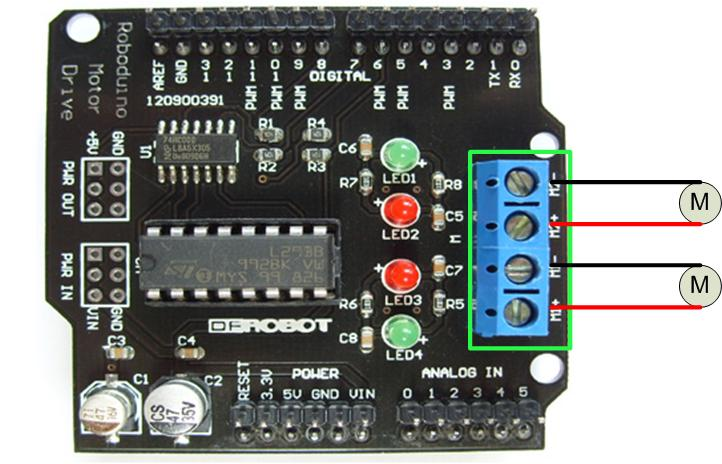
This motor shield allows Arduino to drive two channel DC motors. It uses a L293B chip which deliveries output current up to 1A (2A for L298P version) each channel. The speed control is achieved through conventional PWM which can be obtained from Arduino’s PWM output Pin 5 and 6. The enable/disable function of the motor control is signalled by Arduino Digital Pin 4 and 7. Roboduino Motor Shield uses PWM output Pin 6 and 9 and Digital Pin 7 and 8.
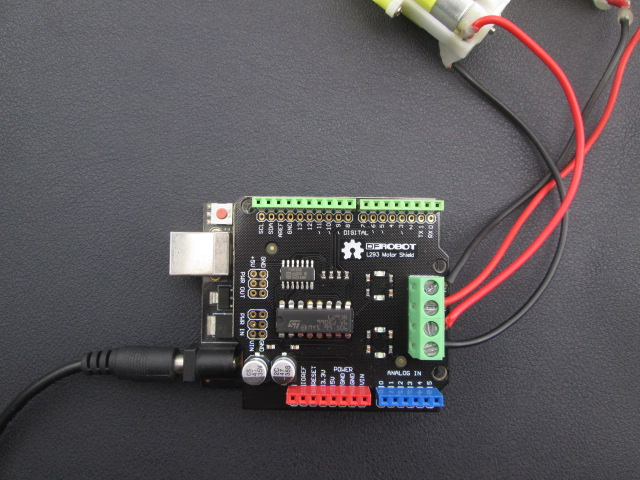
The Motor shield is powered directly from Arduino. It is strongly advised that use external power supply (on Arduino) to power the Arduino instead of the USB power supply.


| Pin | Function |
|---|---|
| Digital 4 | Motor 2 Direction control |
| Digital 5 | Motor 2 PWM control |
| Digital 6 | Motor 1 PWM control |
| Digital 7 | Motor 1 Direction control |
//This motor shield use Pin 6,5,7,4 to control the motor
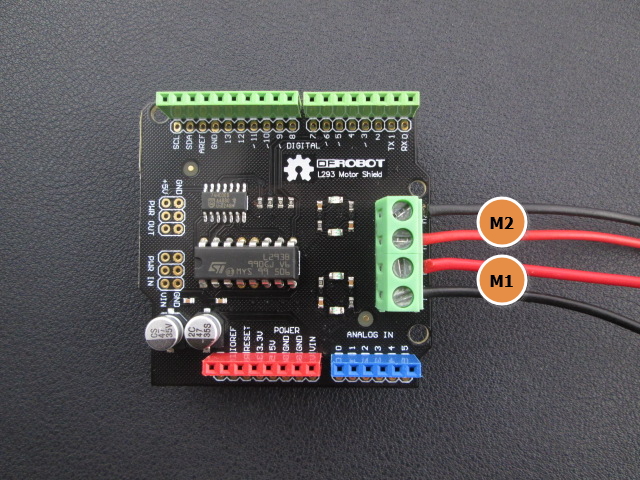
// Simply connect your motors to M1+,M1-,M2+,M2-
// Upload the code to Arduino/Roboduino
// Through serial monitor, type 'a','s', 'w','d','x' to control the motor
// www.dfrobot.com
// Last modified on 24/12/2009

int EN1 = 6;
int EN2 = 5;  //Roboduino Motor shield uses Pin 9
int IN1 = 7;
int IN2 = 4; //Latest version use pin 4 instead of pin 8

void Motor1(int pwm, boolean reverse) {
  analogWrite(EN1, pwm); //set pwm control, 0 for stop, and 255 for maximum speed
  if (reverse)  {
    digitalWrite(IN1, HIGH);
  }
  else  {
    digitalWrite(IN1, LOW);
  }
}

void Motor2(int pwm, boolean reverse) {
  analogWrite(EN2, pwm);
  if (reverse)  {
    digitalWrite(IN2, HIGH);
  }
  else  {
    digitalWrite(IN2, LOW);
  }
}

void setup() {
  int i;
  // for(i=6;i<=9;i++) //For Roboduino Motor Shield
  // pinMode(i, OUTPUT);  //set pin 6,7,8,9 to output mode

  for (i = 4; i <= 7; i++) //For Arduino Motor Shield
    pinMode(i, OUTPUT);  //set pin 4,5,6,7 to output mode
  Serial.begin(9600);
}

void loop() {
  int x, delay_en;
  char val;
  while (1)  {
    val = Serial.read();
    if (val != -1)    {
      switch (val)      {
        case 'w'://Move ahead
          Motor1(100, true); //You can change the speed, such as Motor(50,true)
          Motor2(100, true);
          break;
        case 'x'://move back
          Motor1(100, false);
          Motor2(100, false);
          break;
        case 'a'://turn left
          Motor1(100, false);
          Motor2(100, true);
          break;
        case 'd'://turn right
          Motor1(100, true);
          Motor2(100, false);
          break;
        case 's'://stop
          Motor1(0, false);
          Motor2(0, false);
          break;
      }
    }
  }
} shopping from dfrobot store or dfrobot distributor.
category: Product Manual category: DRI Series category: Motor Controllers category: Shields category: Source