-
Notifications
You must be signed in to change notification settings - Fork 5
Voice_Recorder ISD1820_SKU__SEN0197
Angelo edited this page Sep 21, 2016
·
3 revisions

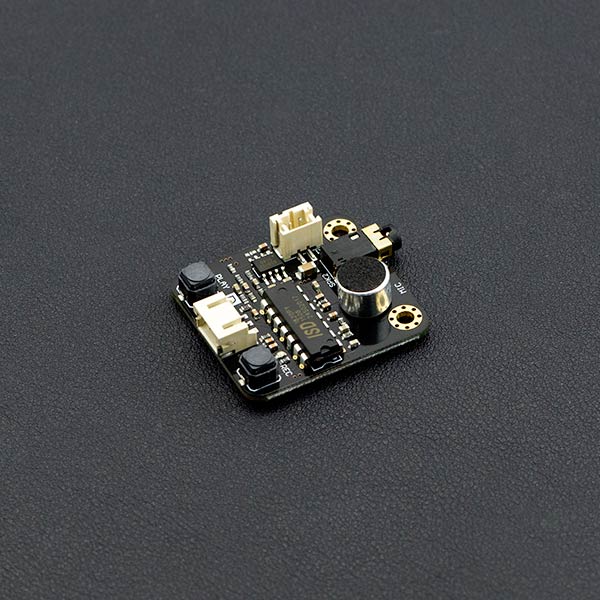
This is the latest ISD1820 voice recorder module with integrated record and play functions. Easily record your voice by pressing the record button, speaking and then releasing the button when finished. The module is able to playback 10 seconds in total. Connect an 8Ω 3W speaker or an external active speaker for voice output. The module also has a 3 pin digital interface so you can connect it to an Arduino compatible microcontroller as a playback trigger.
- Operating voltage: 5V
- Recording time: 10 seconds
- Sampling frequency: 6.4KHz
- Repeatable recording times: 100,000
- Dimensions: 37*35 mm/ 1.46*1.38 inches
 |
                                                         |----------|-----------------------------------------------|
                                                         | **Name** | **Features**                                  |
                                                         | SPK1     | Speaker (Supports 8Ω@3W speaker)              |
                                                         | SPK2     | Active Speaker                                |
                                                         | PLAY     | Play Audio                                    |
                                                         | REC      | Record (Release the button to stop recording) |
                                                         ||                                                            |
- Press the record button to record; release the button to stop recording. The module supports 10s of recording and the red LED on the board will flash when the buffer is full.
- Press the play button to play the recording, adjusting the potentiometers on the board to adjust the speaker volume. At the end of playback, the red LED on the board will flash once.
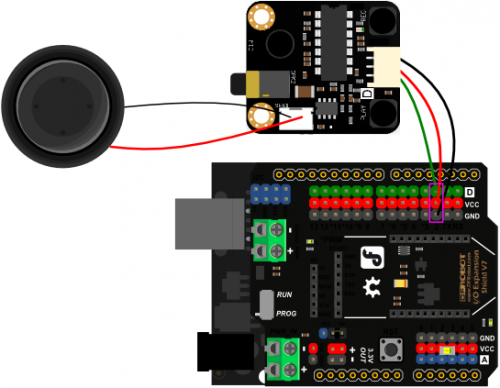
- This module can control playback with an Arduino compatible microcontroller. See below for details.
-
Hardware
- DFRduino UNO x1
- IO expansion shield V7 x1
-
Software
- Arduino IDE V1.6.5 Click to Download Arduino IDE from Arduino®

int Play_pin = 2;
void setup() {
  pinMode(Play_pin,OUTPUT);
  digitalWrite(Play_pin,LOW);
}

void loop() {
  digitalWrite(Play_pin,HIGH);
  delay(1000);
}| For any questions, advice or cool ideas to share, please visit DFRobot Forum. |
Schematic
SVG files
 shopping from dfrobot store or dfrobot distributor.