Shinning_Egg(SKU_KIT0010)
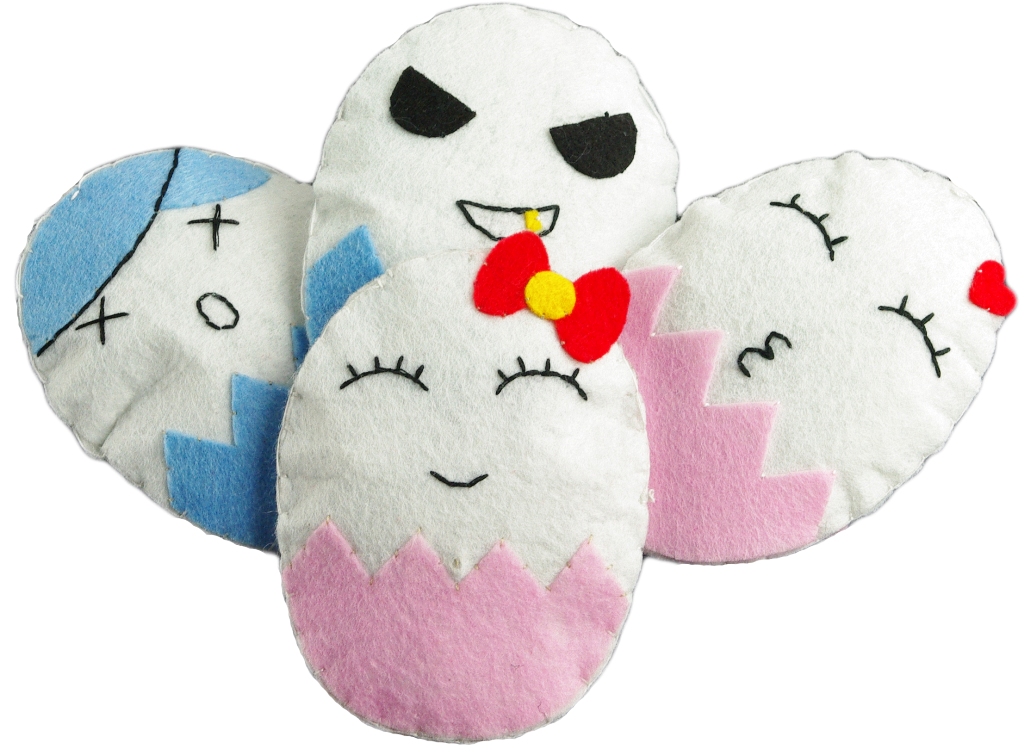
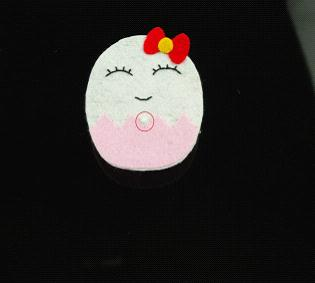
Exciting news!! Our Robotic Chicken(ROB0063) finally gave birth to cute babys-Mr/Mrs Egg Head during Easters. These little guys are just hatching out of eggs, still can not speak and they are very shy, when you push it's belly it's cheeks will turn red. Now you are welcome to adopt as many of them as you'r heart desires. And I am sure they will become good friends with kids and have a great time. Mr/Mrs Egg Head is an egg. When you push it's belly it's cheeks will turn red. This is a fun project for you to teach a student, your child, or nese/nefew about sewing, soldering, and electronics. You can decorate Mr/Mrs Egg Head any way you like (You can see the pictures to get an idea). The kit comes with some felt to make your egg, along with some extra felt so you can decorate your egg any way you like. The electronics include 2 red LEDs and 2 resistors, a push button, a coin cell battery, and a PCB board to hold all the electronics togeather.
First, you should prepare the components. Look at the picture below. 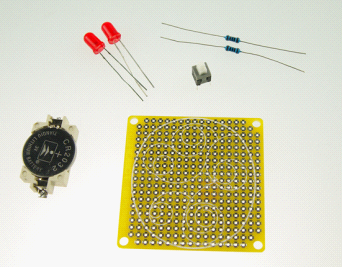 put the button on the board ,then flip the board over and make a solder joint where the lead meets the vias (the copper-coated holes in the board). six pins of the button should all be soldered.
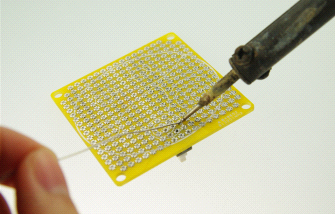 next put two led on the board and soldering them. pay attention to the led is polar, which means it has to be soldered in a certain orientation. take a look at the led below. notice how one lead is a bit longer than the other. the longer pin is "+" and the short is "-", look at the picture below. then flip the board over and solder each pin.
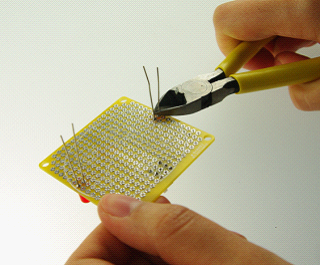
 once you've soldered the led, cut off the remaining bits of the leads with some wire cutters.
  next, we'll do the same thing with the resistor. the resistor is pictured below. unlike the led ,the two pins of the resistor is same , no"+" and "-".
  then we have to solder is the battery holder. each pin of the it should be soldered with two vias. considering the battery has "+" and "-".we should solder the battery holder like the picture below.
 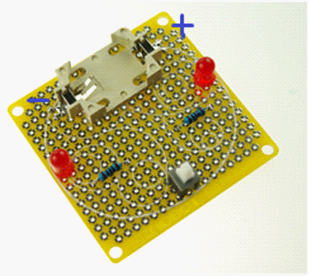 last we should solder the wires. look at the pictures below.
- One lead of the red wire is soldered with the button while the other is connected with the battery holder "+".
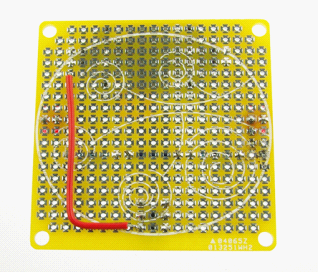
- Put a blue wire between two resistors and flip the board .Solder each lead with one head of the resistors. Then solder other blue wire with the button and the blue wire before. Look at the two pictures below.

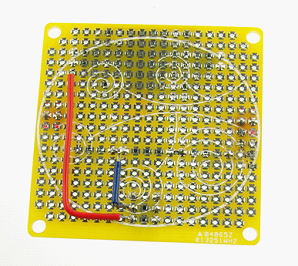
- Connect the other lead of the resistor and the LED"+" with a red wire.
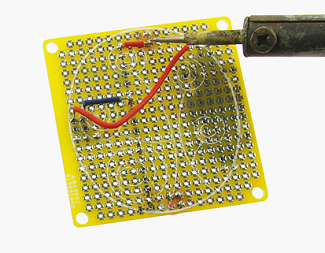
 the same with other side of resistor and led.
 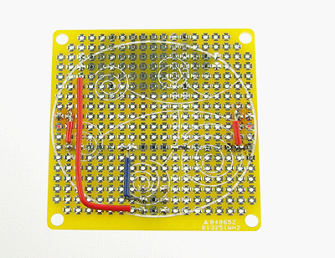 then solder the left led"-" with the battery holder"-" with a black wire.
 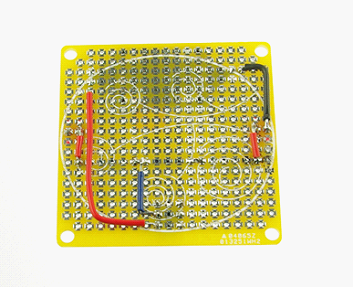 the right led"-" also soldered with the battery holder"-".
 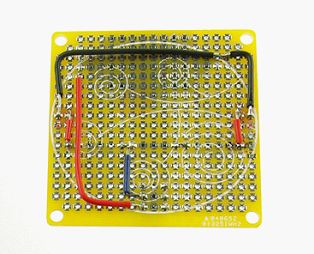 so we finish the soldering of the whole board. look at the picture below.
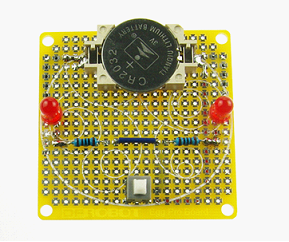
 prepare the drawing and the non-woven fabric . cotton and the sewing kit.
 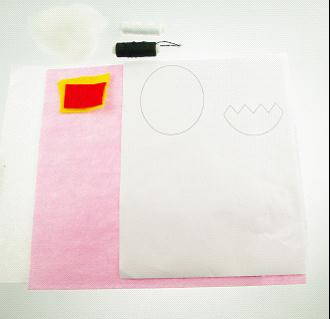 make the egg-shape felt pieces by the drawing.
 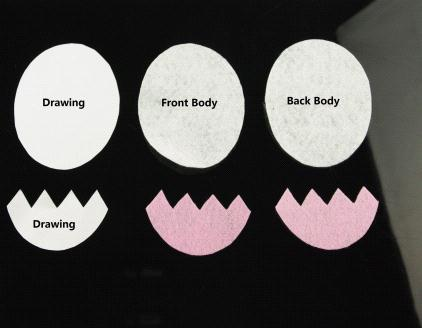 sew the eggshell and other decoration on the egg.
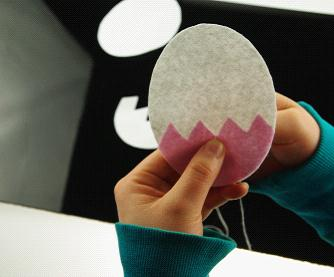
 cut a hole for the button on the body.
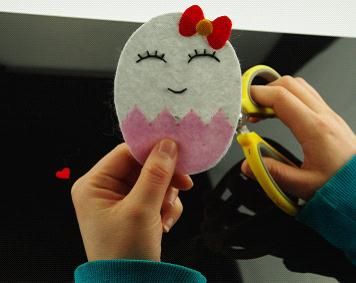
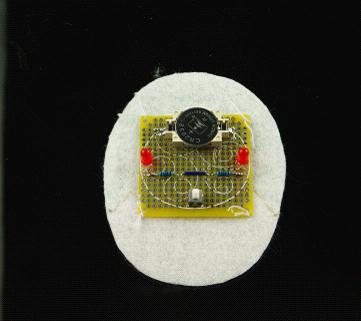
 sew the prototyping board on the bottom of back body and make it stable by the knot.
 Grab the two egg-shaped felt pieces and place one on top of the other and start to sew, add the cotton in the body when seeing the egg body.
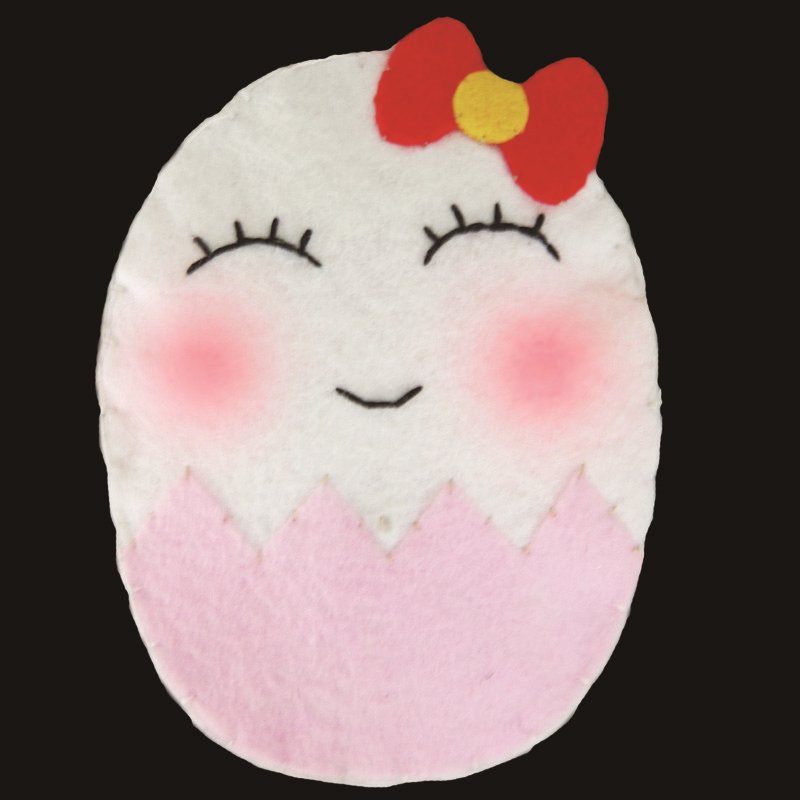
You can design your own egg or anything you want, variety of decoration is up to you.
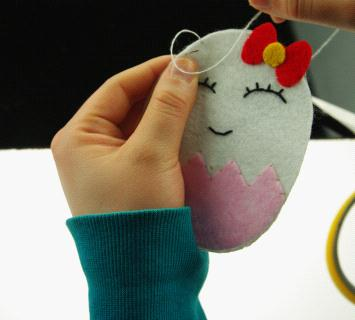 finally, we have:
 Shopping [
category: Product Manual category: KIT Series