50mm_lens_modification
The mesoSPIM uses two "hacked" 50 mm consumer DSLR lenses in the excitation path. The lenses are used as scan lenses which means that the galvo scanners should be placed in the back focal plane of the camera lenses (as close to the front lens as possible to make the system telecentric). As the front lens is housed deep inside the lens optomechanics, removal of the camera lens hood etc. is necessary. This voids the warranty of the lens.
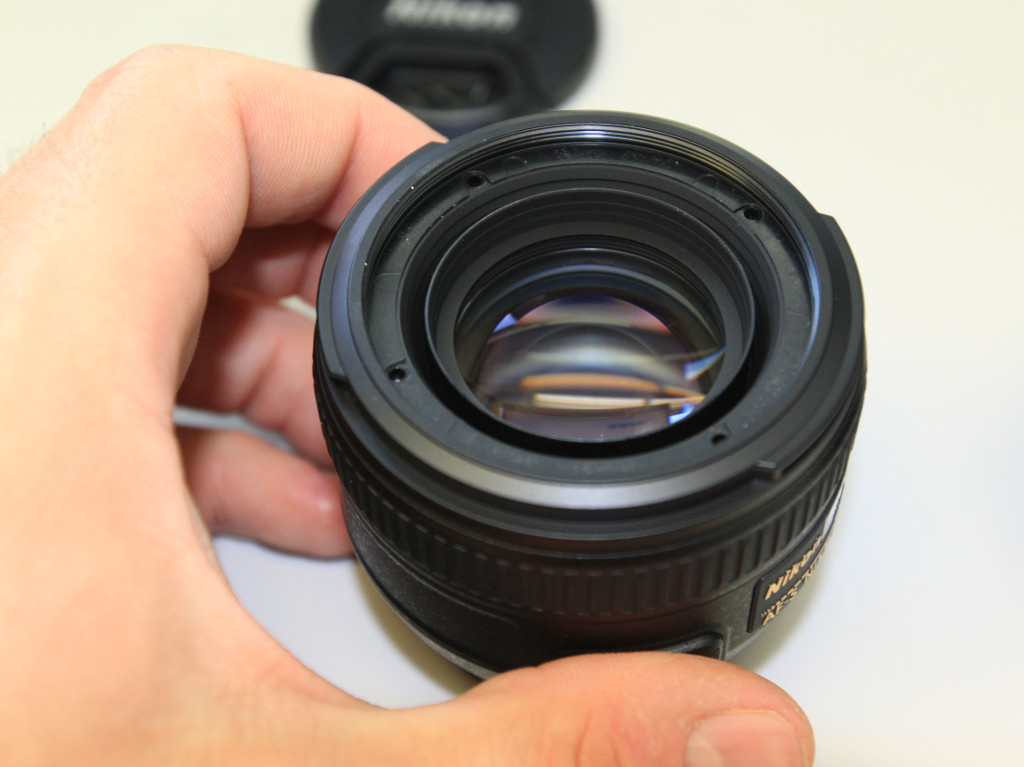
- 2x Nikon 50 mm f/1.4 G DLSR lenses
- small screwdriver kit (Philips & other)
- small pliers
- boxes for keeping screws
- adjustable spanner wrench (e.g. Thorlabs SPW801)
- hot glue gun
- heavy duty scissors
- lathe (optional)

- remove covers
- focus the lenses to the shortest distance (0.45 m on the dial), this brings the lens closer to the galvo when mounted.
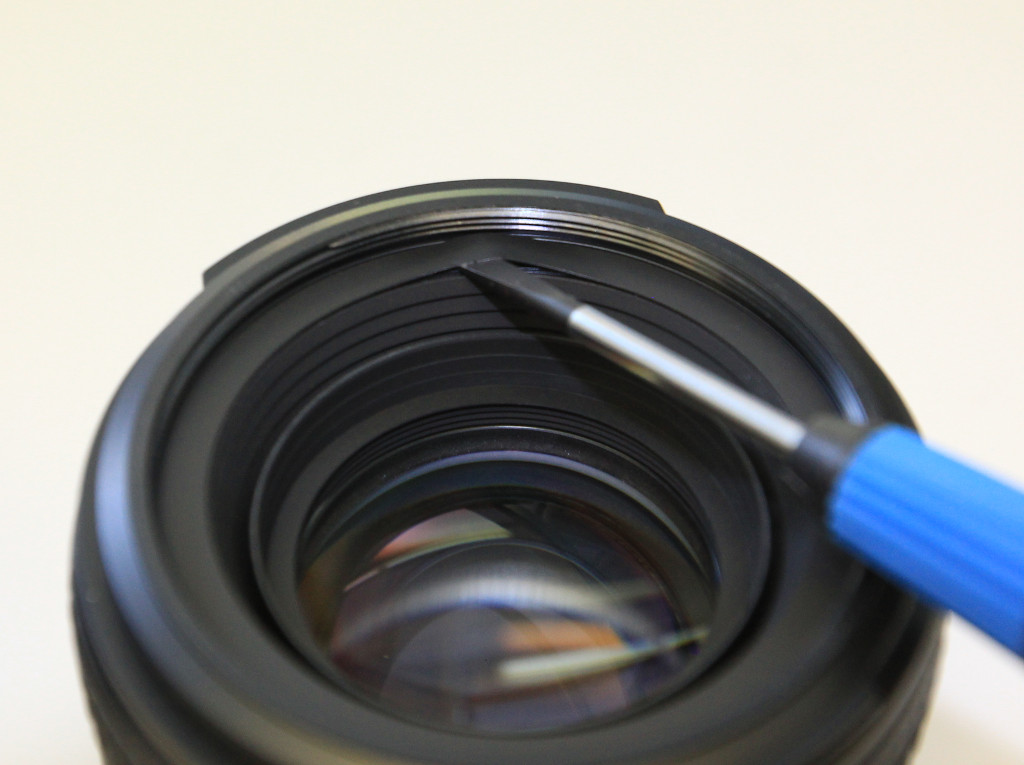
- using a screwdriver, lift and remove the ring-sticker covering the screw heads
- remove the 4 Philips screws and lift the plastic ring
- using a Philips screwdriver, remove the 4 screws holding the plastic ring in place
- lift the plastic ring
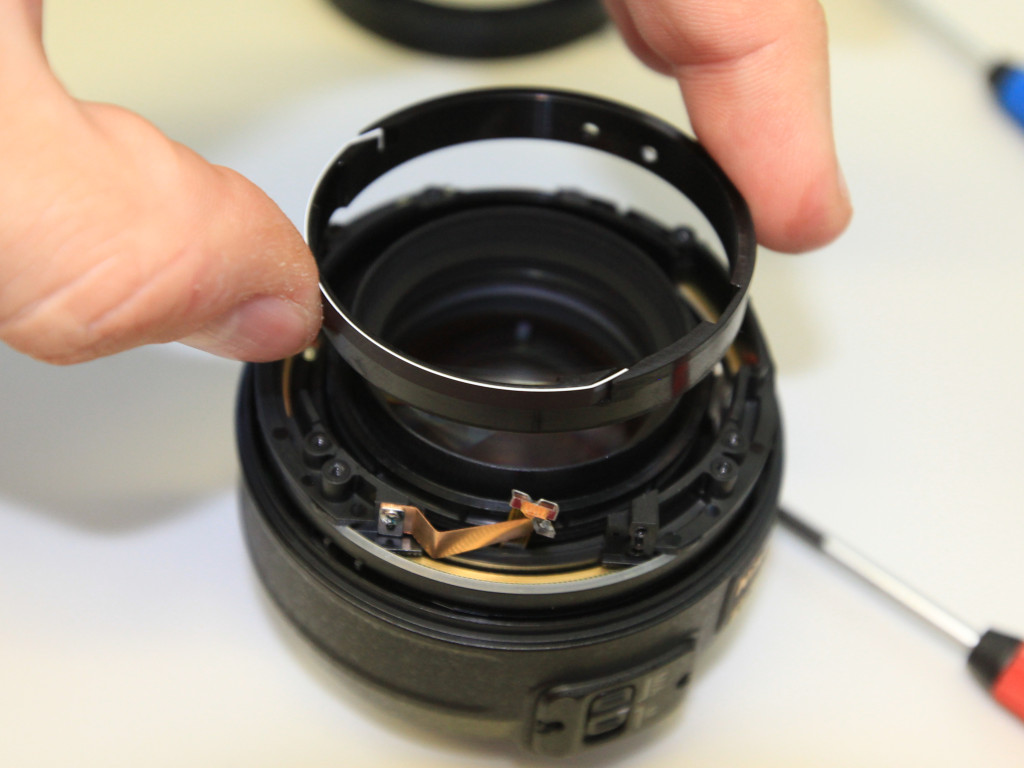
- remove the U-shaped stamped metal part by removing 3 screws
- lift the focus ring (this might require some force)
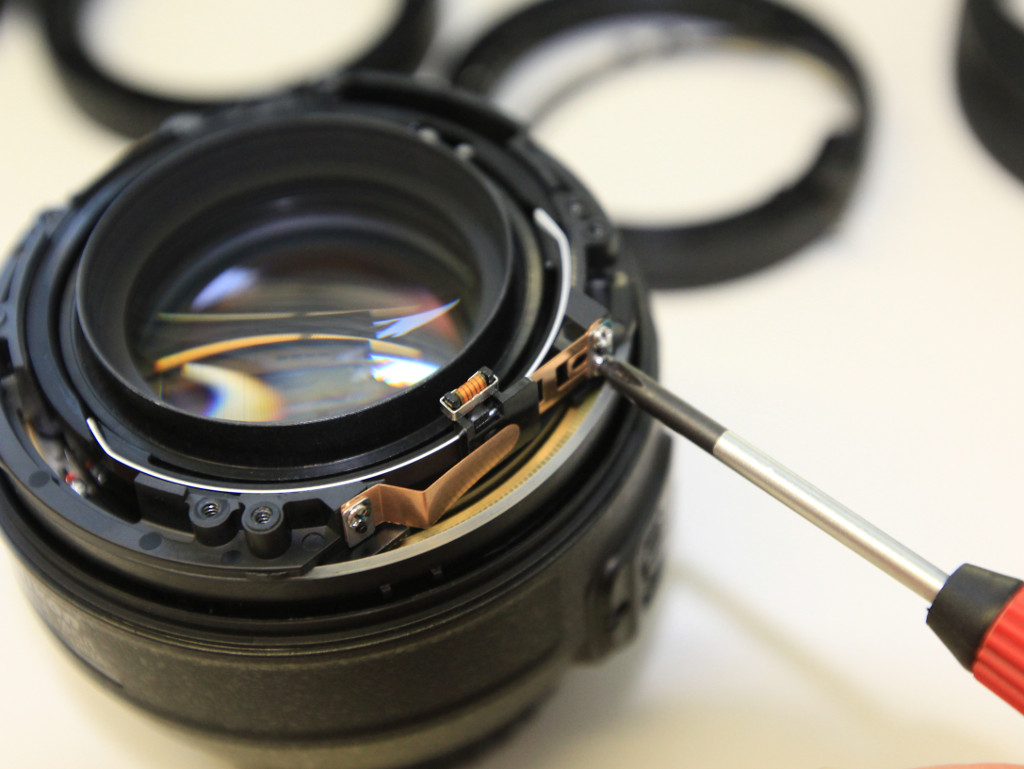
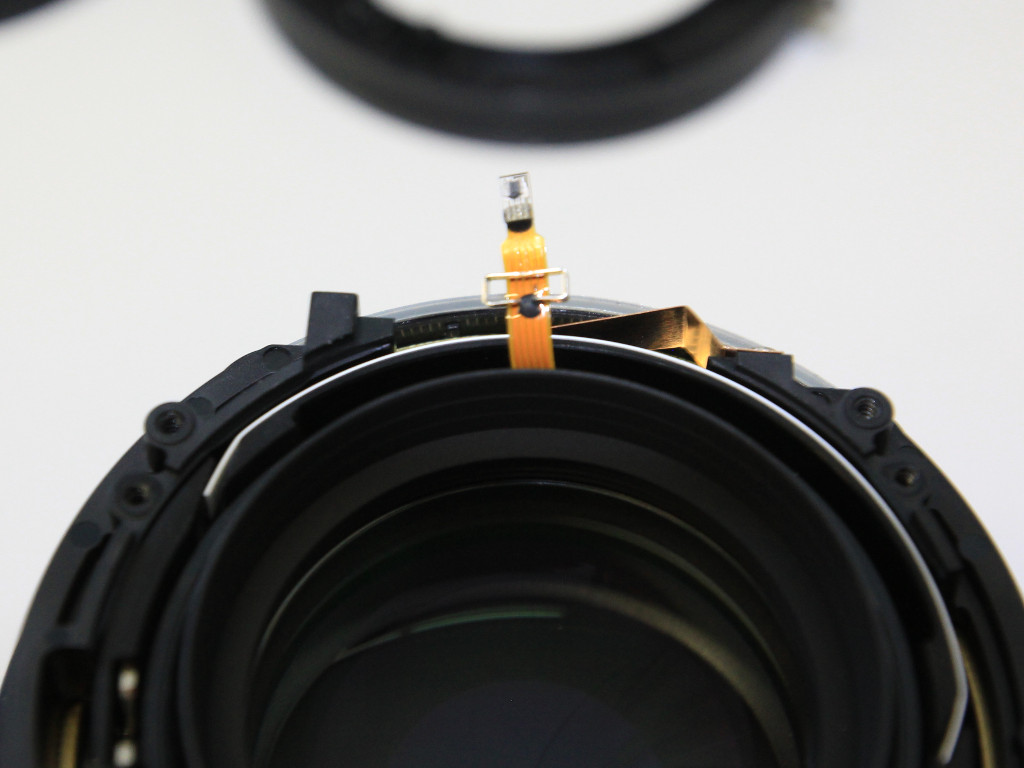
- unscrew the focus encoder by removing two Philips screws at the side
- cut or rip the focus encode off with small pliers or scissors
- lift the metal focusing ring out of the assembly
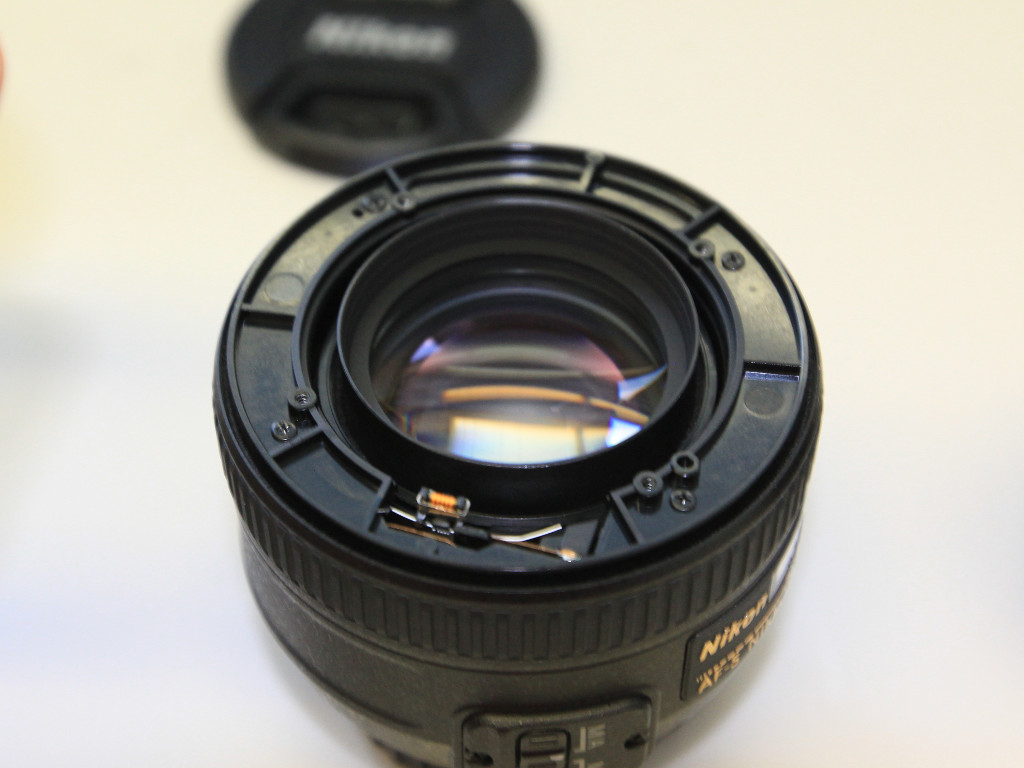
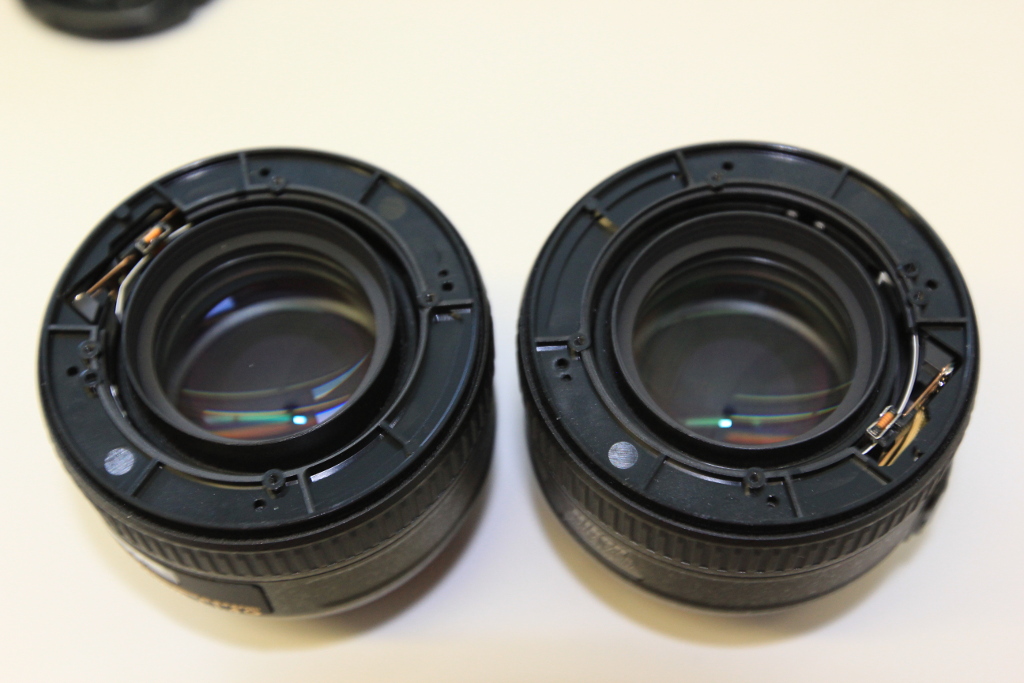
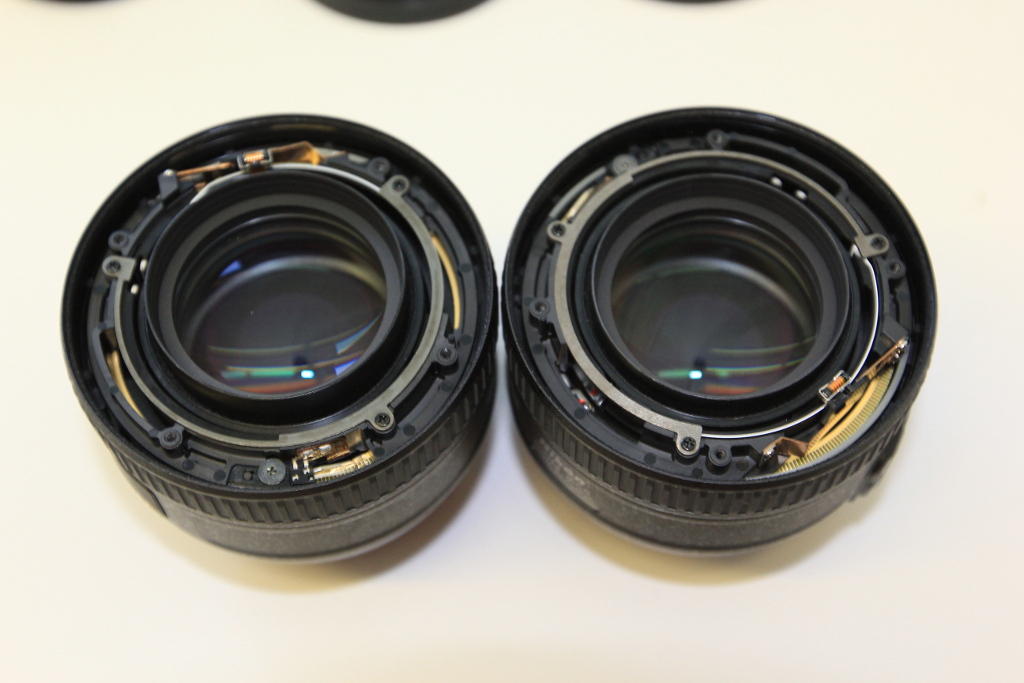
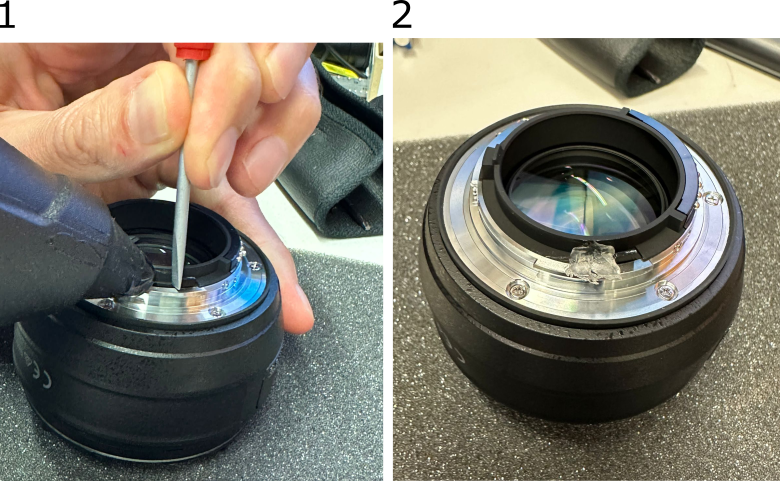
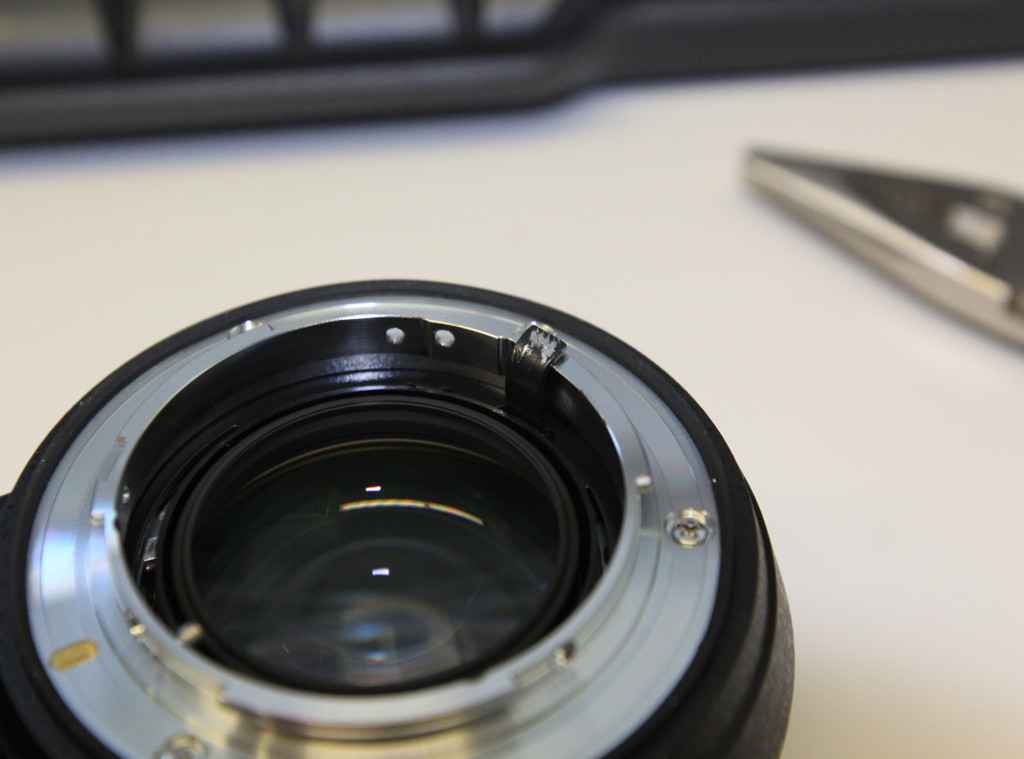
The objective contains a spring-loaded aperture that will keep the aperture as closed as possible.
To lock the aperture in an open position, hold the lever with a flat screwdriver in aperture-open position, and use a hot glue gun to fill the gap with hot plastic. While the glue is still hot, push it into the gap and remove/level the excessive mass that sticks out.
To lock the aperture in an open position, bend the aperture lever against the bajonet mount using a pair of pliers (might require some force). If there is enough friction between the aperture lever and the metal bajonet housing, the aperture will be kept open.

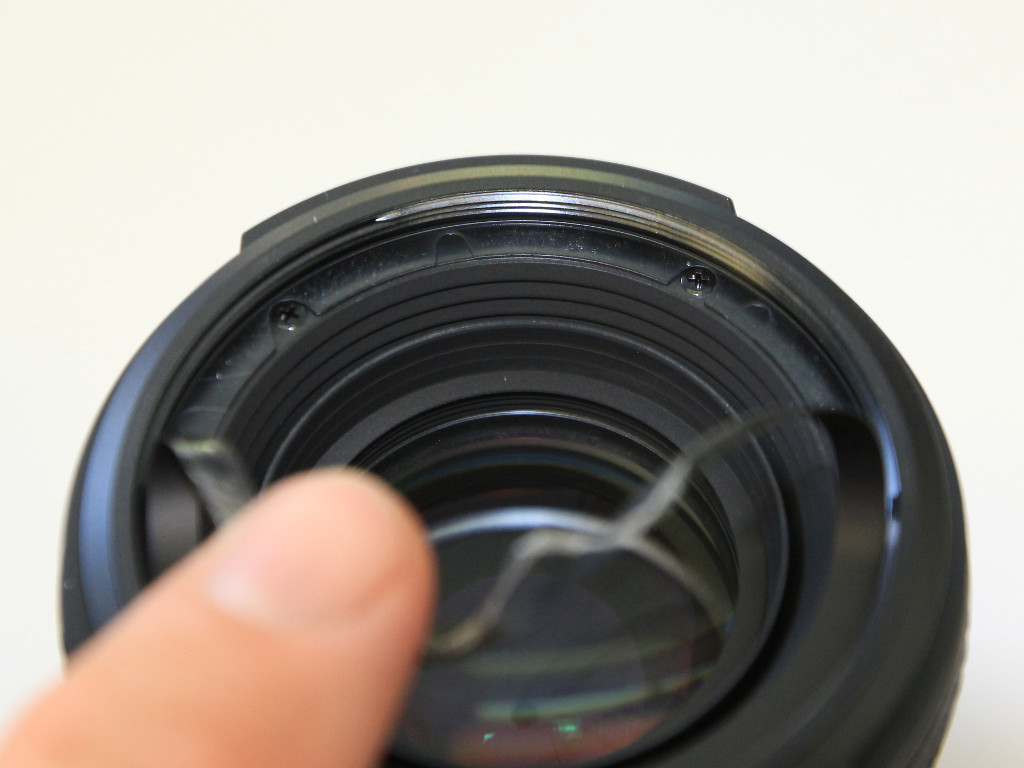
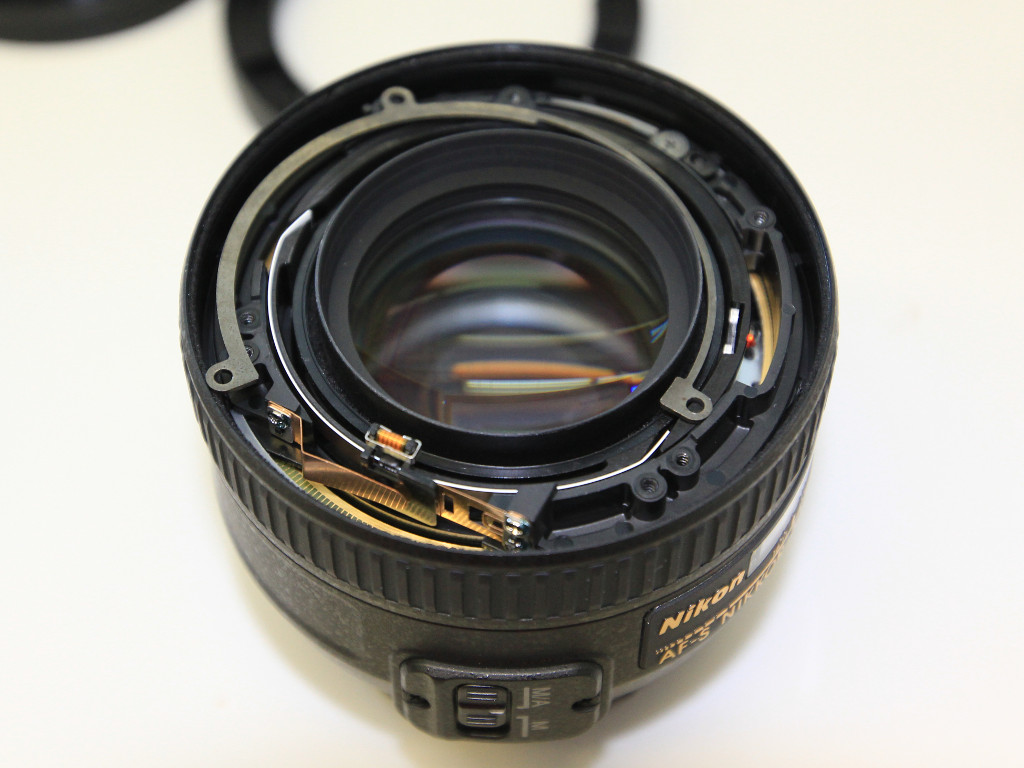
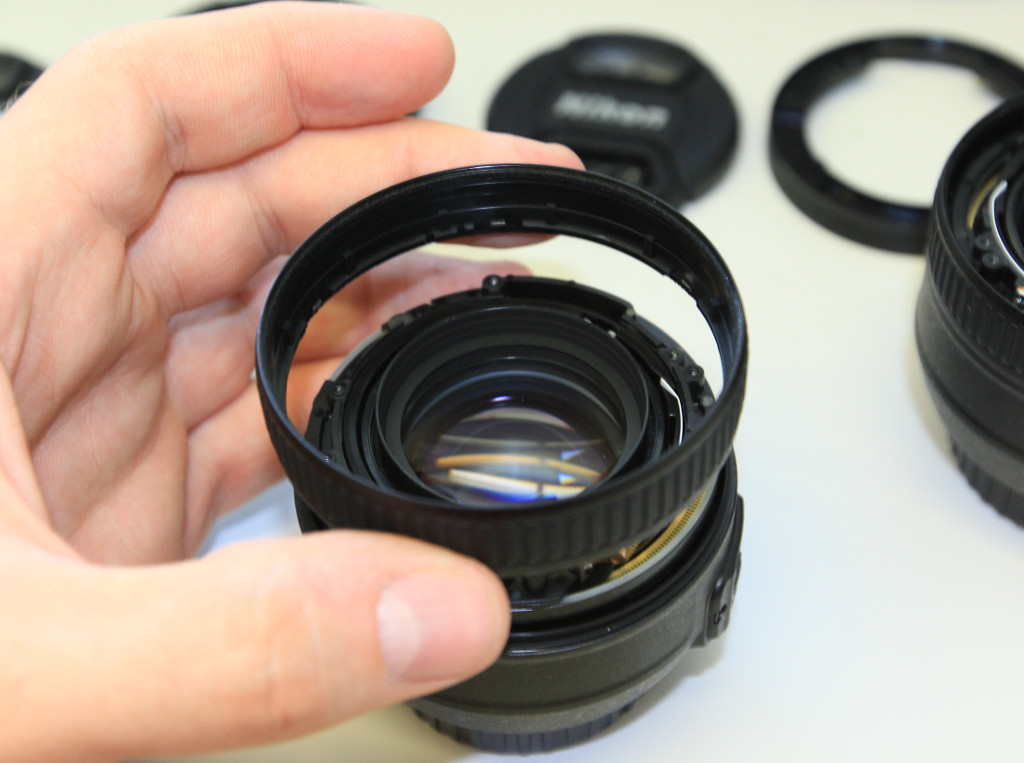
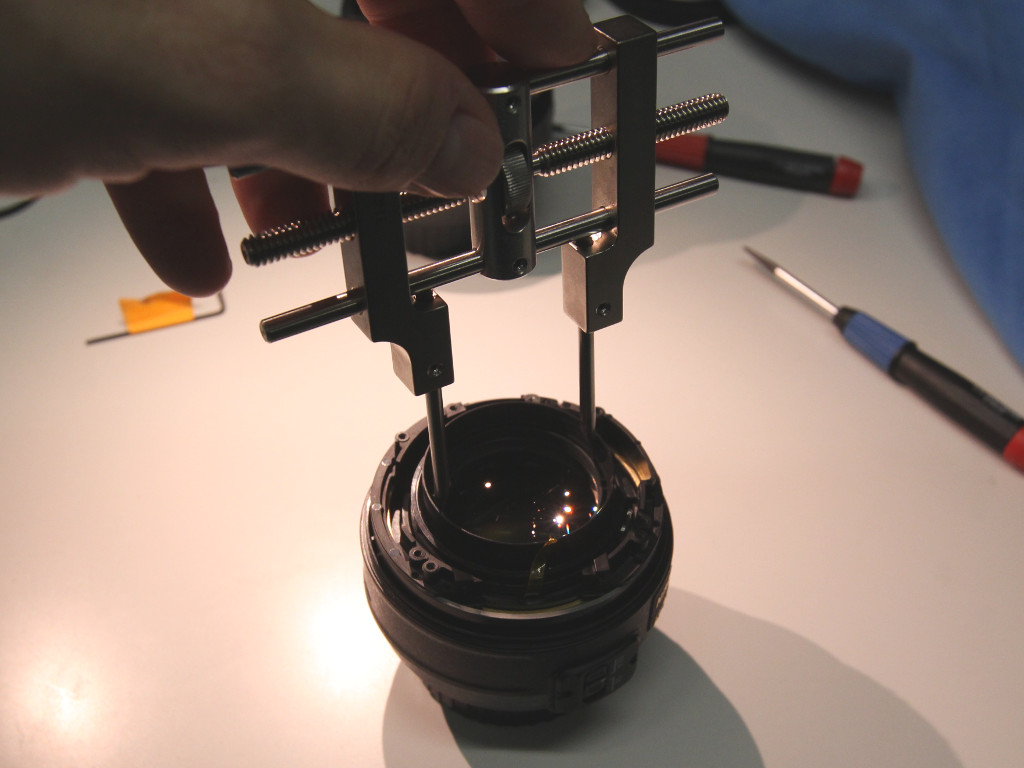
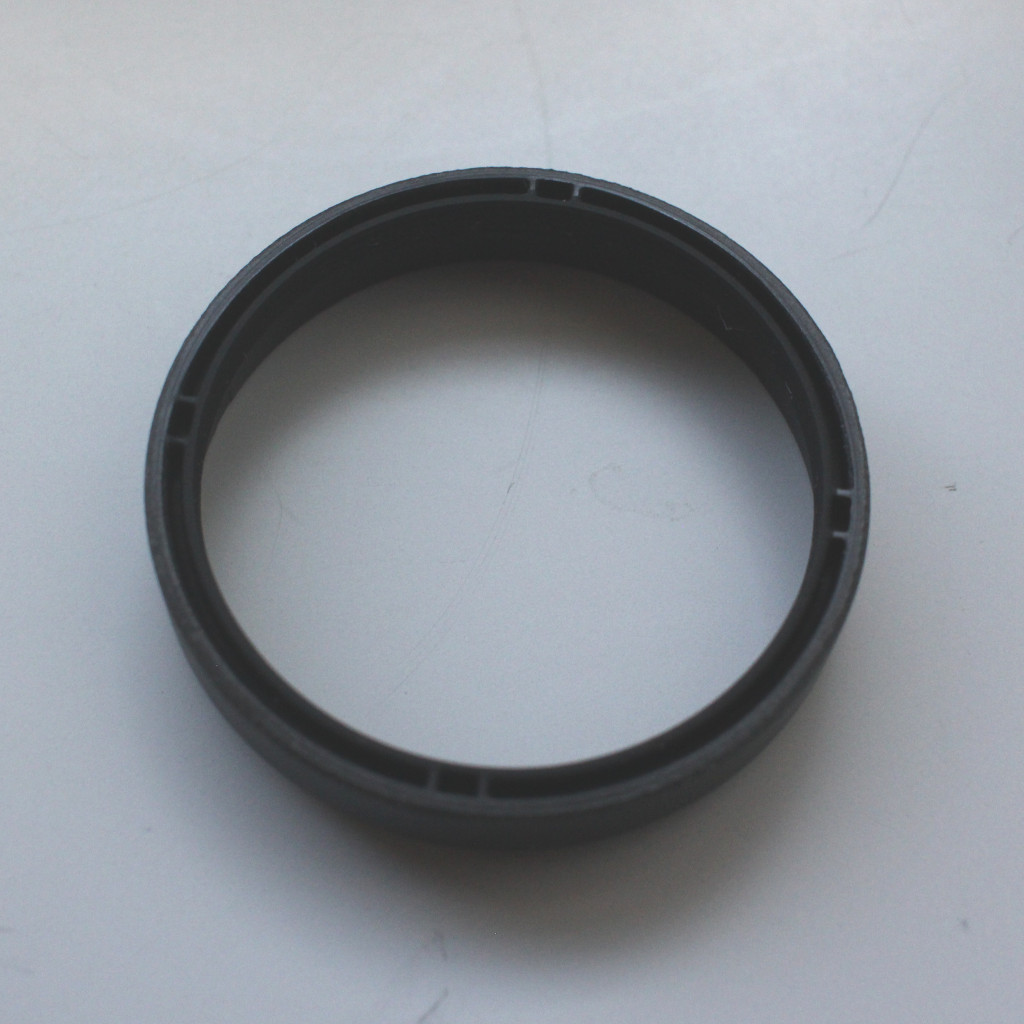
The front lens is held in place by a plastic retaining ring that can be removed by lifting the black sticker covering with a flat screwdriver and using an adjustable spanner wrench tool, such as the Thorlabs SPW801.
The retaining ring must be shortened a thickness of 9 mm on the side opposite the external thread up to the level where the ring gets wider / the black cover sticker used to be. This allows a scan mirror to be placed as close as possible to the front lens.
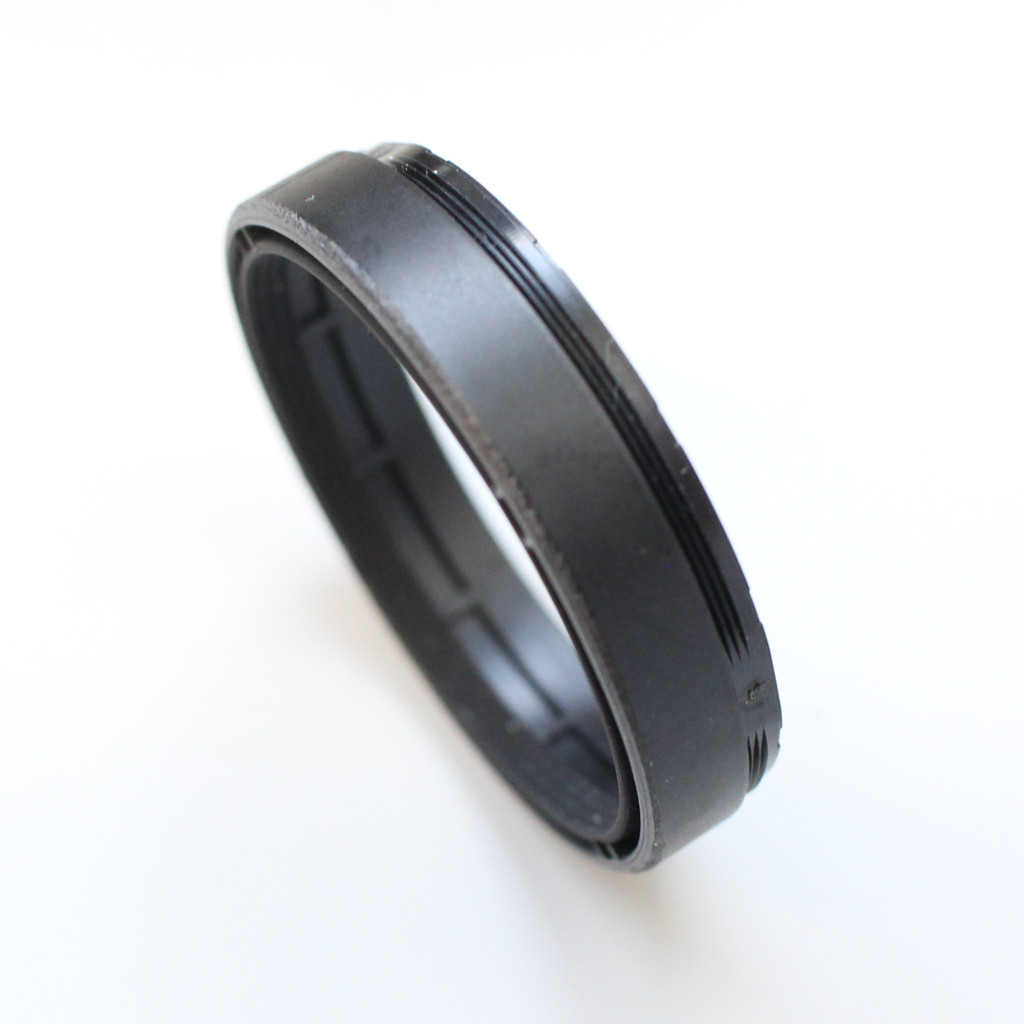
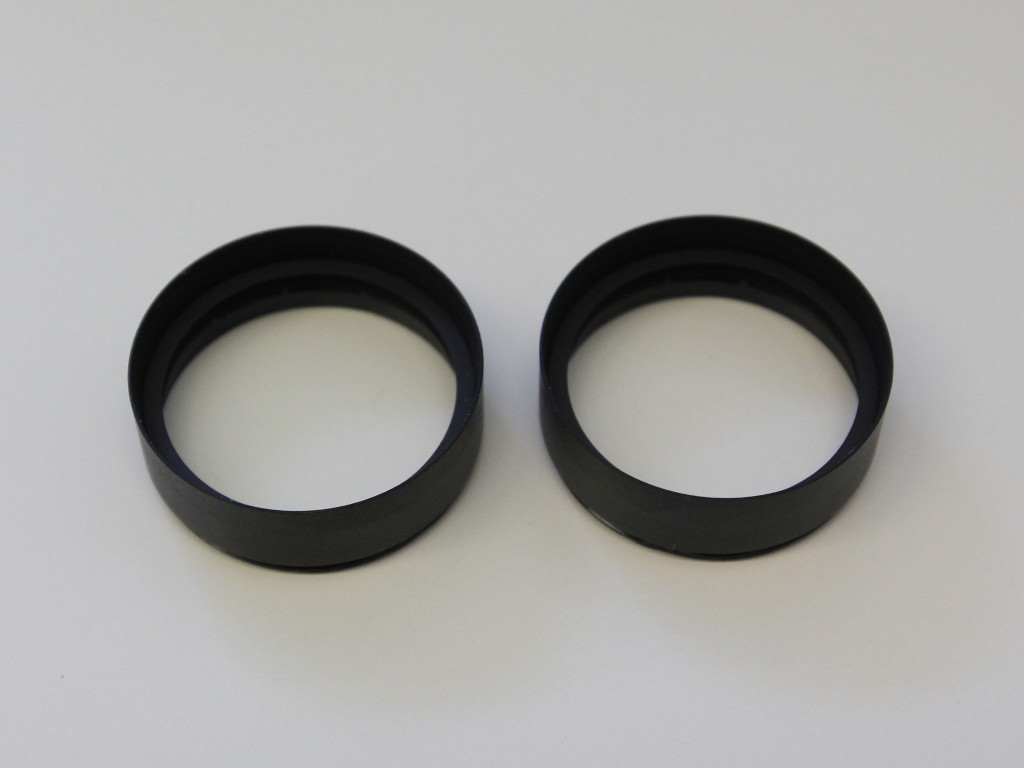 Retaining rings prior to modification.
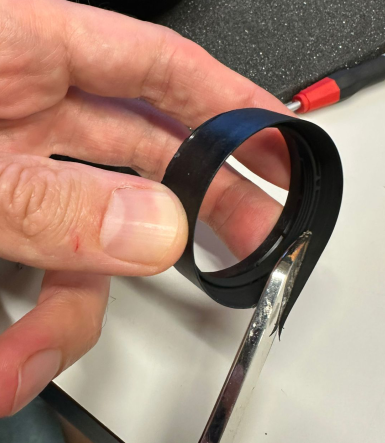
The ring is shortened using heavy-duty scissors.
The ring is shortened using a lathe.
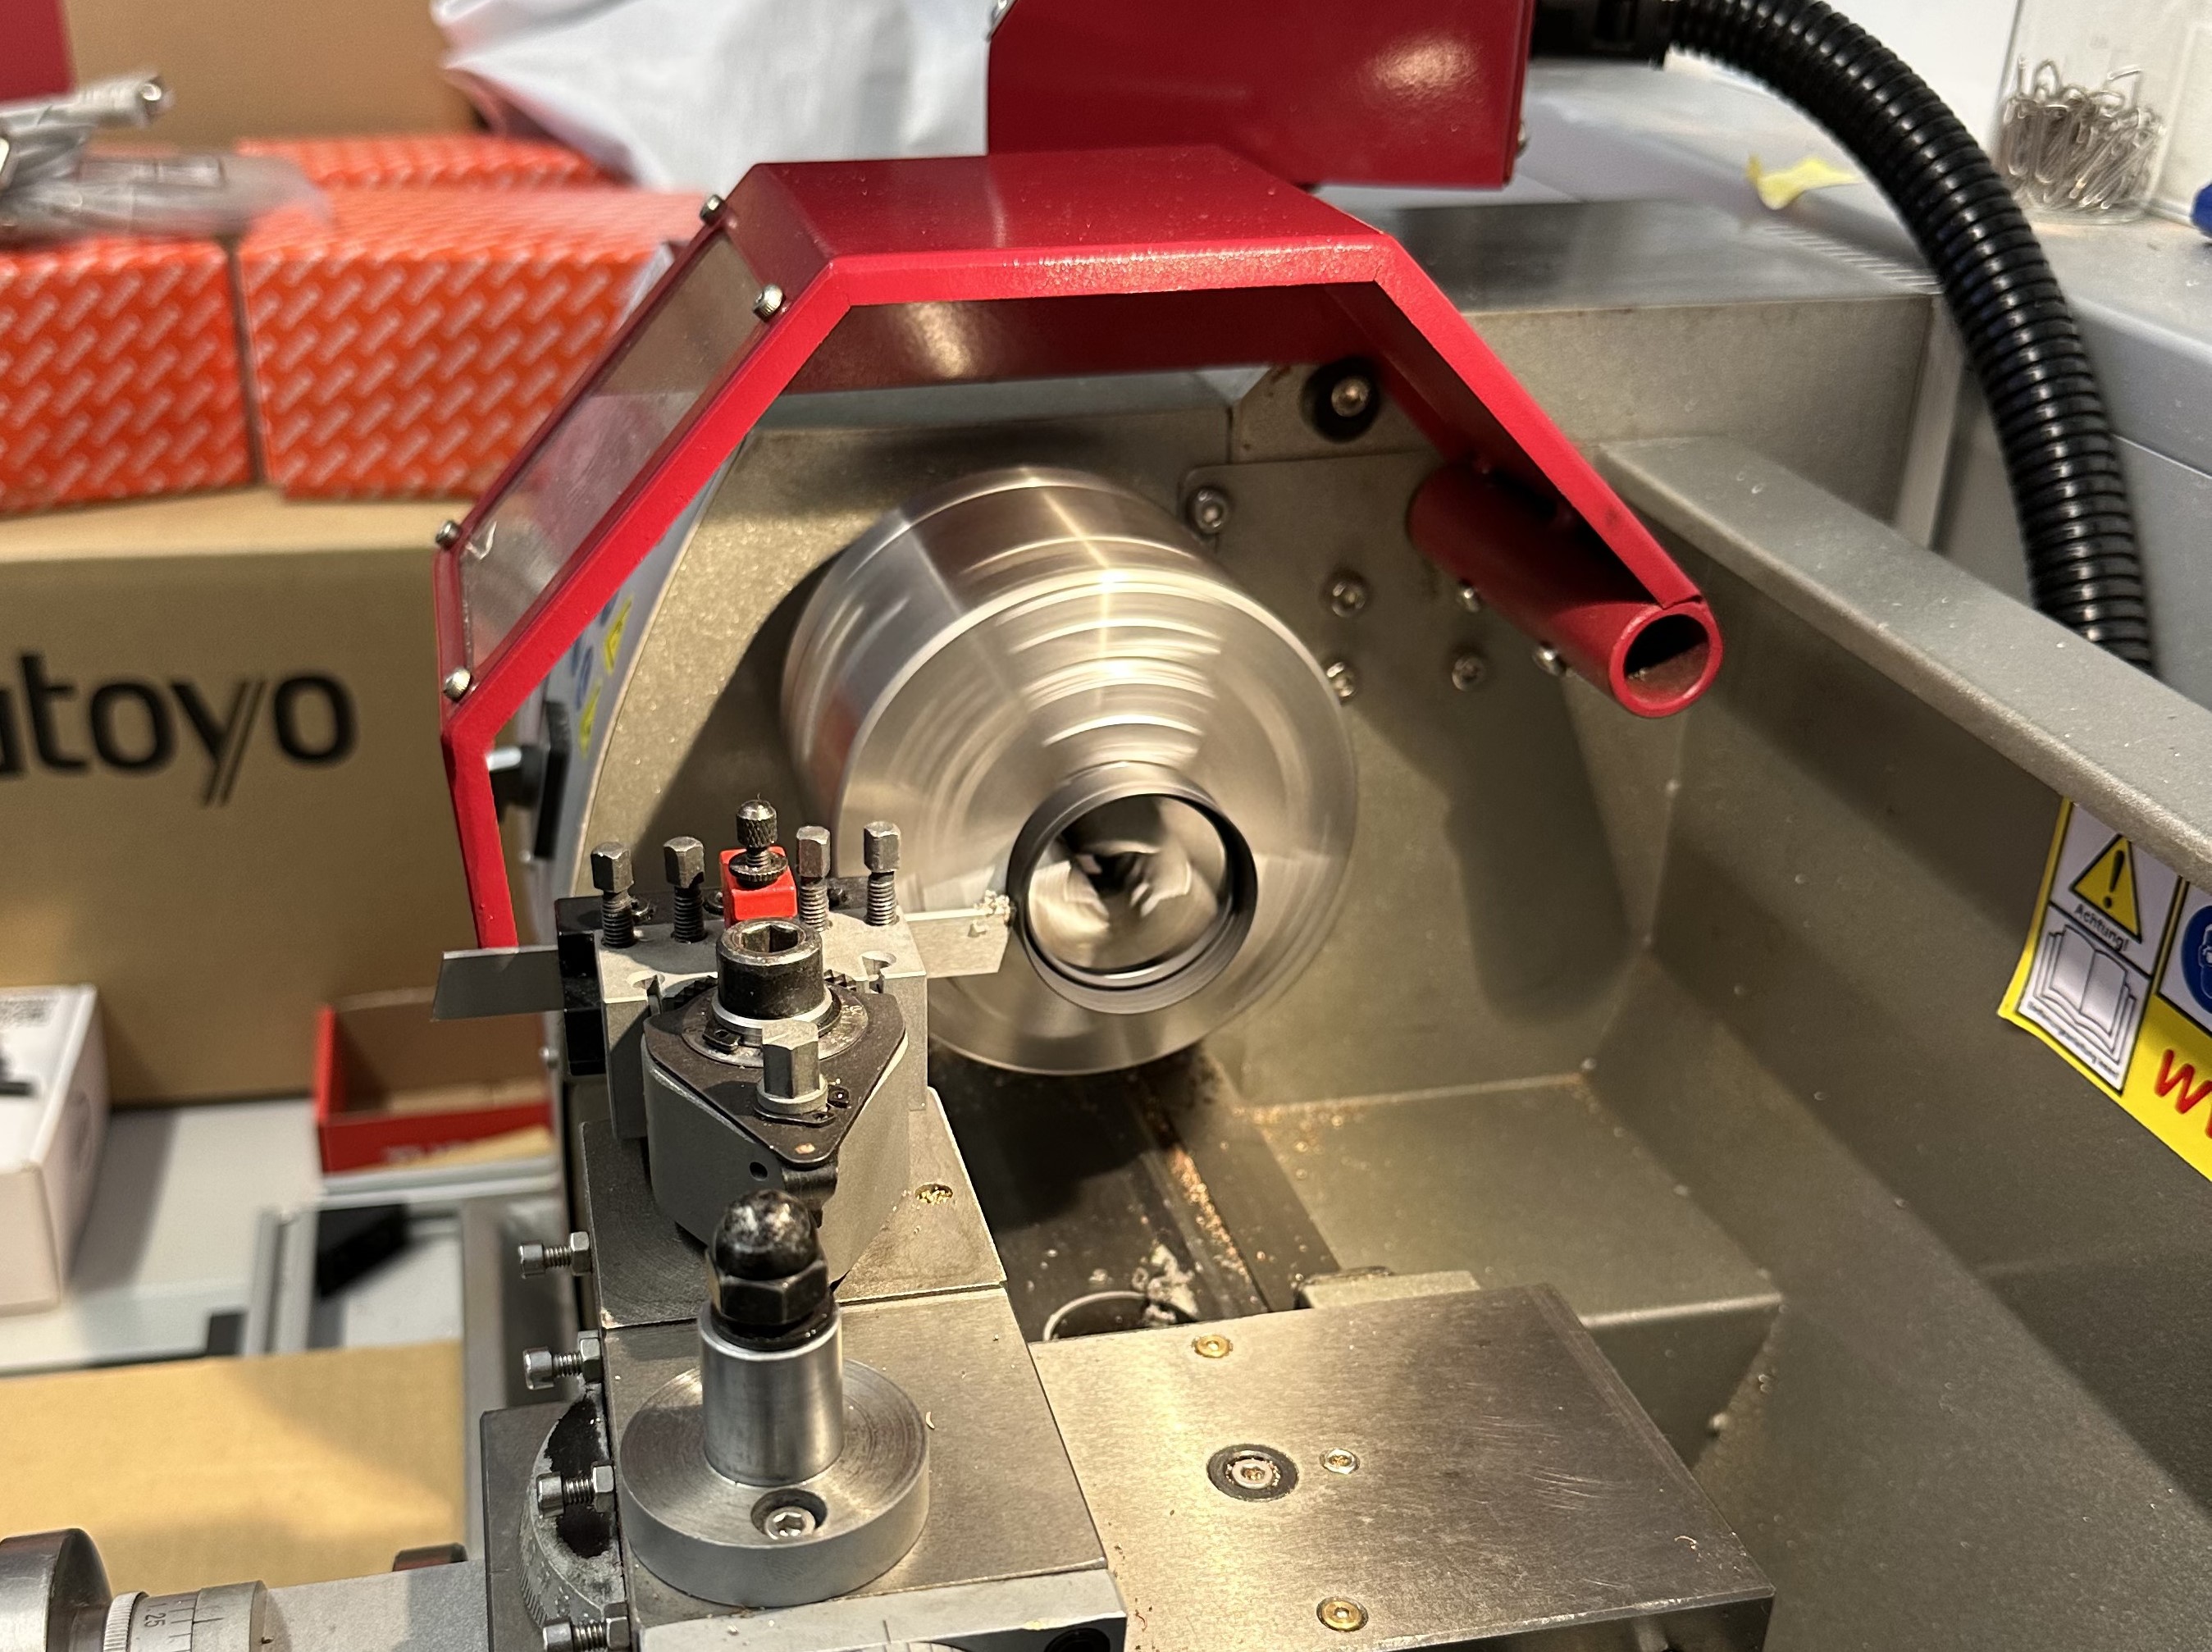
 Retaining ring after shortening to 9 mm on a lathe.
Screw the shortened plastic ring back into the objective with expandable wrench. The objective is ready to be mounted on mesoSPIM.