mesoSPIM_preparing_zoom_servo
The mesoSPIM uses a Robotis Dynamixel MX-28R Robot Servo for the zoom knob (of MVX-10?)
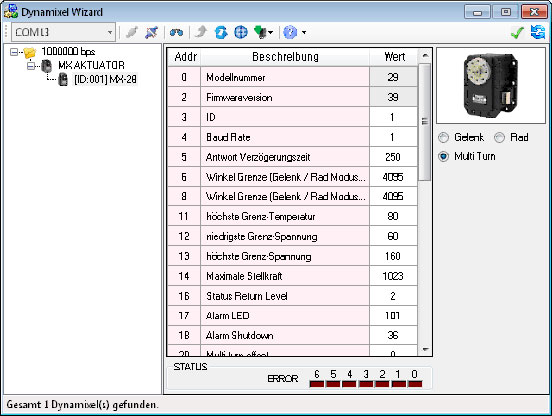
It's needed to change the default Setting; to "multi-turn-mode".
- 1x Robotis Dynamixel MX-28R Robot Servo
- RoboPlus Software -> dynamixel wizard
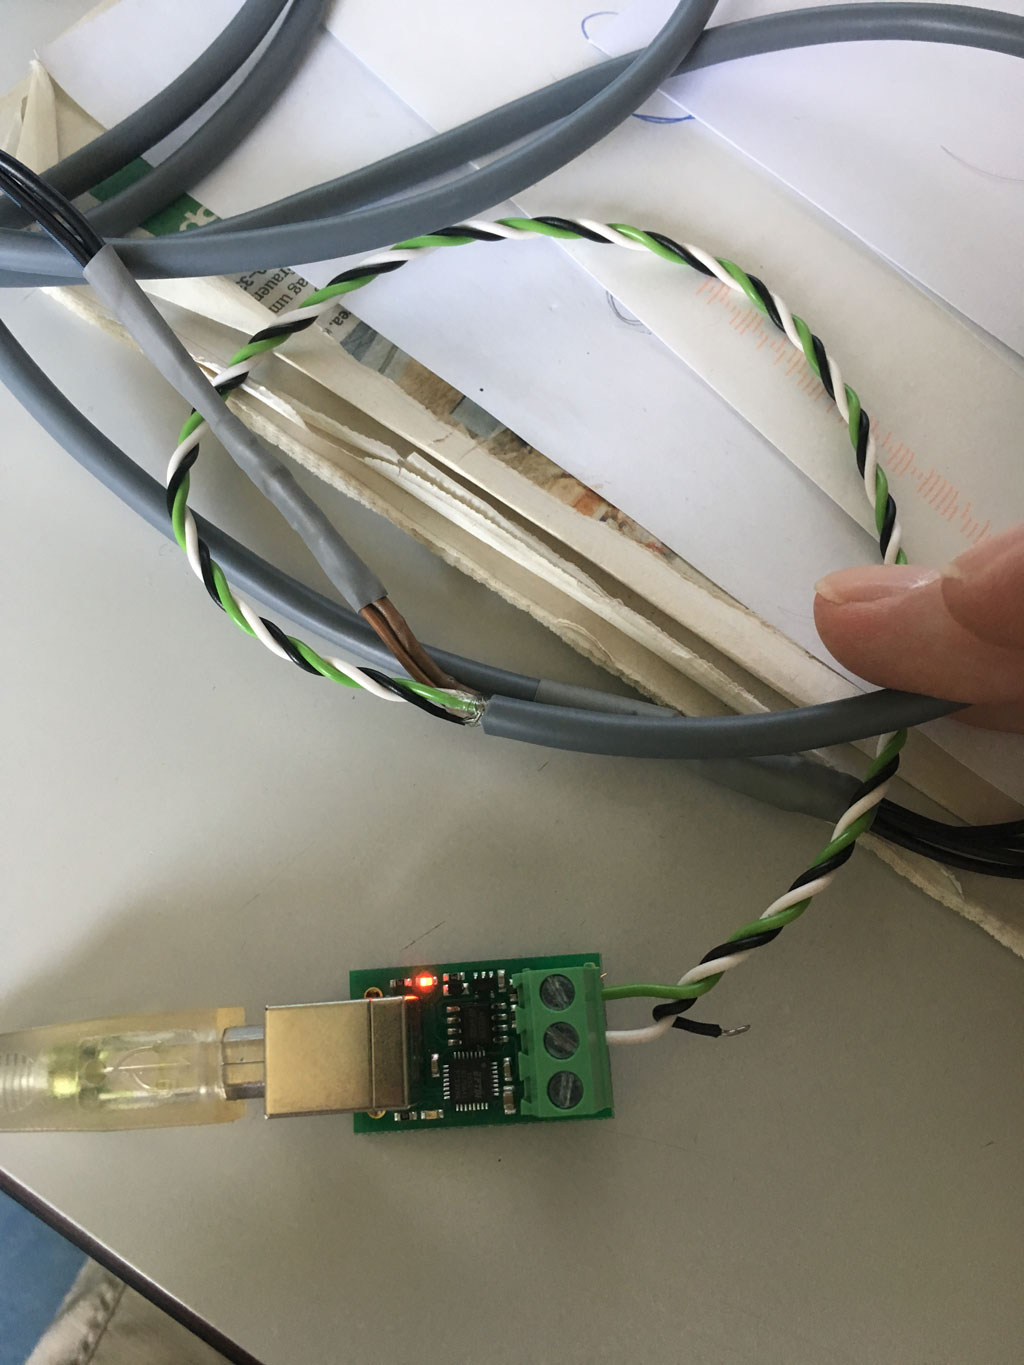
- USB to RS485 Adaptor e.g.YF USB RS485 Adapter
- Cable from Adaptor to Servo
- Powersupply connected to Servo (12V, 1 or 2A)
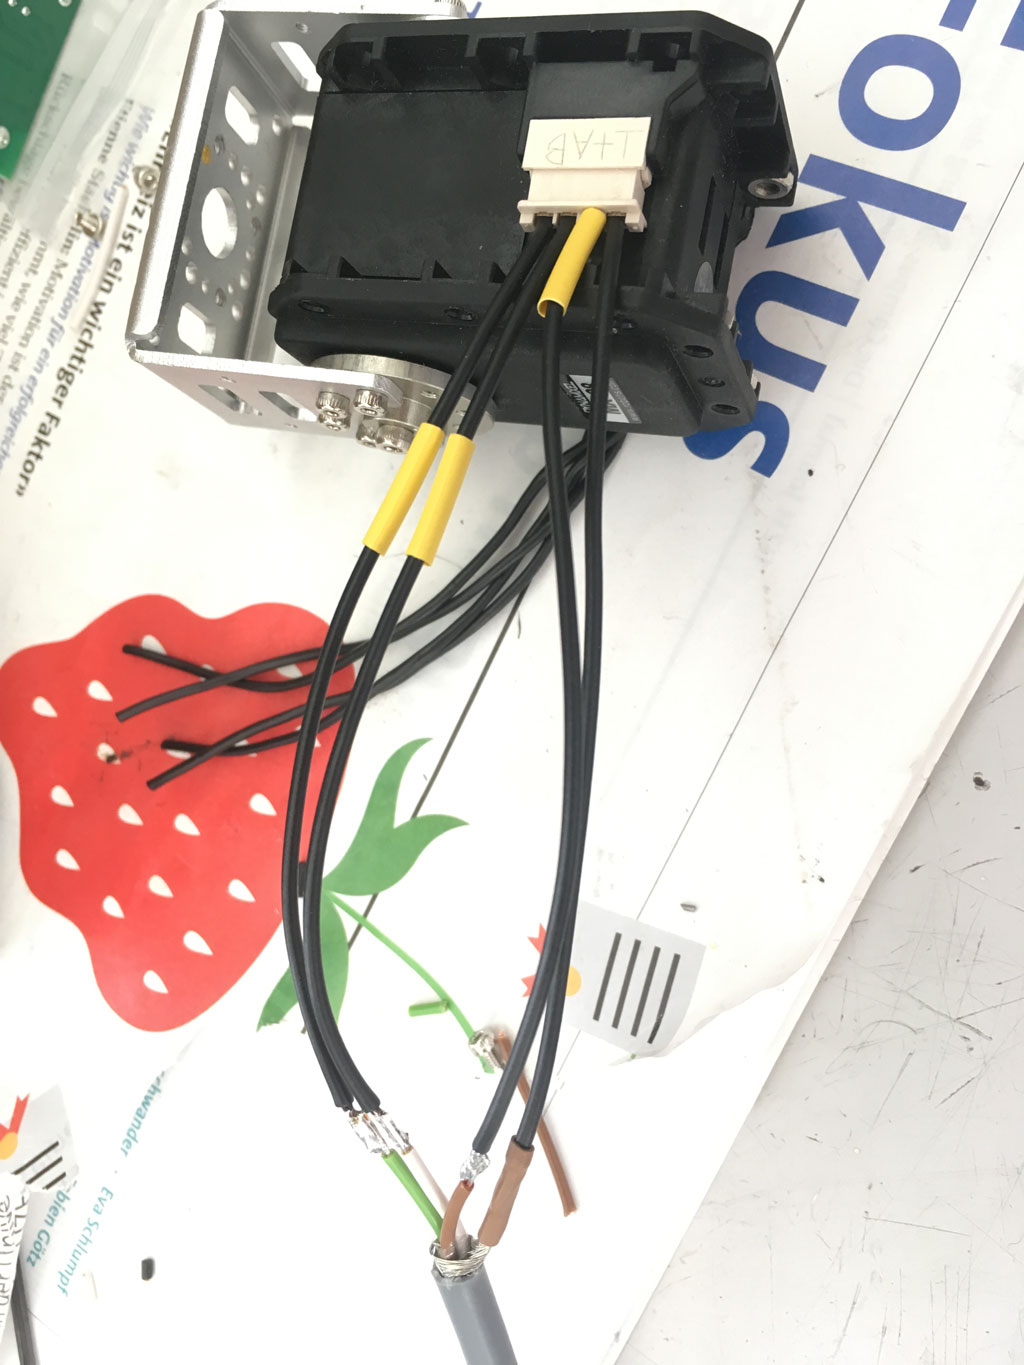
 Before proceeding, double-check polarity of the power with a multi-meter!
Double-check the cable orientation with respect to the socket's position on the servo: the socket on the far side of that shown in the image has ground on the shaft side!
Even if you have the adaptor shown in the image, you may need to reverse D+ / D- (which go to A / B) in order to get a connection.
No Ground needed on data wires.
NOTE: you might need to wire the data wires the opposite way to that shown in the diagram.
Do this if the connection fails.
Before proceeding, double-check polarity of the power with a multi-meter!
Double-check the cable orientation with respect to the socket's position on the servo: the socket on the far side of that shown in the image has ground on the shaft side!
Even if you have the adaptor shown in the image, you may need to reverse D+ / D- (which go to A / B) in order to get a connection.
No Ground needed on data wires.
NOTE: you might need to wire the data wires the opposite way to that shown in the diagram.
Do this if the connection fails.
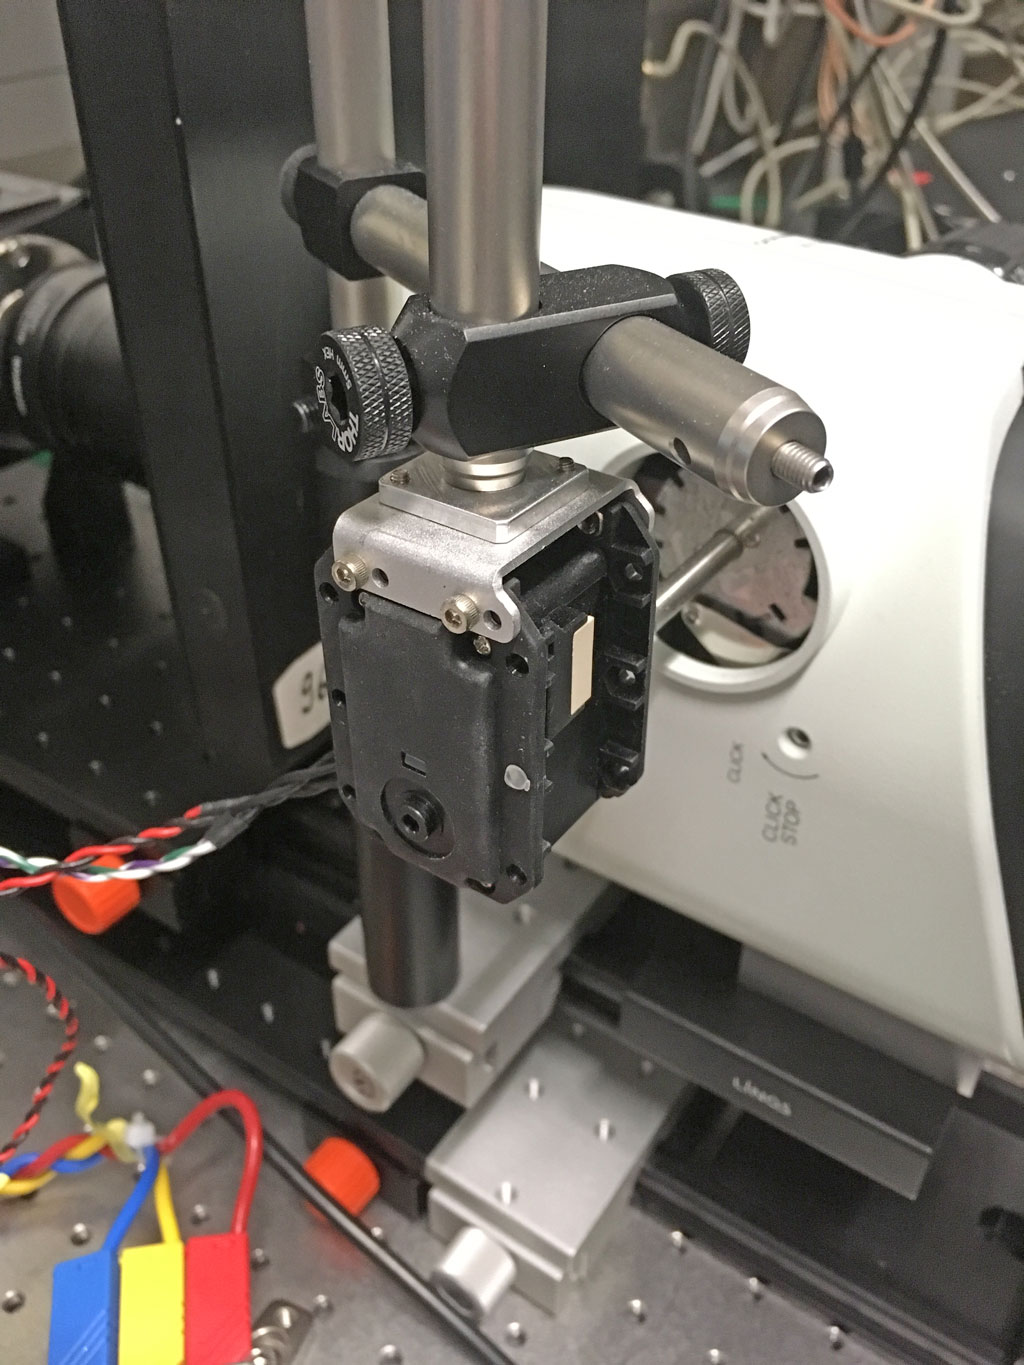
Here, a Robotis FR07-S101K Side Bracket is attached to the servo and mounted to a Thorlabs TR100/M post via a custom adaptor plate. This adaptor plate is not strictly necessary and can be replace with a M6 washer and a M6 flathead screw. If the zoom servo is mounted upwards as in the picture, the default values from the config file templates can be used.
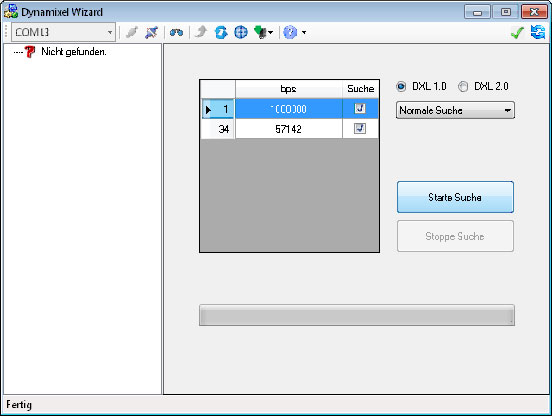
If necessary, use the Windows Device Manager while plugging/unplugging the USB to RS485 Adaptor to identify the COM port.
Set this COM port in the Dynamixel Wizard program ("find it in the "Expert Tab").

Probably your servo will connect with Baud 57142
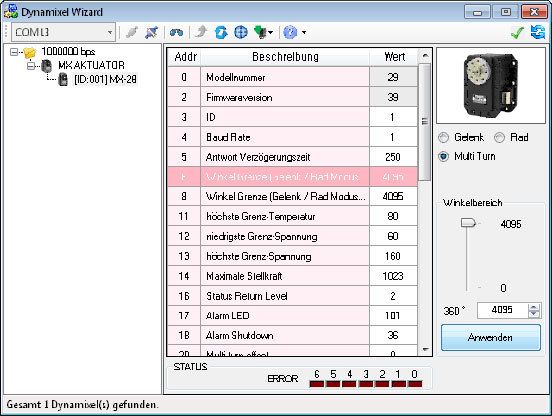
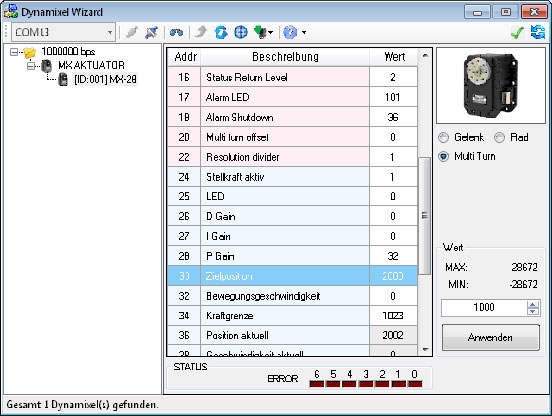
Then hit Apply. Disconnect and try reconnecting to confirm it works. Disconnect again. You're done!