gluing_45deg_mirrors
The 1 inch elliptical mirrors should be glued to the adjustable mirror insets. We normally use a very slow-hardening two-component optical epoxy (Epotek 302-3M) to avoid introducing any stresses in the mirrors. As the pot life of this glue is 6 hours+ and it takes around 48 hours to harden, the mirrors need to be fixed on the mounts to avoid the glue or the mirror to move away.
- 10x BBE1-E02 Broadband Dielectric-Coated Elliptical Mirror (Thorlabs)
- 10x Adjustable Mirror Insert 30 (Qioptiq G063730000)
- Epotek 302-3M glue (a single 2g sachet is sufficient for 5 or 10 mirrors)
- Adhesive tape (e.g. Scotchtape)
The parts for a 45 degree mounting rig for gluing the mirrors in place are:
- 300x600x12.7 mm optical breadboard
- cover to protect dust from settling on the mirrors (e.g. plate made from plexiglass or acrylic)
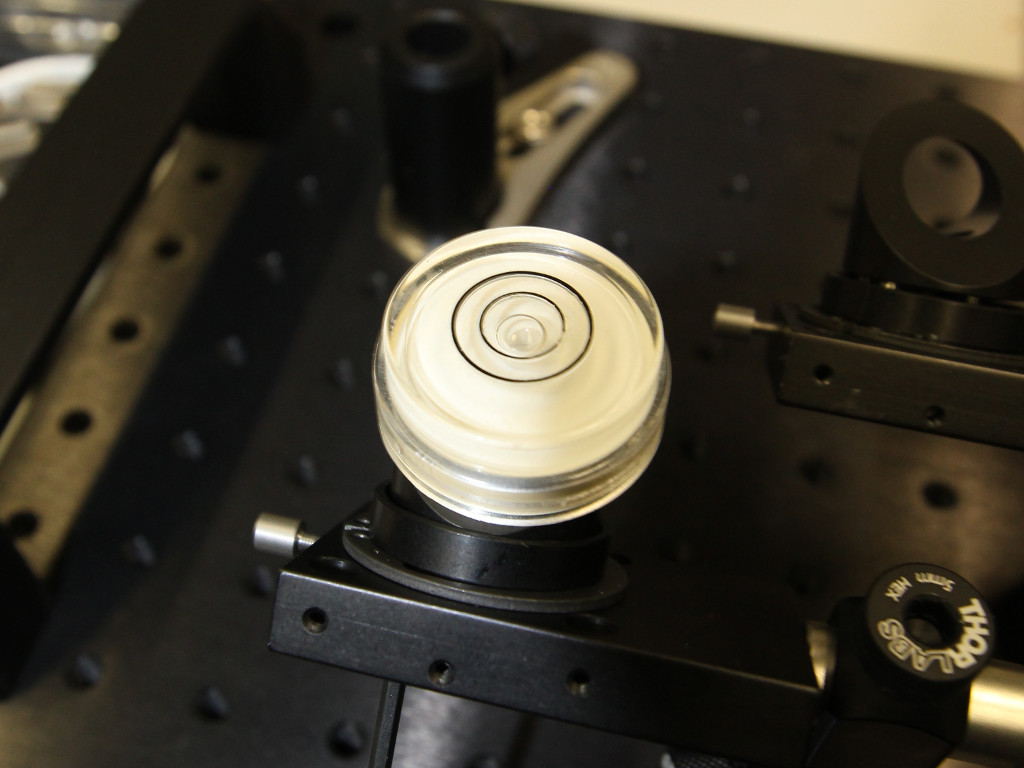
- water level
For a single gluing rig -- here, we glue 5 mirrors at once and need the following parts x5:
- 1x PH2/M Post holder (Thorlabs)
- 2x TR2/M Optical posts (Thorlabs)
- 1x RA180/M Right-Angle End Clamp for Ø1/2" Posts (Thorlabs)
- 1x Holder 30 (Qioptiq G061225000)
Please note: These parts are not part of the mesoSPIM parts list.
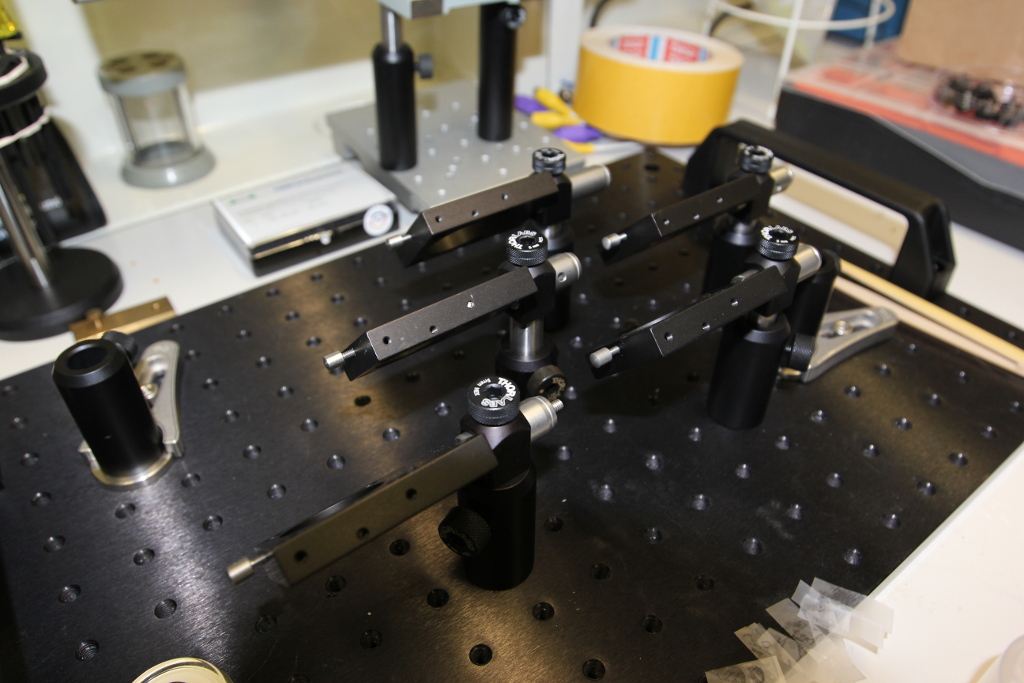
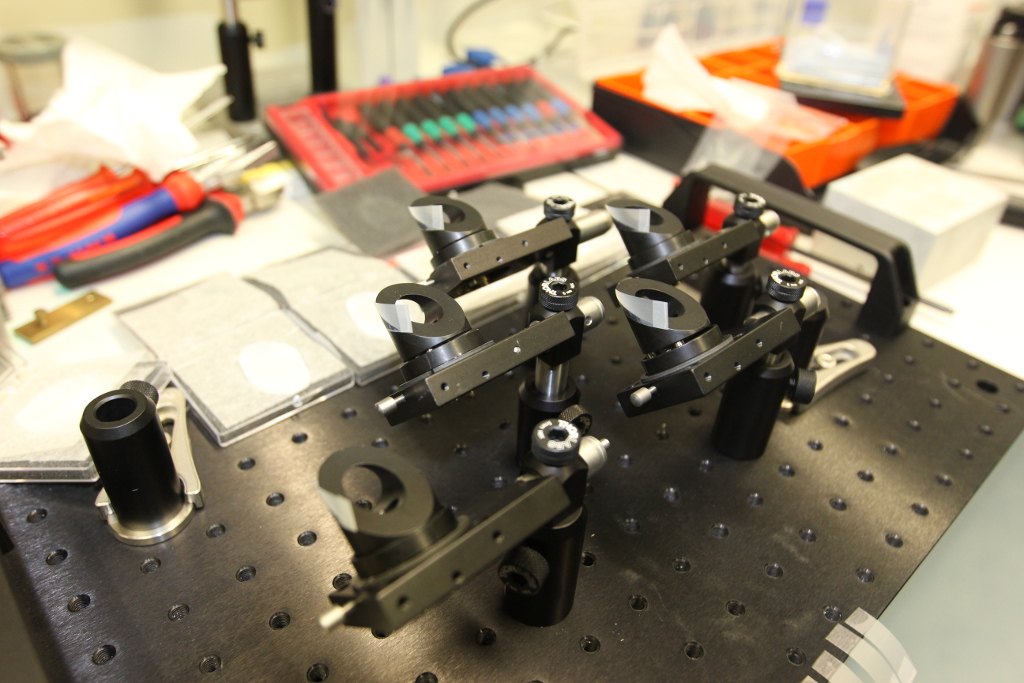
Set up the gluing rig as in the picture. In this case, 5x Holder 30 are mounted at 45 degrees to allow the mirrors to be planar.
With gloves,
- Burst the seal separating both components if you use 2g sachets
- Mix the epoxy very well
- Apply a thin film of epoxy evenly across the mirror holder using a pipette tip held in your hand or a plastic tipped tool
- Drop the mirror in place and slide it against the tape to secure it from moving / floating away on the slowly hardening glue.
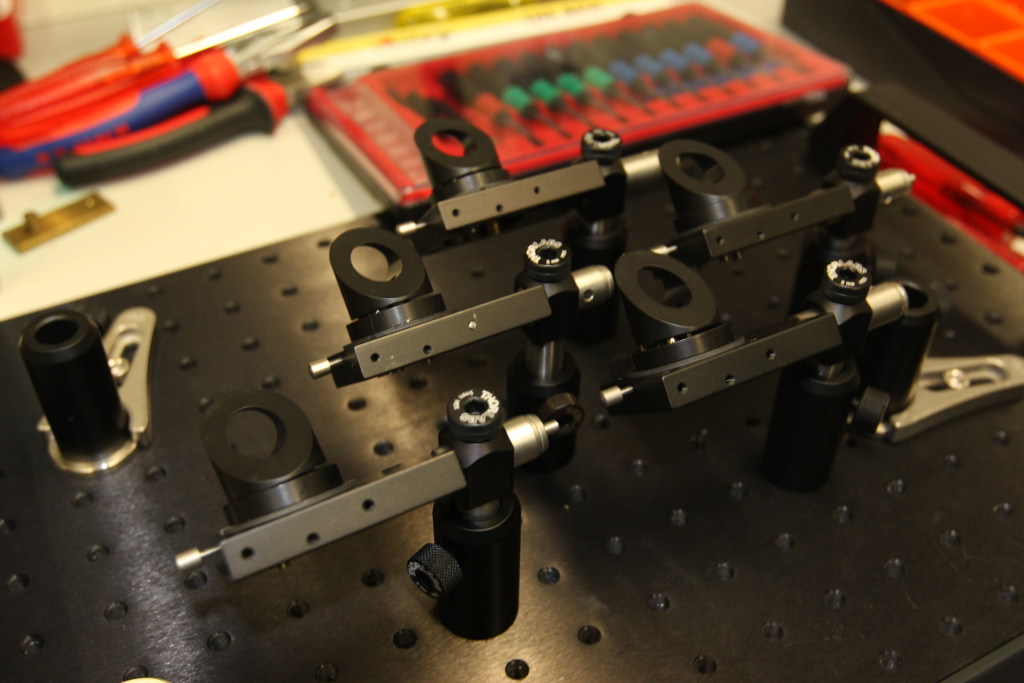
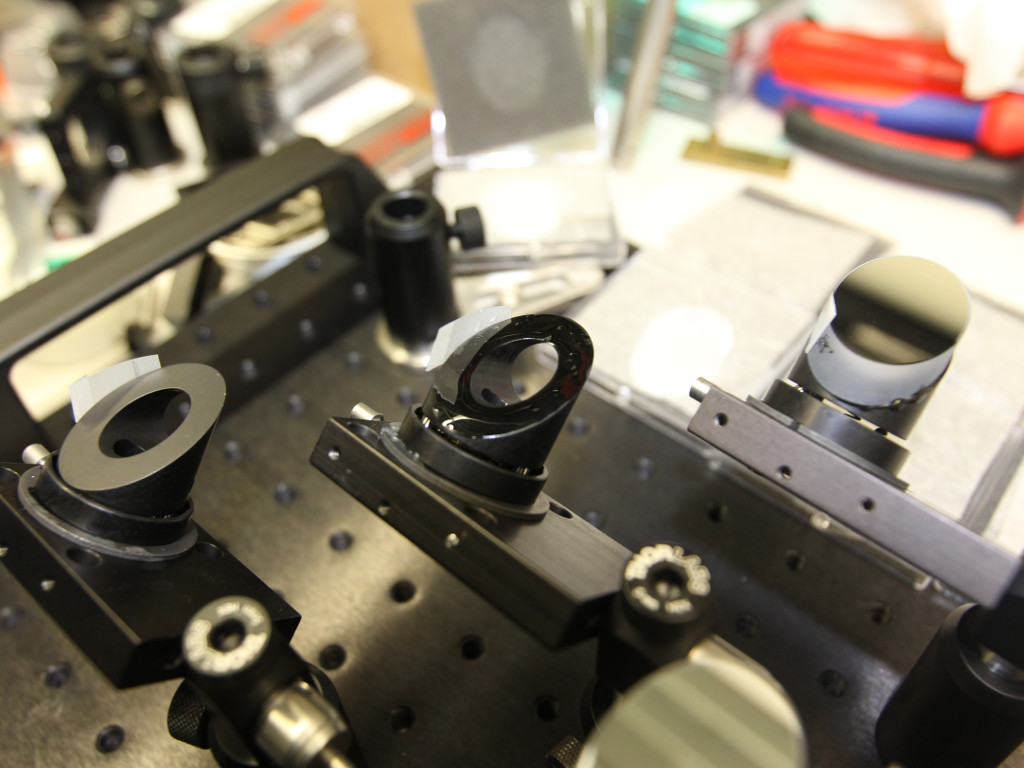
Left to right: Mount ready for gluing, glue applied, mirror attached
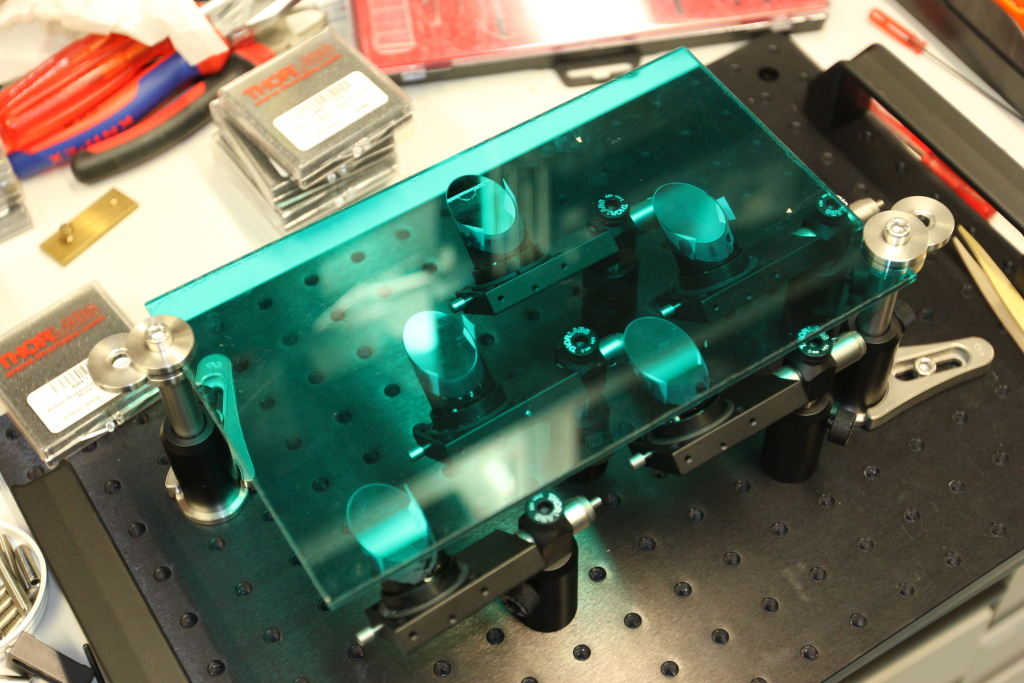
Covering the mirrors with a protection plate to avoid dust settling on them:
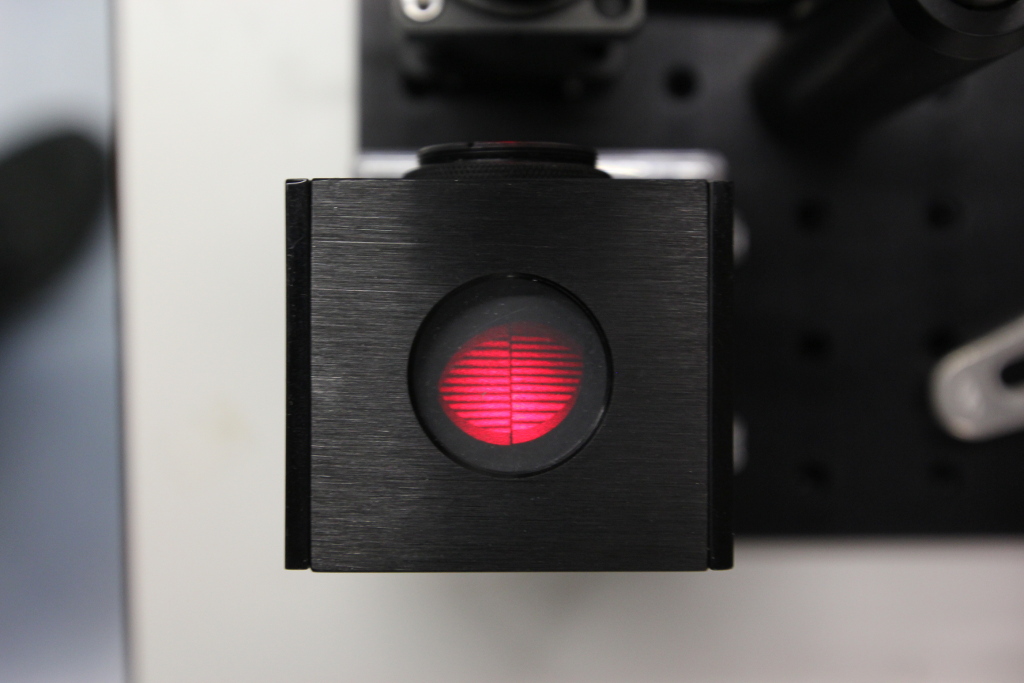
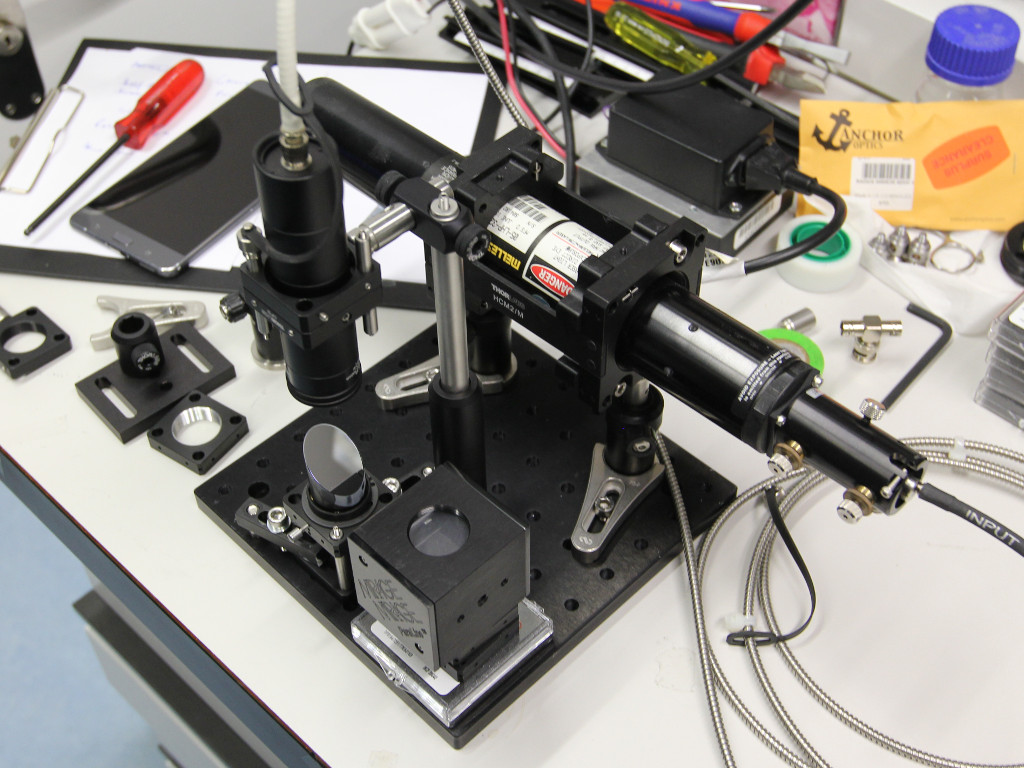
Especially if you use other glues which harden faster, the glue can introduce stresses in the mirror substrate which can lead to problems in the imaging path. To check for such problems, an interferometric test setup can be used:
Fiber-coupled helium-neon laser with a collimator illuminating the mirror under test. The wavefront can be assessed with a shear plate.
Typical fringes of a well glued mirror: Straight and parallel.