mesoSPIM_V4_sample_xyz_stages
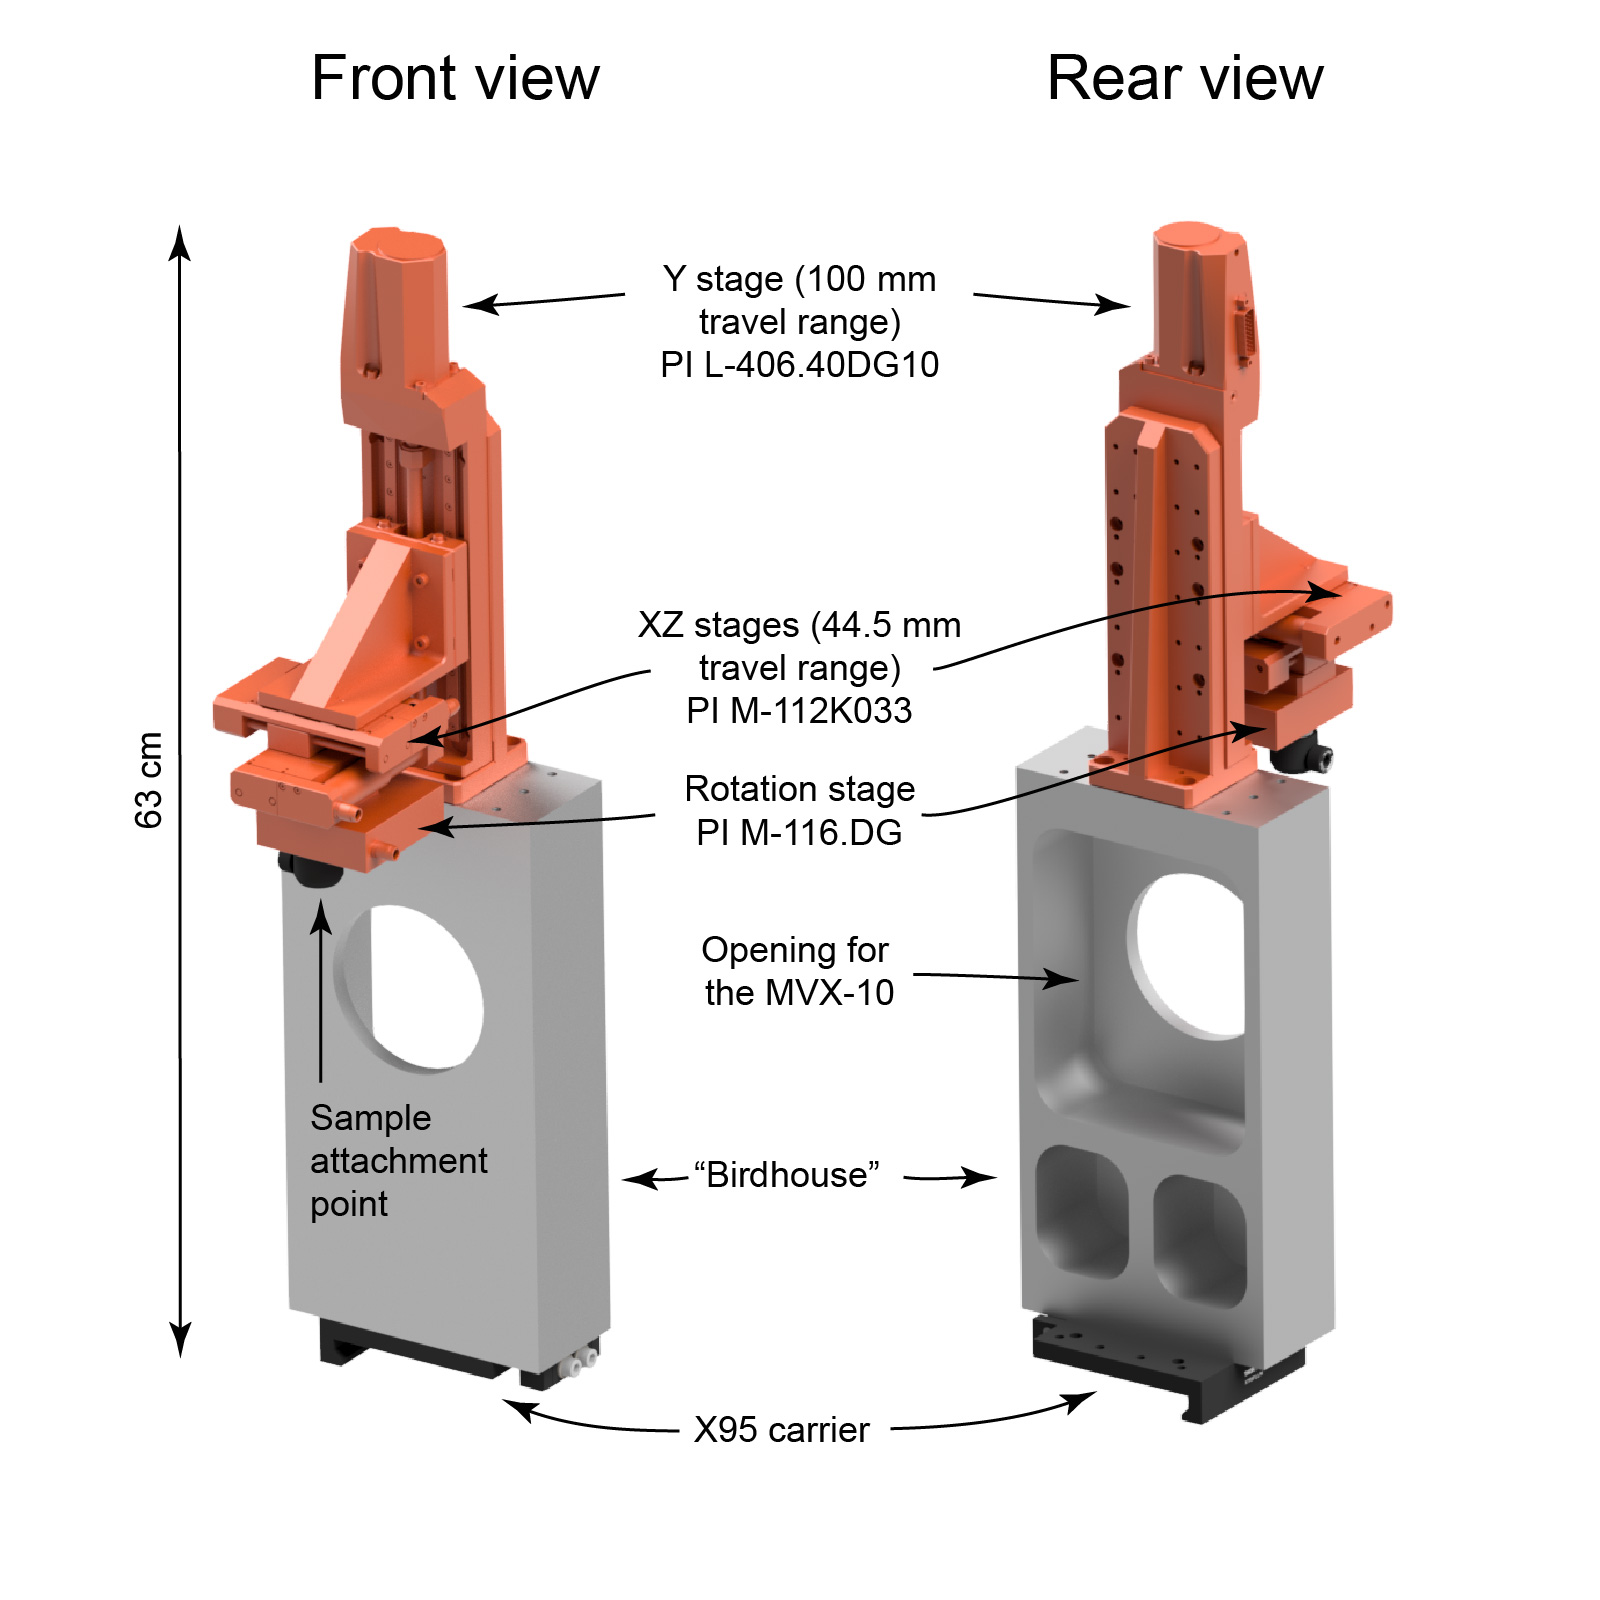
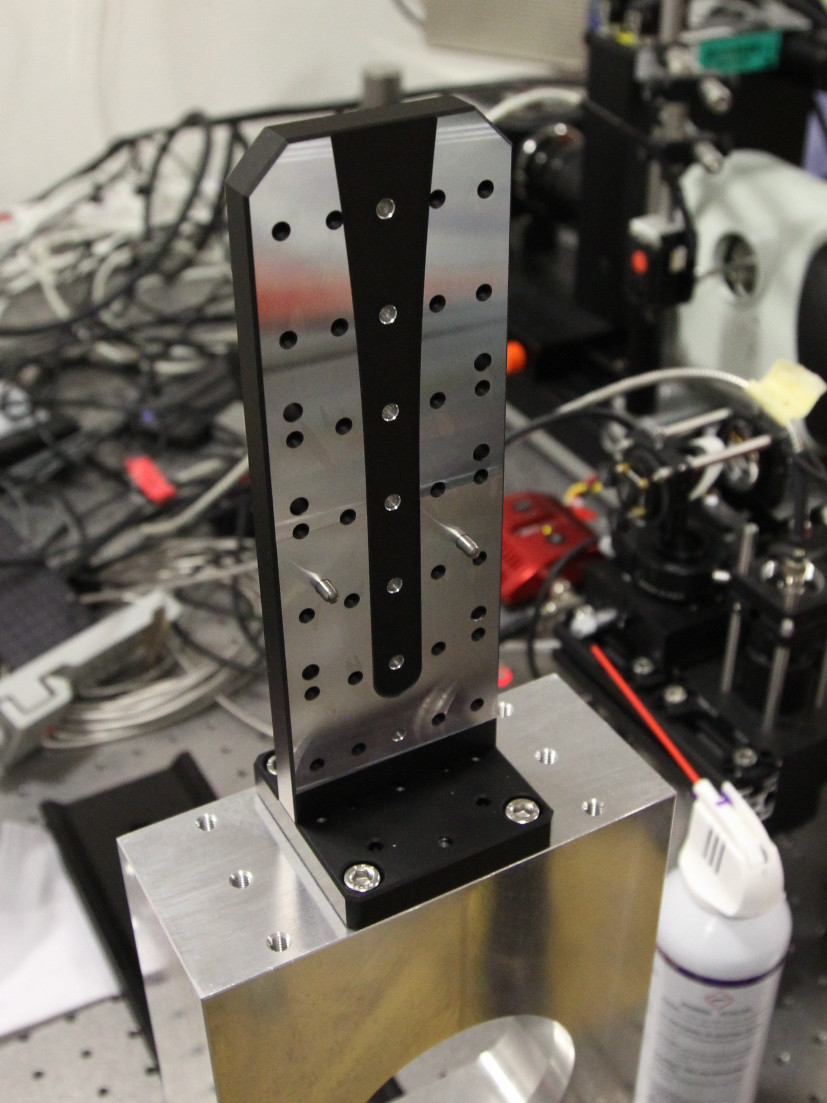
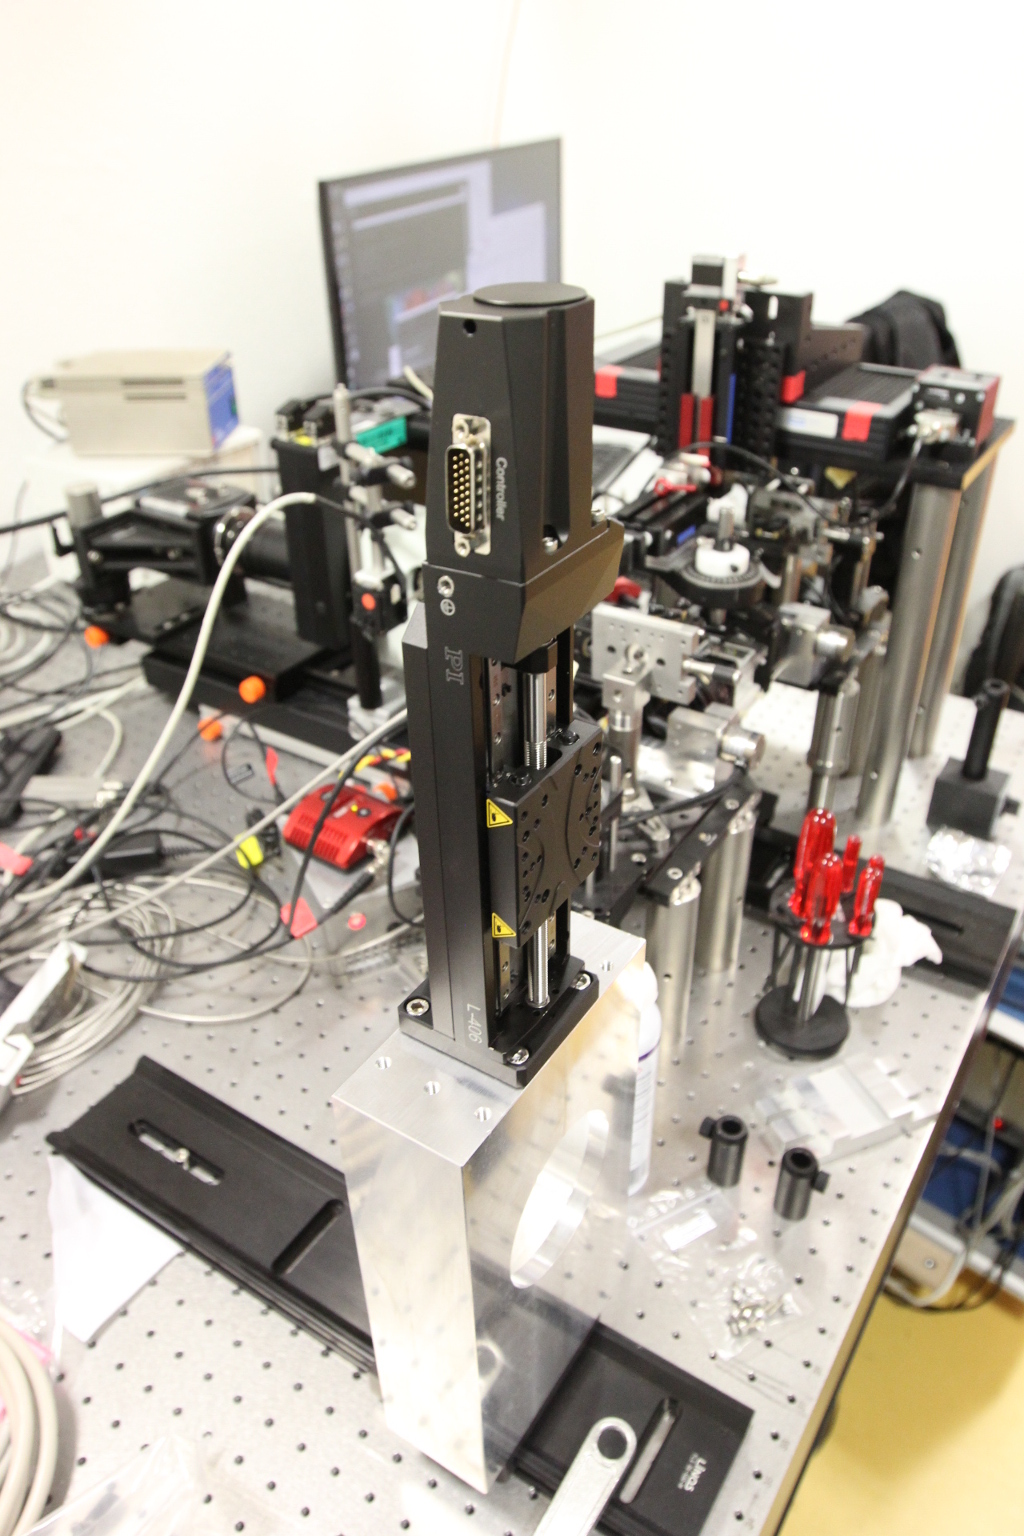
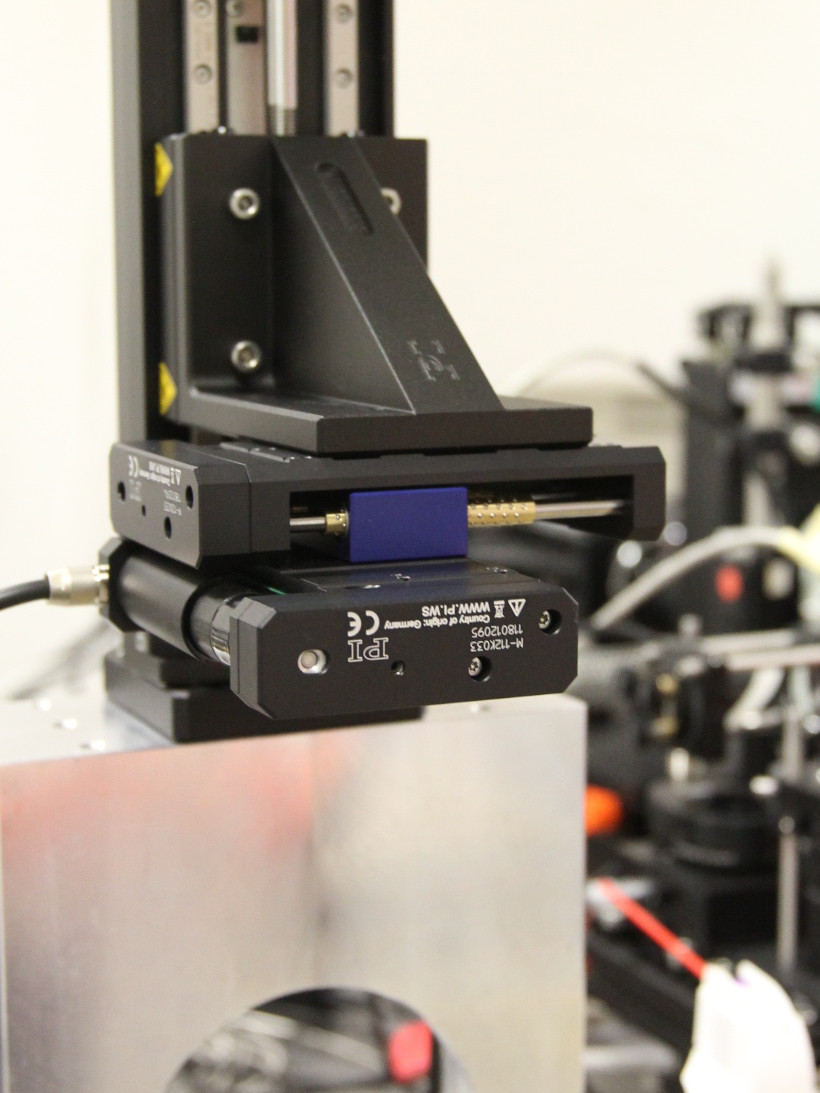
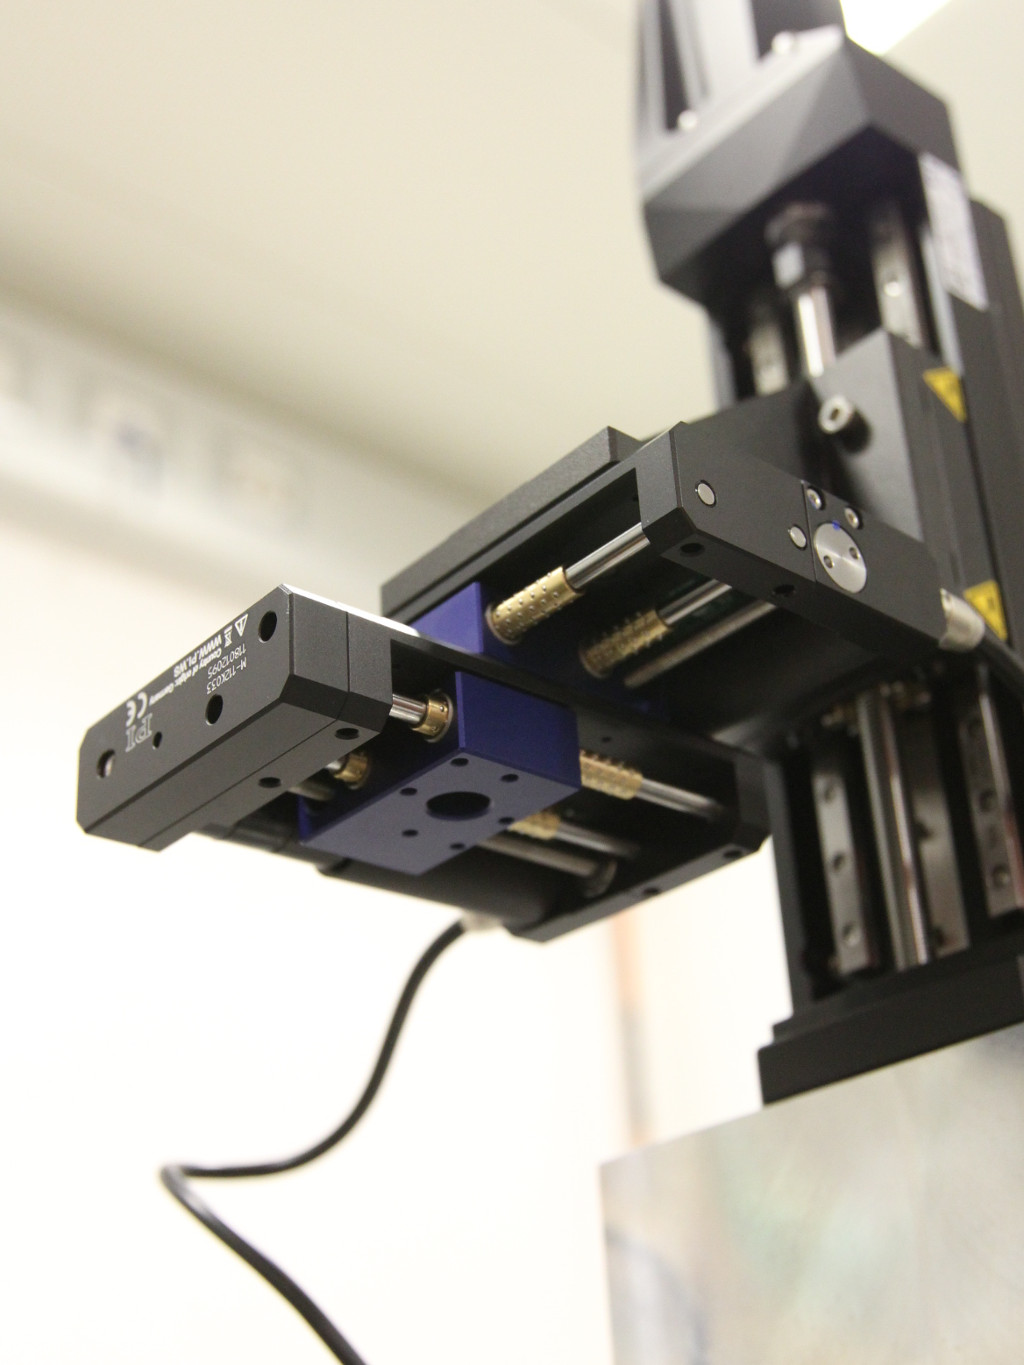
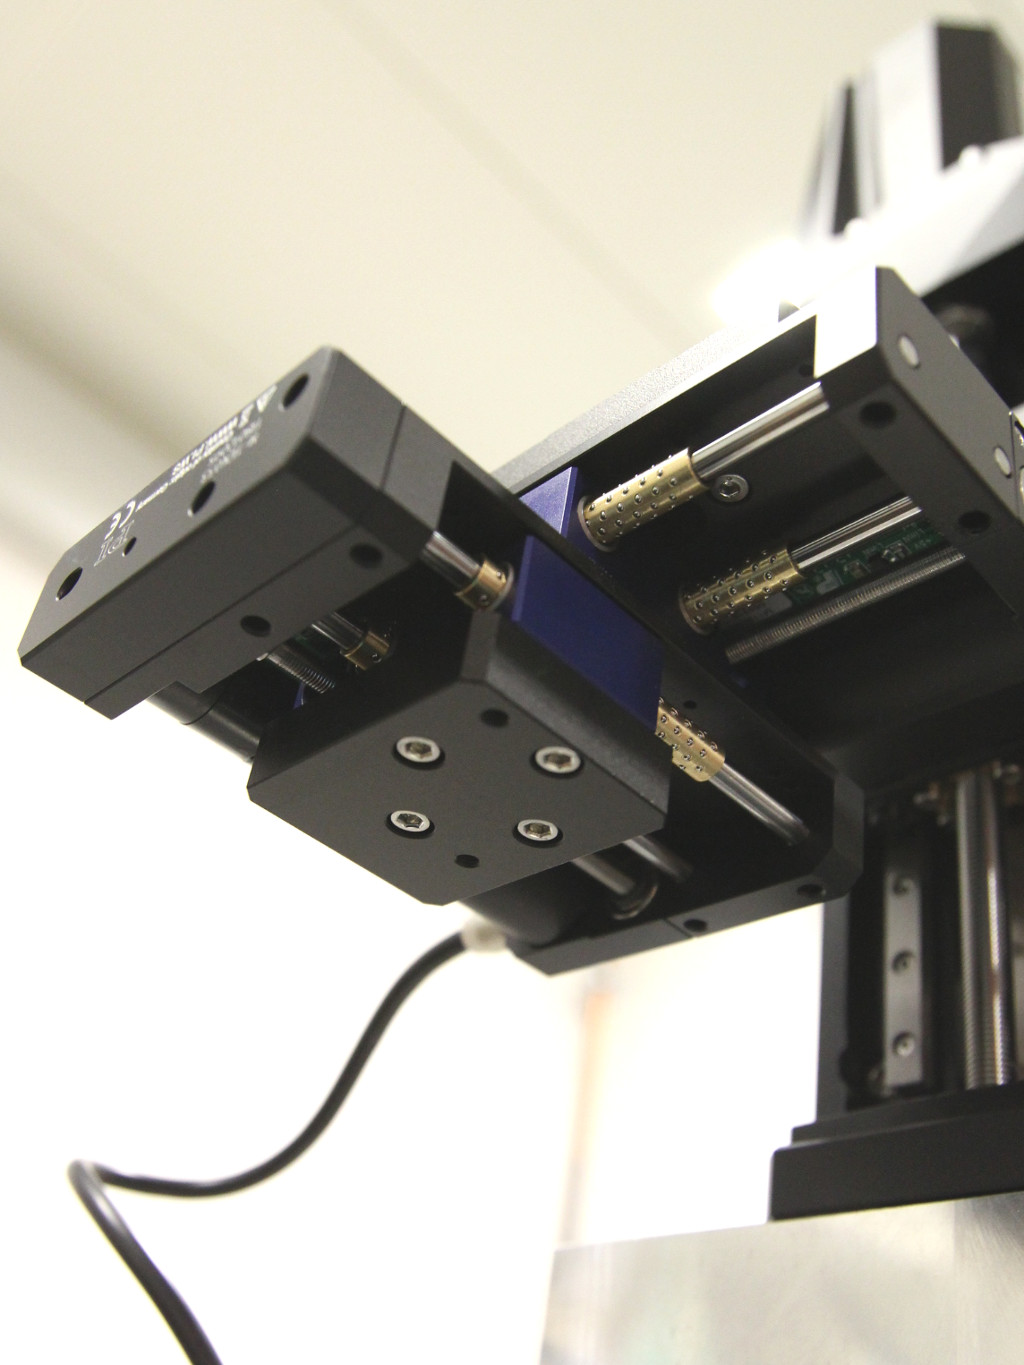
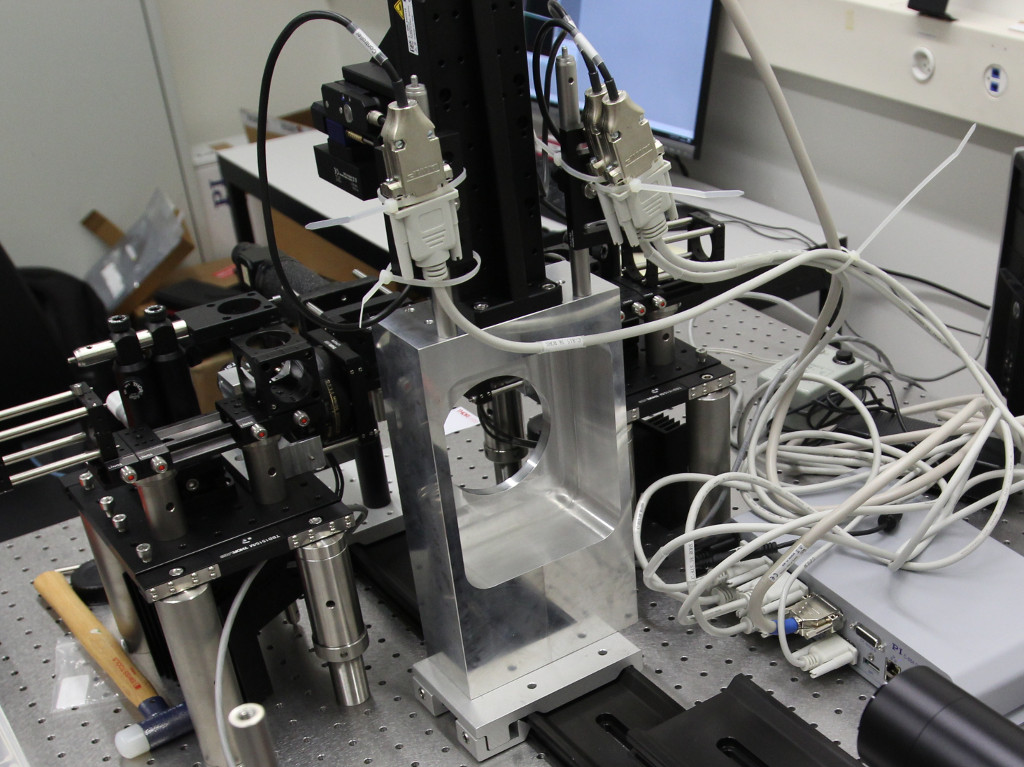
Overview of the mesoSPIM V4 sample stages: The travel range of the V4 sample stages is currently 44.5 mm × 100 mm × 44.5 mm (X/Y/Z). The stages are produced by Physik Instrumente, Germany: M-112K033 (for X & Z movement), L-406.40DG10 (Y movement), M-116.DG (sample rotation) and controlled by a C-884 controller. The sample XYZ & rotation stages are mounted on a massive aluminum block (150×65×300 mm3) that has a central hole for the detection objective (termed the ‘bird house’). A drawing of the bird house can be found here

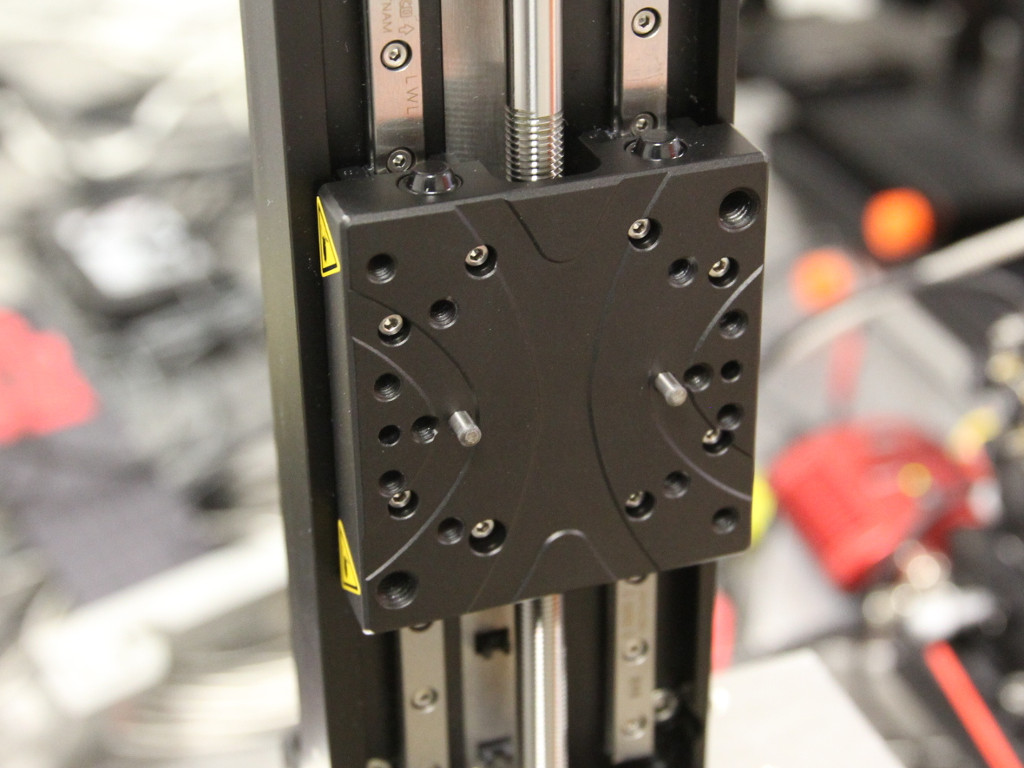
Add pins for the L-406 Linear Stage to the mounting bracket:

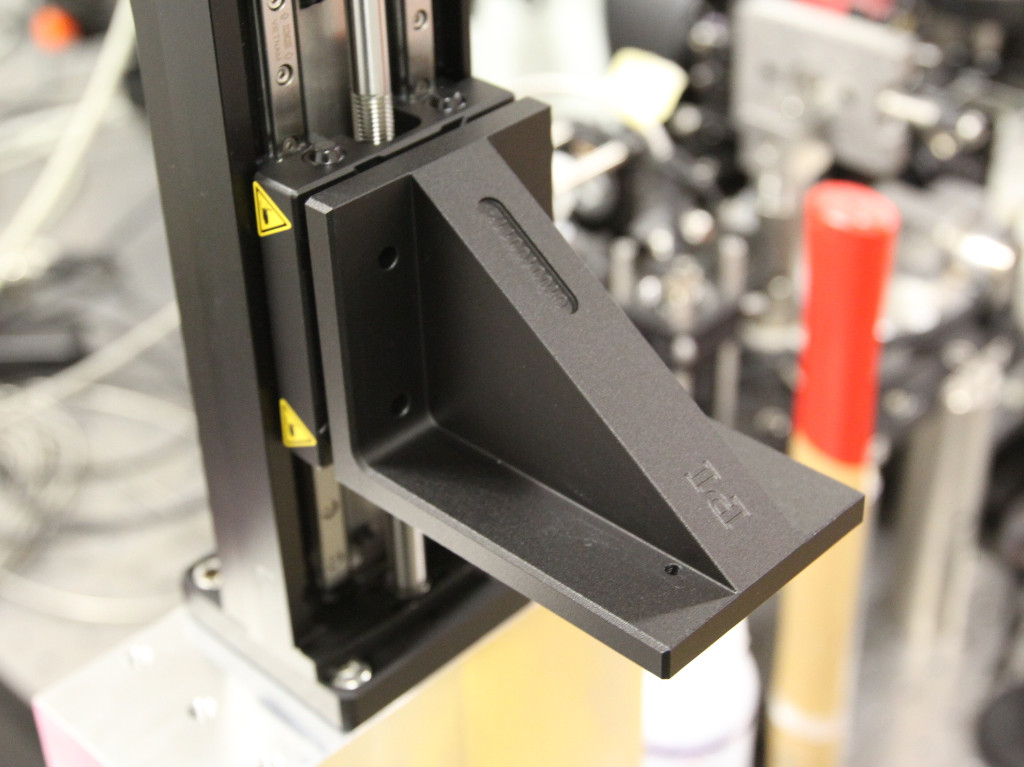
Add pins for the smaller mounting bracket:
Mount the bracket -- this might require some nudging & force:
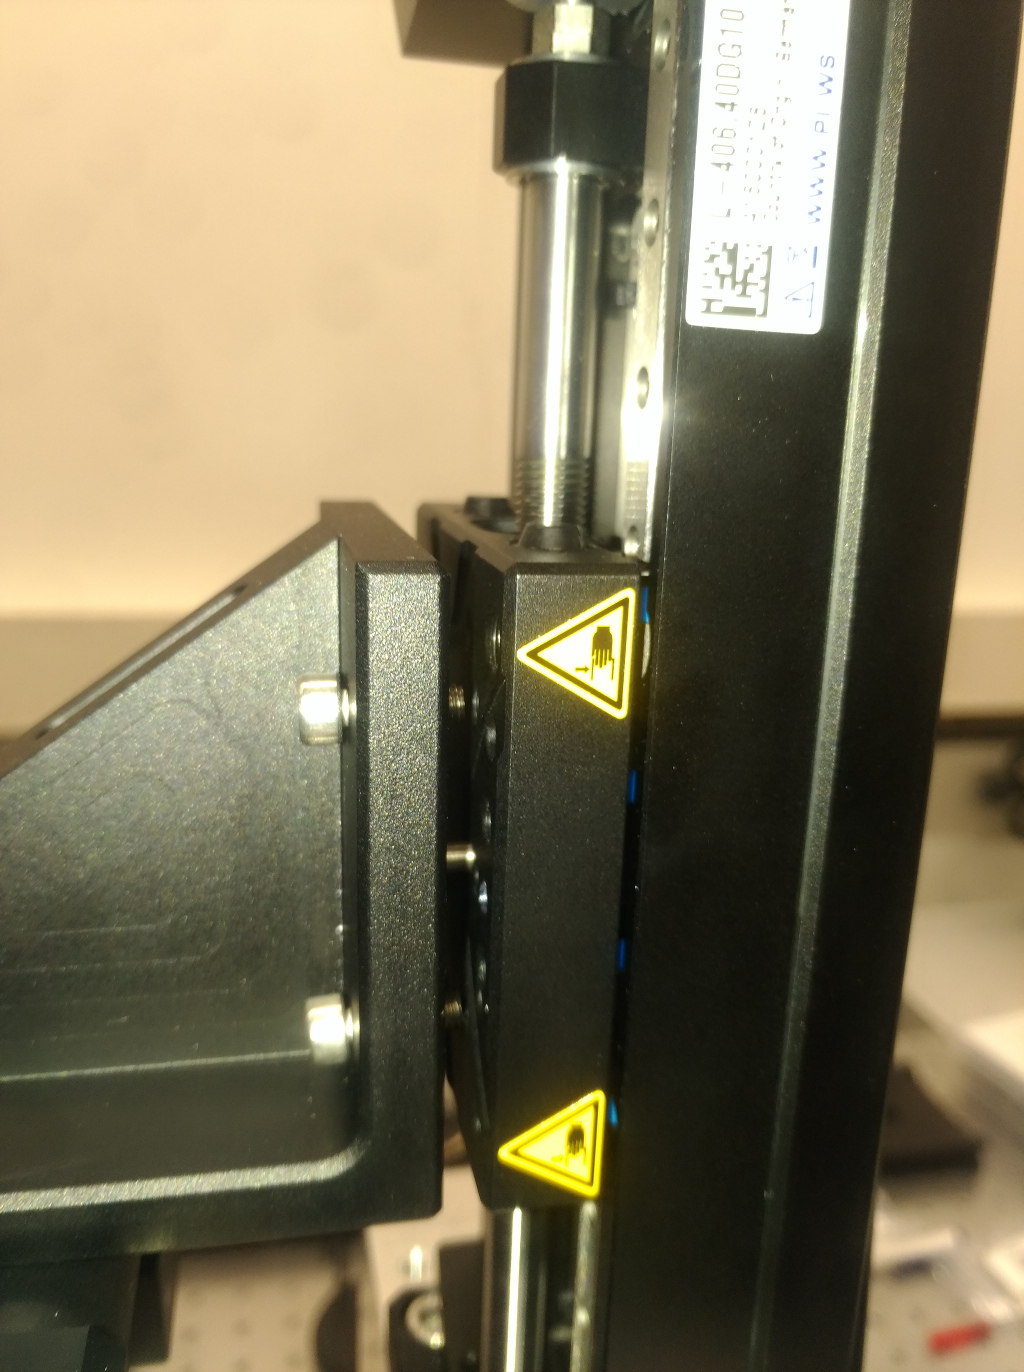
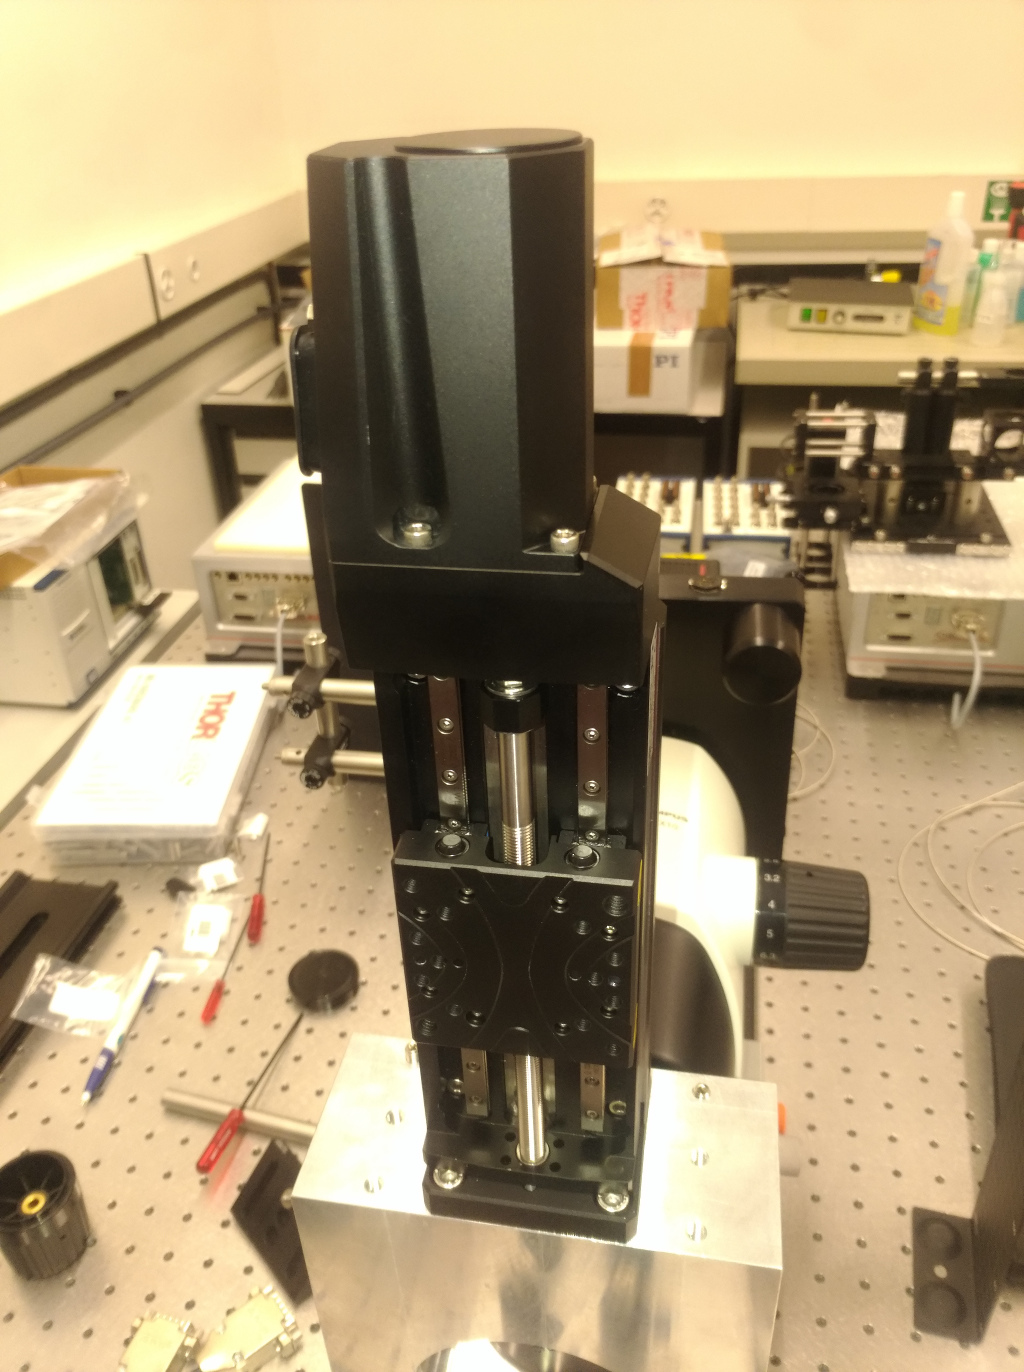
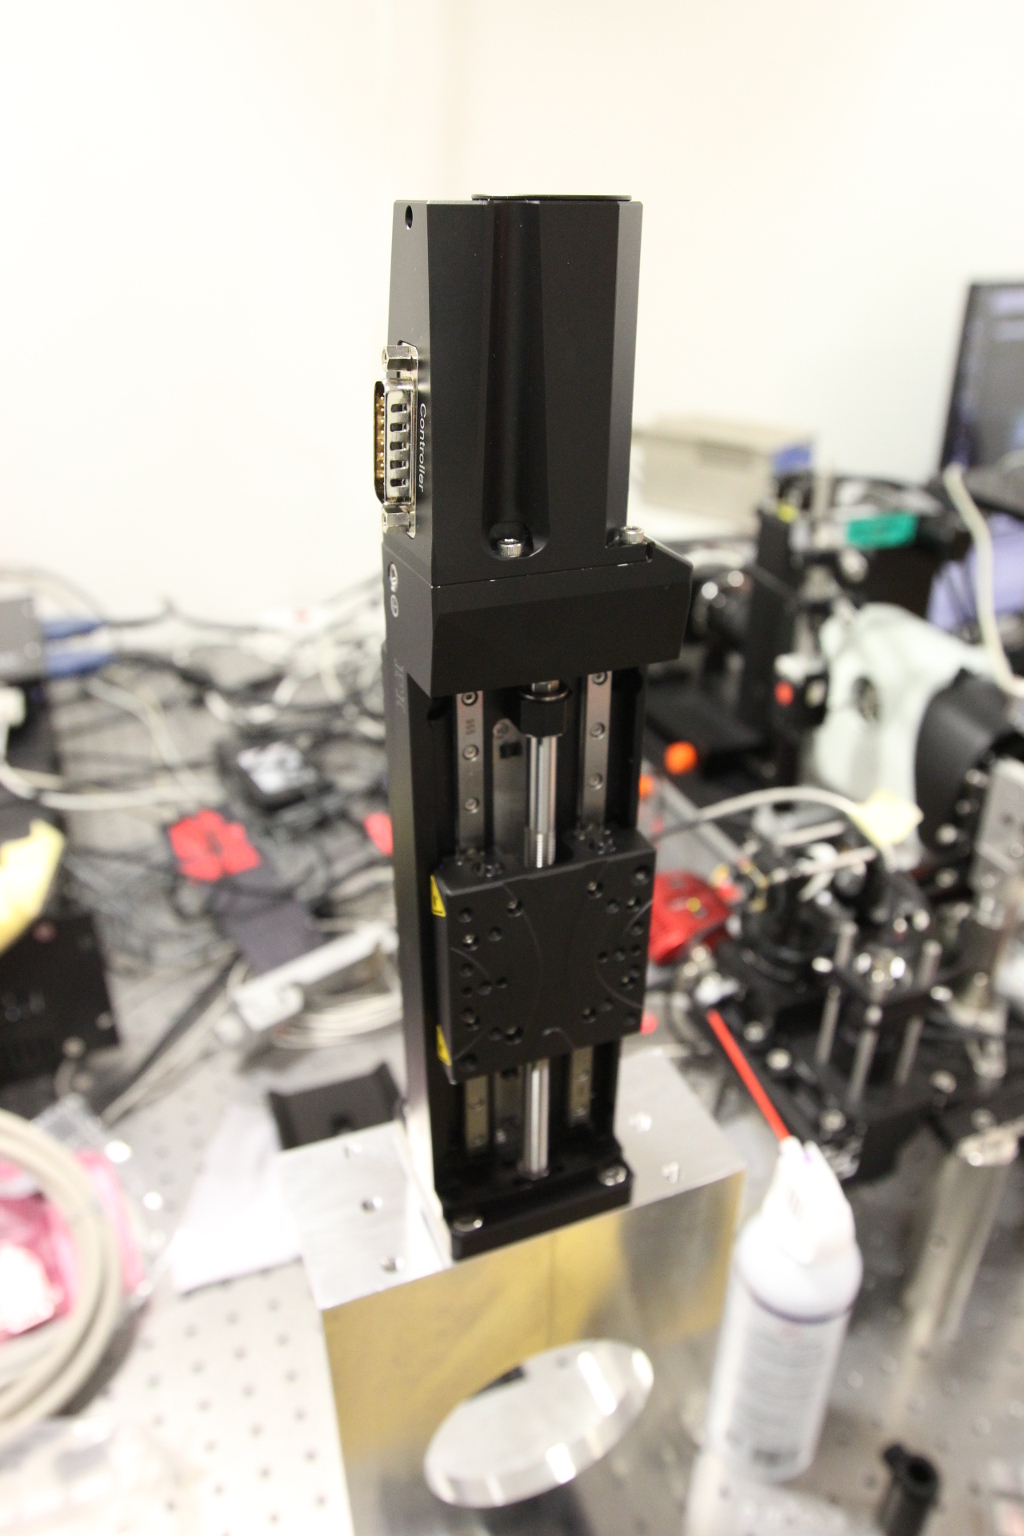
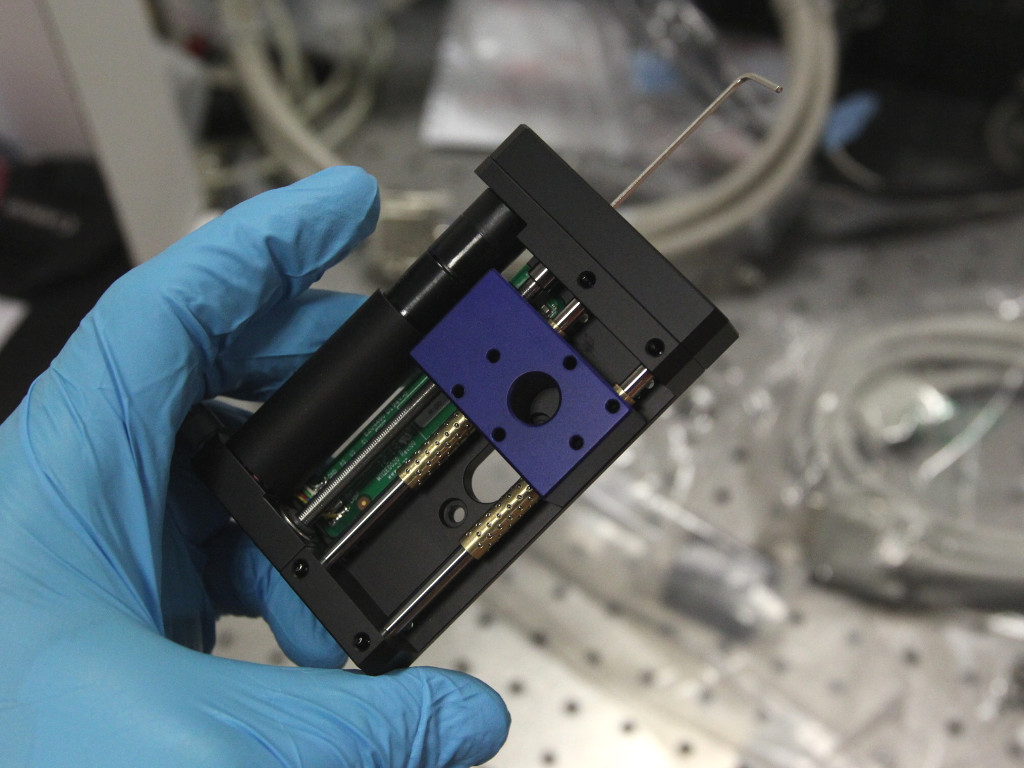
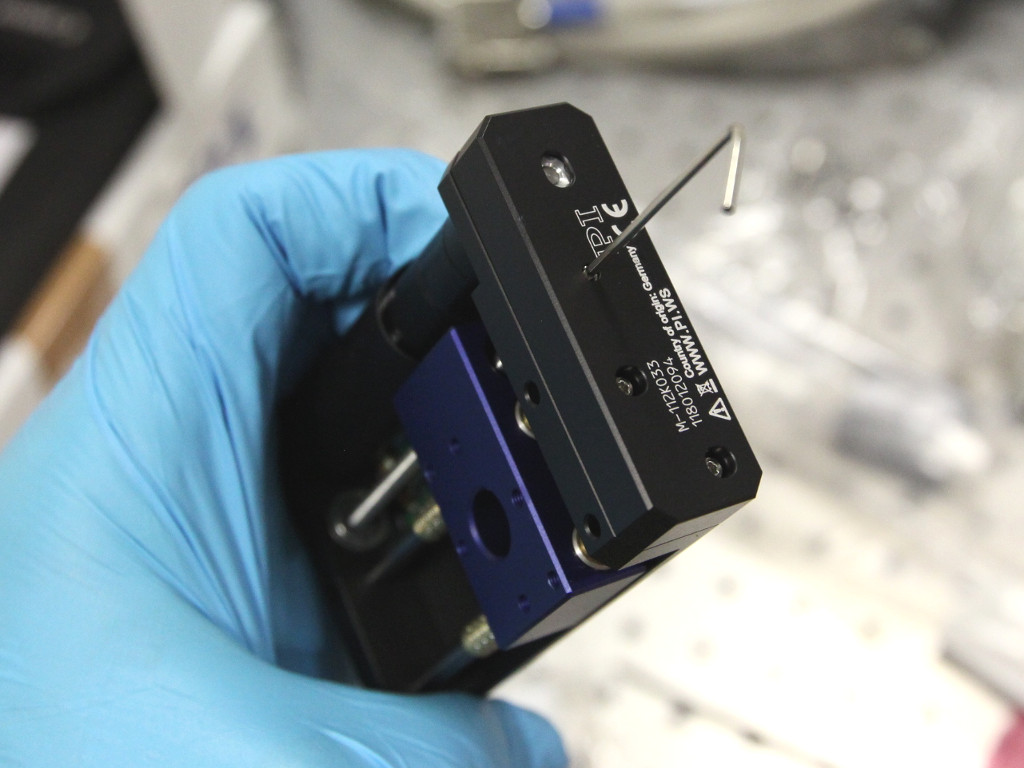
The X & Z stages are M-112K033 stages with 44.5 mm travel range. The stage position can be moved manually by inserting a hex key into the stages:
Attach the stages as follows:
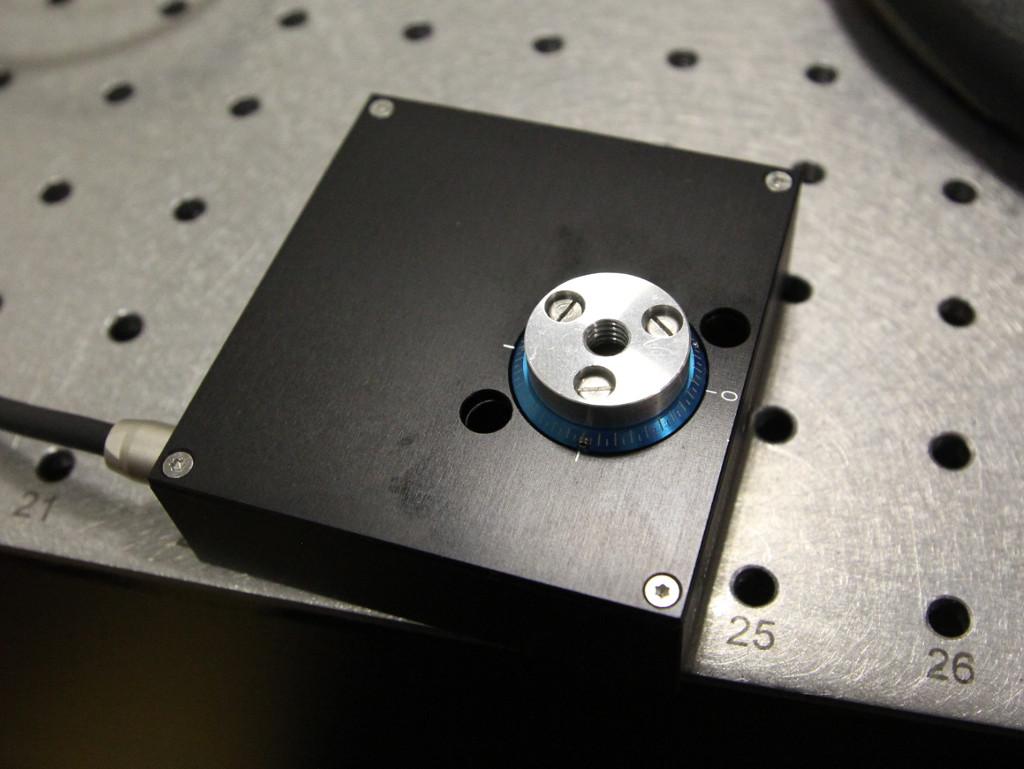
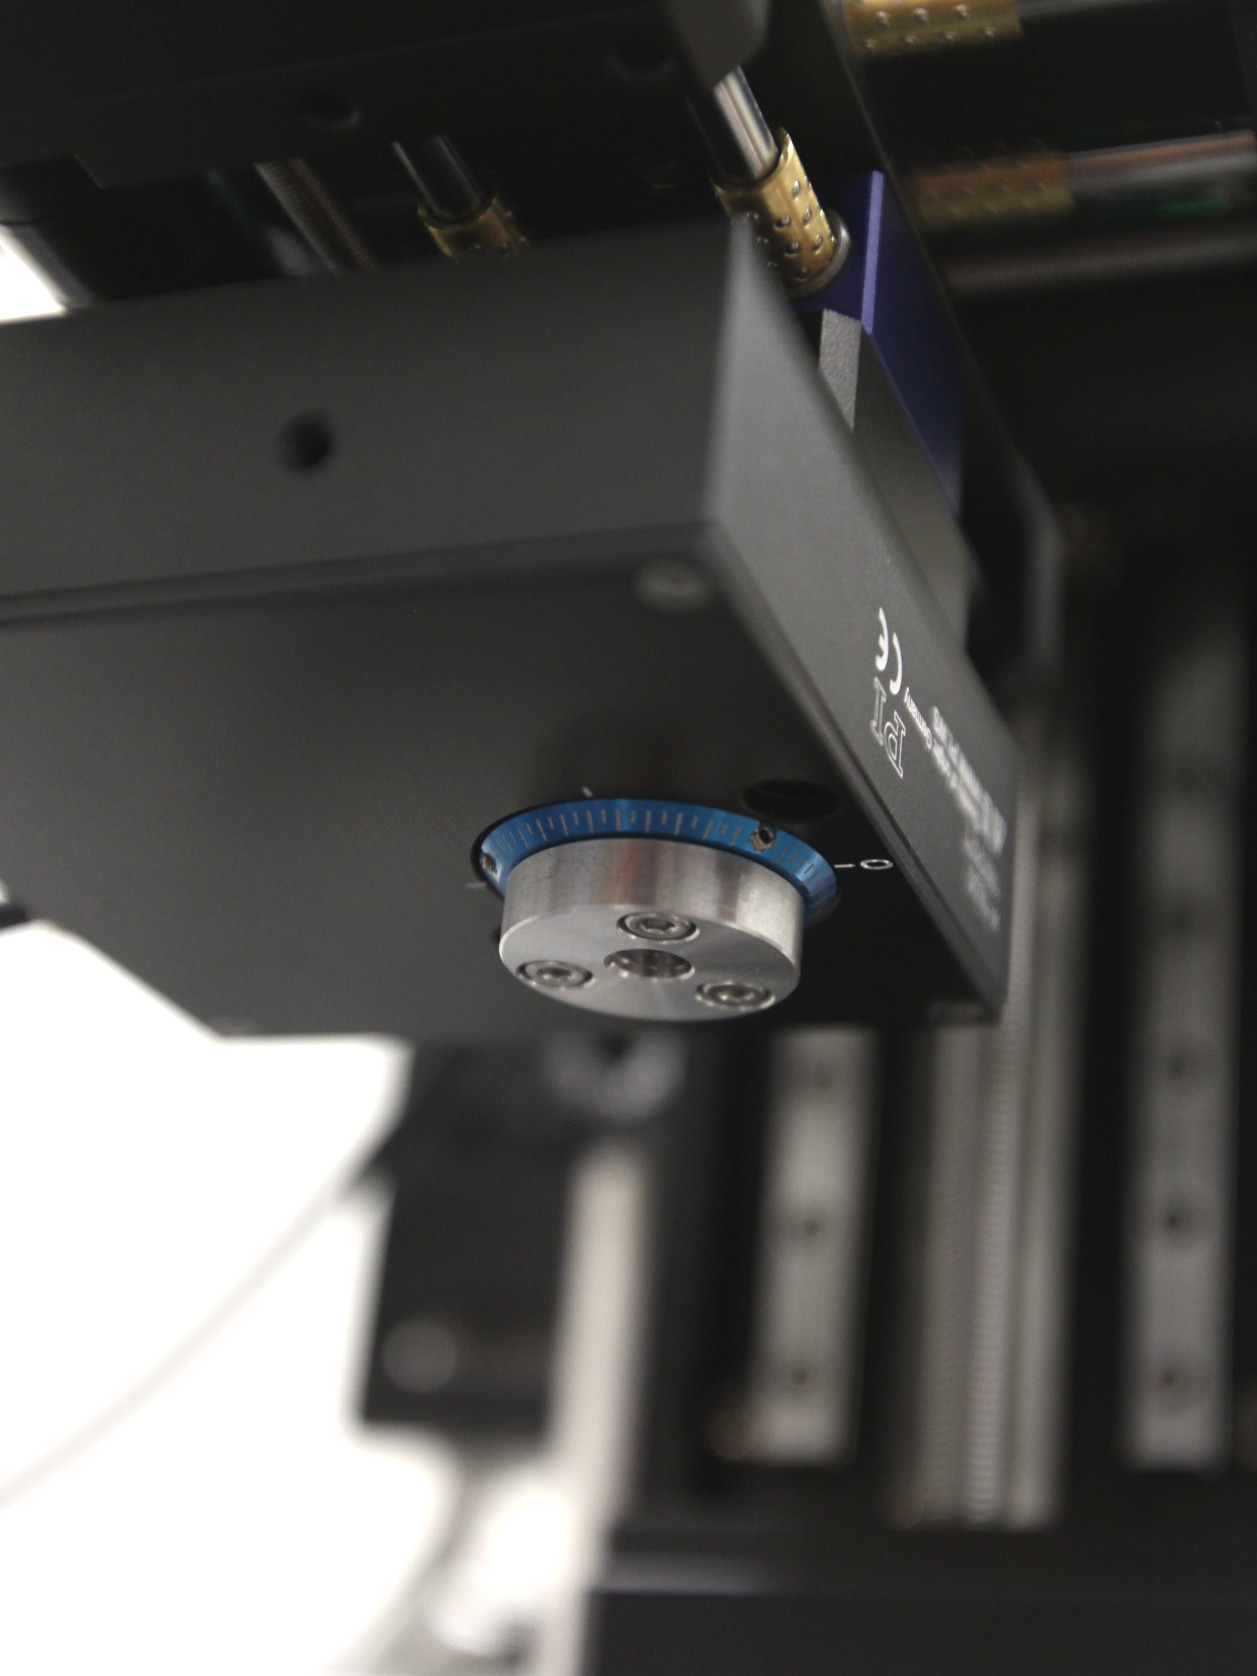
Mount the adapter plate to the M-116 rotation stage:
Use 3x M2.5 6 mm cap screws.
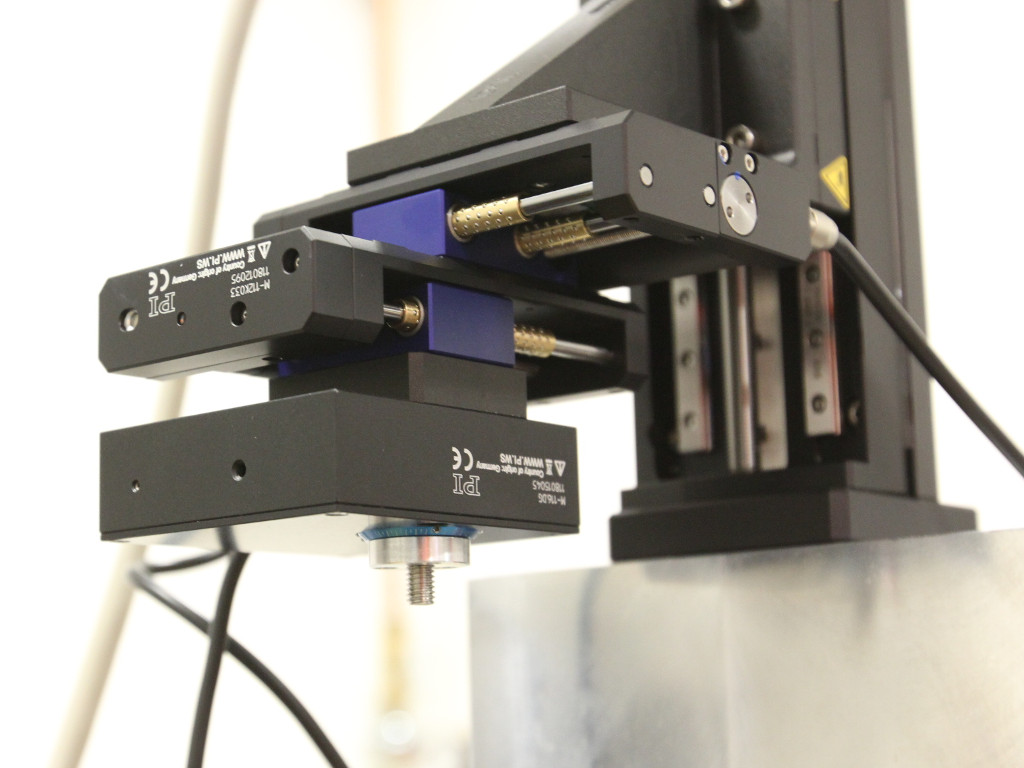
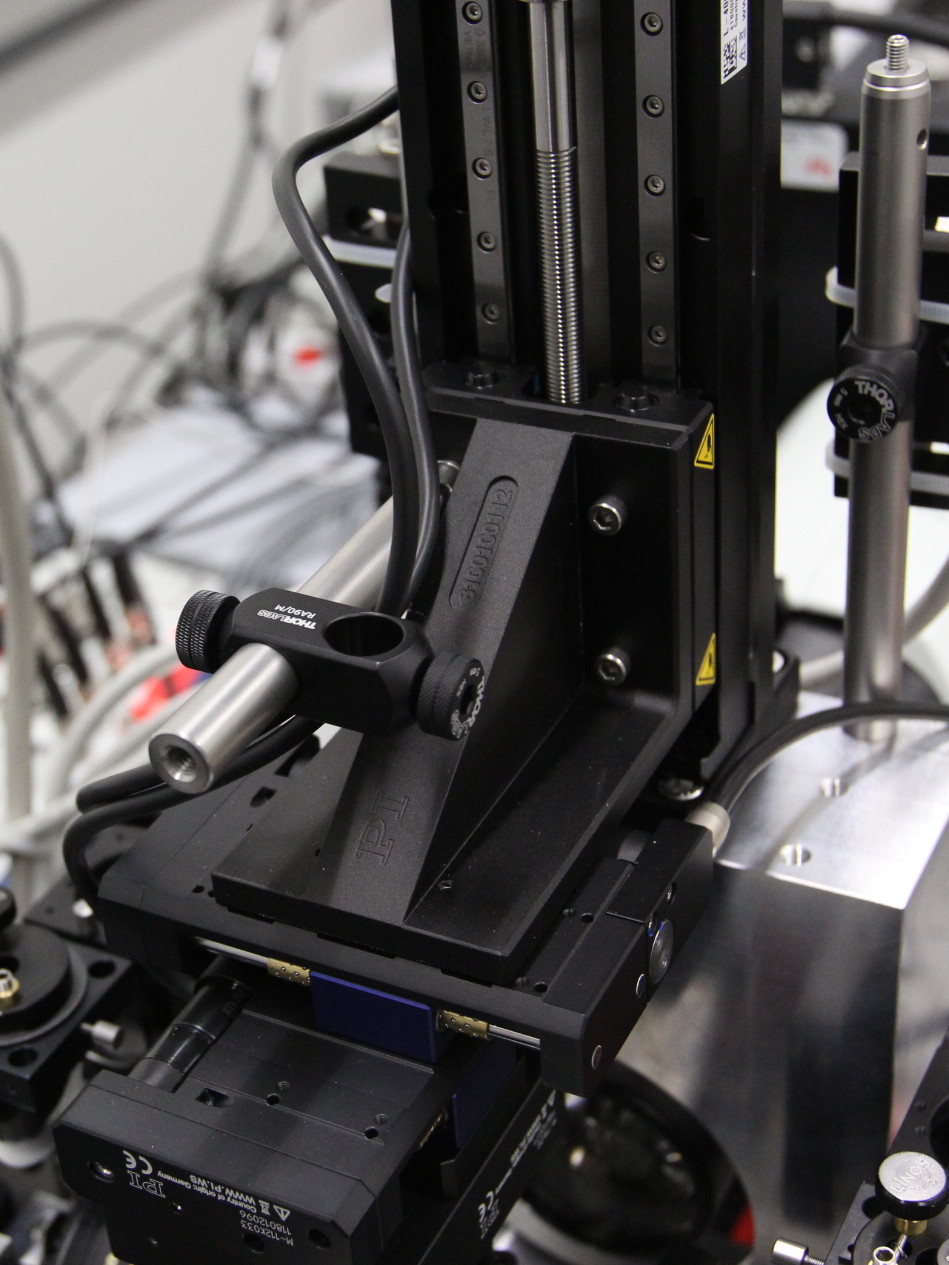
Additional strain relief might be useful:

Cable assignment to channels is as follows:
- 1st axis: M-112K033 ("X")
- 2nd Axis: L-406.40DG10 ("Y")
- 3rd axis: M-112K033 ("Z")
- 4th axis: M-116.DG ("Rotation")
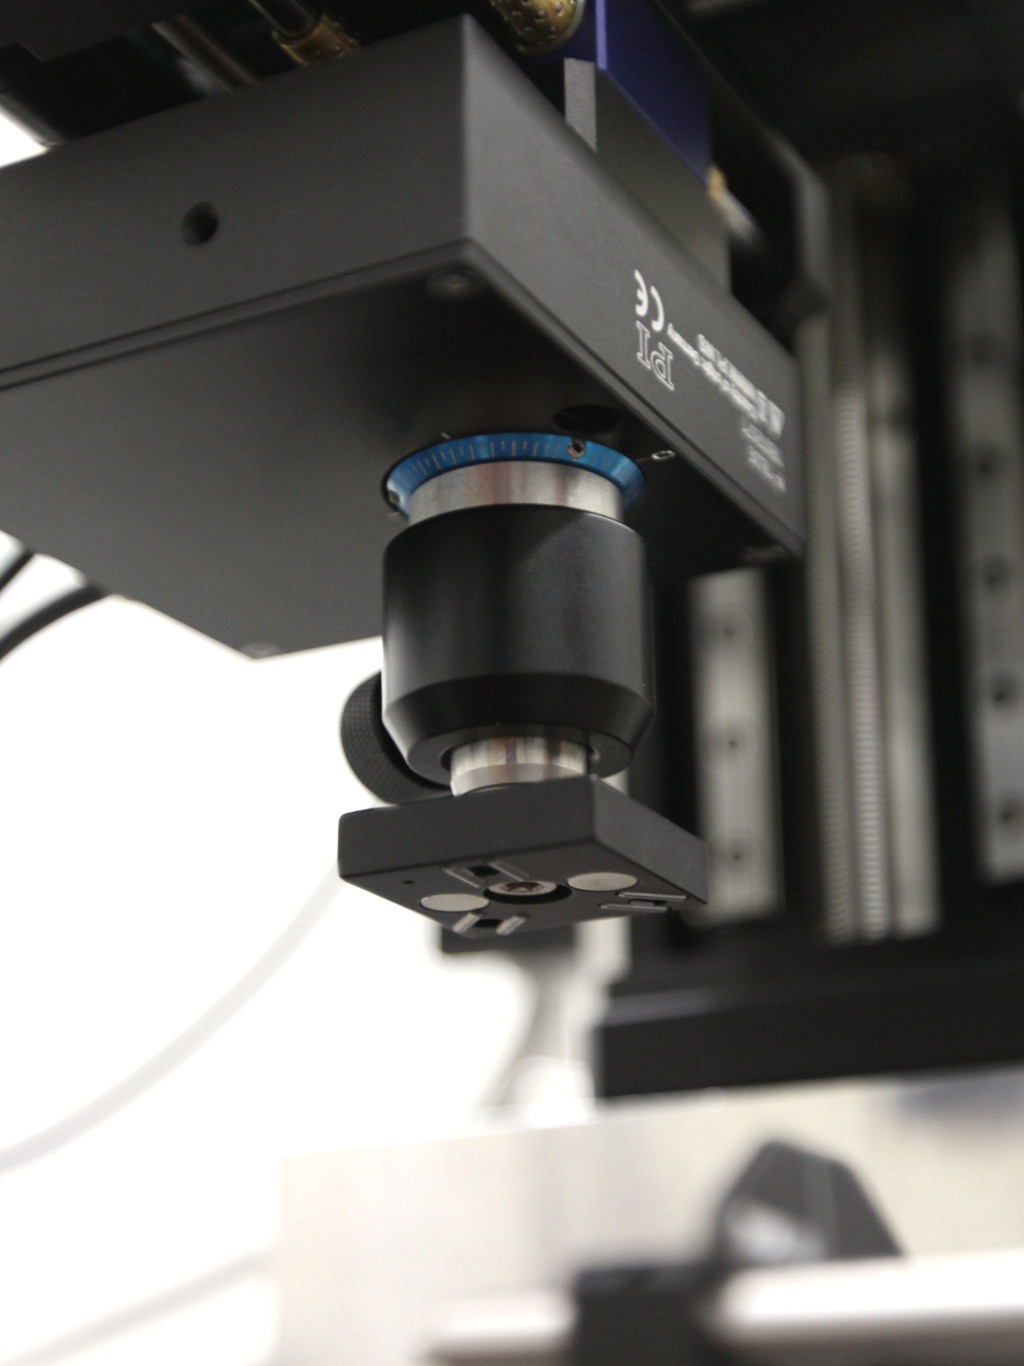
- 5th axis: M-406.4PD ("Focus")
The 5th axis ("Focus") is set up as part of the detection system. In case the detection system is not set up yet, you can test & and connect the M-406 stage without integrating it into the system.
- open PI Micro Move
- connect a C-884 with the correct serial number
- Assign axes:
- 1st axis: M-112K033
- 2nd Axis: L-406.40DG10
- 3rd axis: M-112K033
- 4th axis: M-116.DG
- 5th axis: M-406.4PD
- Save settings permanently on the controllername
- Select all axes
- Hit Automatic for automatic referencing
- Switch on Servos and start referencing
- Set velocities:
- M-112K033: 1.5 mm/s
- L-406.40DG10: 3 mm/s
- M-116.DG: 10 deg/s
- M-406.4PD: 15 mm/s
- move all linear stages to positions close to the center
- M-112K033: 22.5 mm
- L-406.40DG10: 50 mm
- M-406.4PD: 50 mm
- close Micromove
⚠️ For mesoSPIM-control to work, the same axis / stage assignments have to be set in the microscope configuration file!