mesoSPIM_room_preparations
- Currently, all mesoSPIM setups have a dedicated optical table. The total setup footprint is 1.1 x 0.75 x 0.7 m (length x width x height), but usually, the optical tables are larger (e.g. 1,2 x 2,4 m or 1,5m x 1,2 m) to have space for placing lasers etc. or to have room to grow in the future.
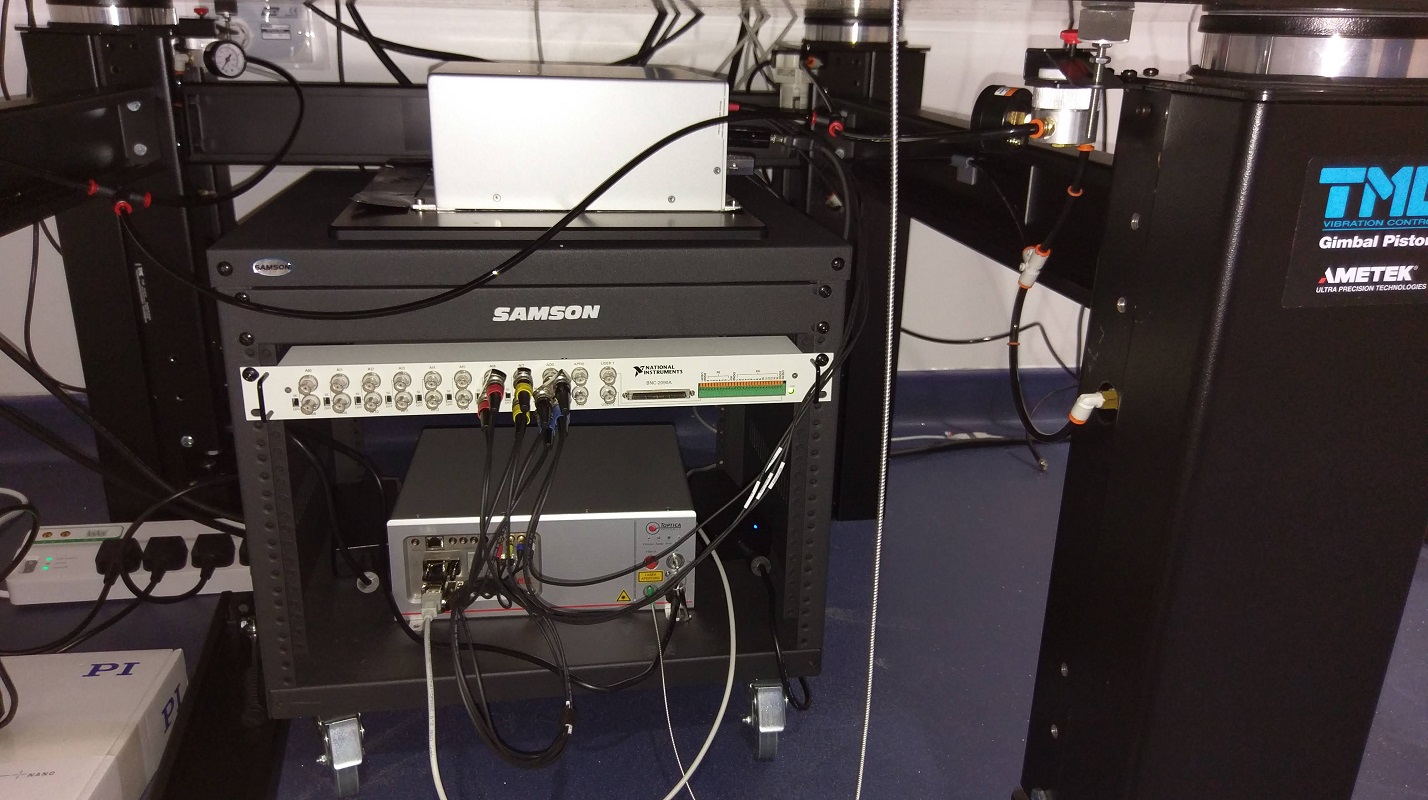
- Smaller tables (1,35 m x 1,20 m) can also be used if the lasers are kept under the table (see image below)
- Standard optical tables such as the RS-2000 series from Newport or the Science Desks Series from Thorlabs are suitable. Minimum table thickness is 100 mm.
- Foresee enough space for a desk with a large (40inch+) screen for the imaging computer
- Fast network & storage access are beneficial, even though a mesoSPIM is usually producing data at a far slower rate than other light-sheet microscopes
⚠️ For imaging in organic solvents such as DBE for iDISCO, good ventilation is necessary. Most setups have a movable ventilation duct suspended from the ceiling that can be placed close to the imaging cuvette.- Power outlets: Foresee enough power outlets for the instrument. Total power uptake is a few kW at maximum
⚠️ Air conditioning - especially for long-running acquisitions, temperature in the room should be stable.- For sample preparation, a wet lab bench / a hood and a sink in the vicinity of the microscope are recommended.
- Order the Mesospim.org neon signs from (www.neonsigns.de)
Two Toptica lasers mounted in a small rack under the table along with a BNC breakout box for the analog controls of laser power