mesoSPIM_excitation_path_final_steps
☝️ You need to set the ThorLabs shutter controllers to run on TTL input mode: after turning on the shutter controller, press ENABLE butting for several seconds until the status LED blinks. Repeat this every time the shutter was turned off or the whole system was shut down, this is a common 'gotcha' point.
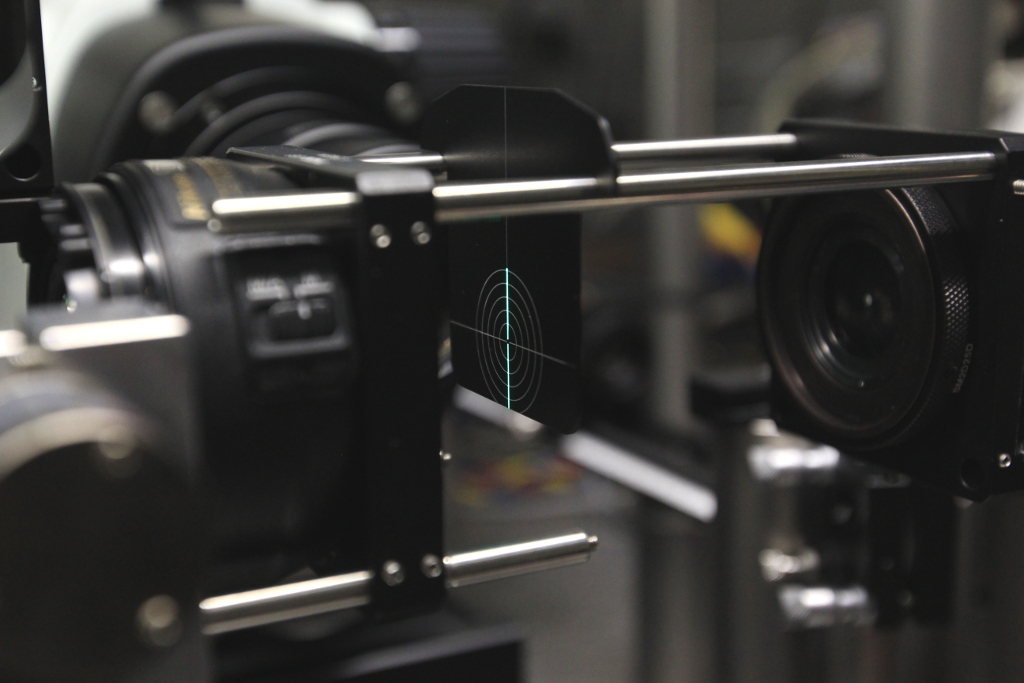 Apply a 99 or 199 Hz 5 V signal to the galvo scanners and check if
the beam is scanned symmetrically with a alignment target.
If not, check and - if necessary - correct the galvo rotation.
Apply a 99 or 199 Hz 5 V signal to the galvo scanners and check if
the beam is scanned symmetrically with a alignment target.
If not, check and - if necessary - correct the galvo rotation.
After the second path has been set up and aligned in the same way, do the same procedure with the second path.
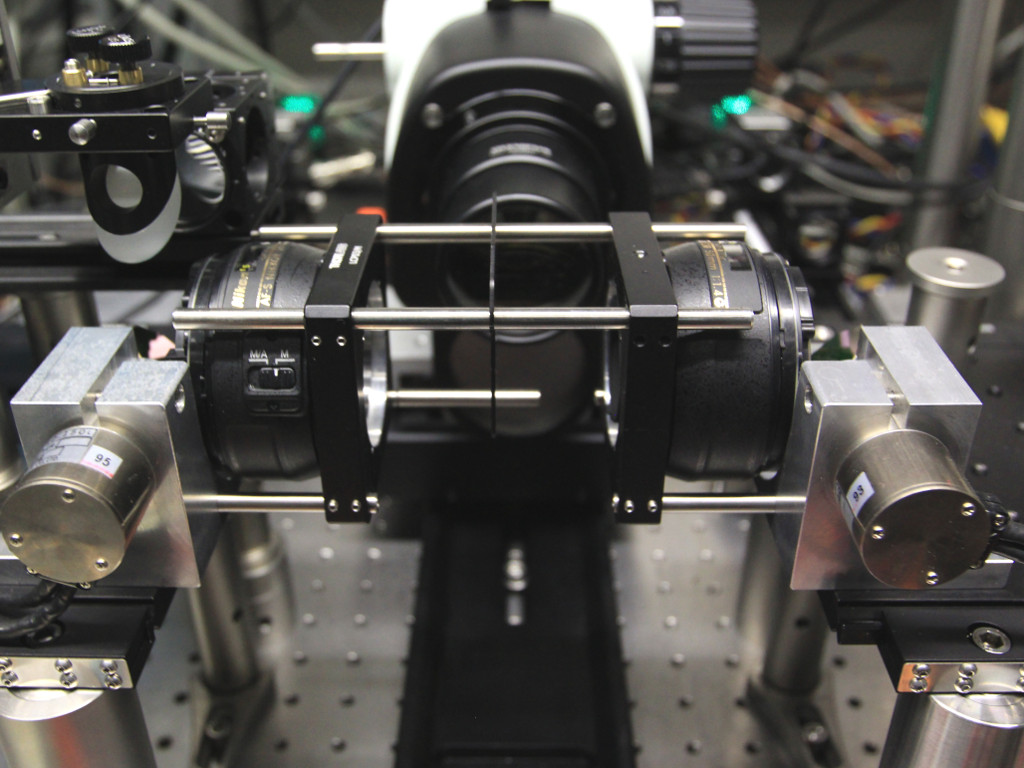 If the system has been set up properly, it should be possible to push
cage rods from one side to the other. You can also use this technique
to reference one side to the other.
If the system has been set up properly, it should be possible to push
cage rods from one side to the other. You can also use this technique
to reference one side to the other.
 To protect against stray laser beams, use magnetic beam blocks.