Training Generate a Screen from a Data Model
What you'll learn: how to generate a complete table screen from a deployed data model, save it, and deploy it. You need: Administrator or Developer access type, an Application Development application with a deployed data model. Time: 10 minutes.
- Go to Left menu → Schema & GraphQL → Data Models. (Fallback: header Search.)
- Check the row of your deployed model and click the screen icon (🖥) in the toolbar. The Generate Screen dialog opens.
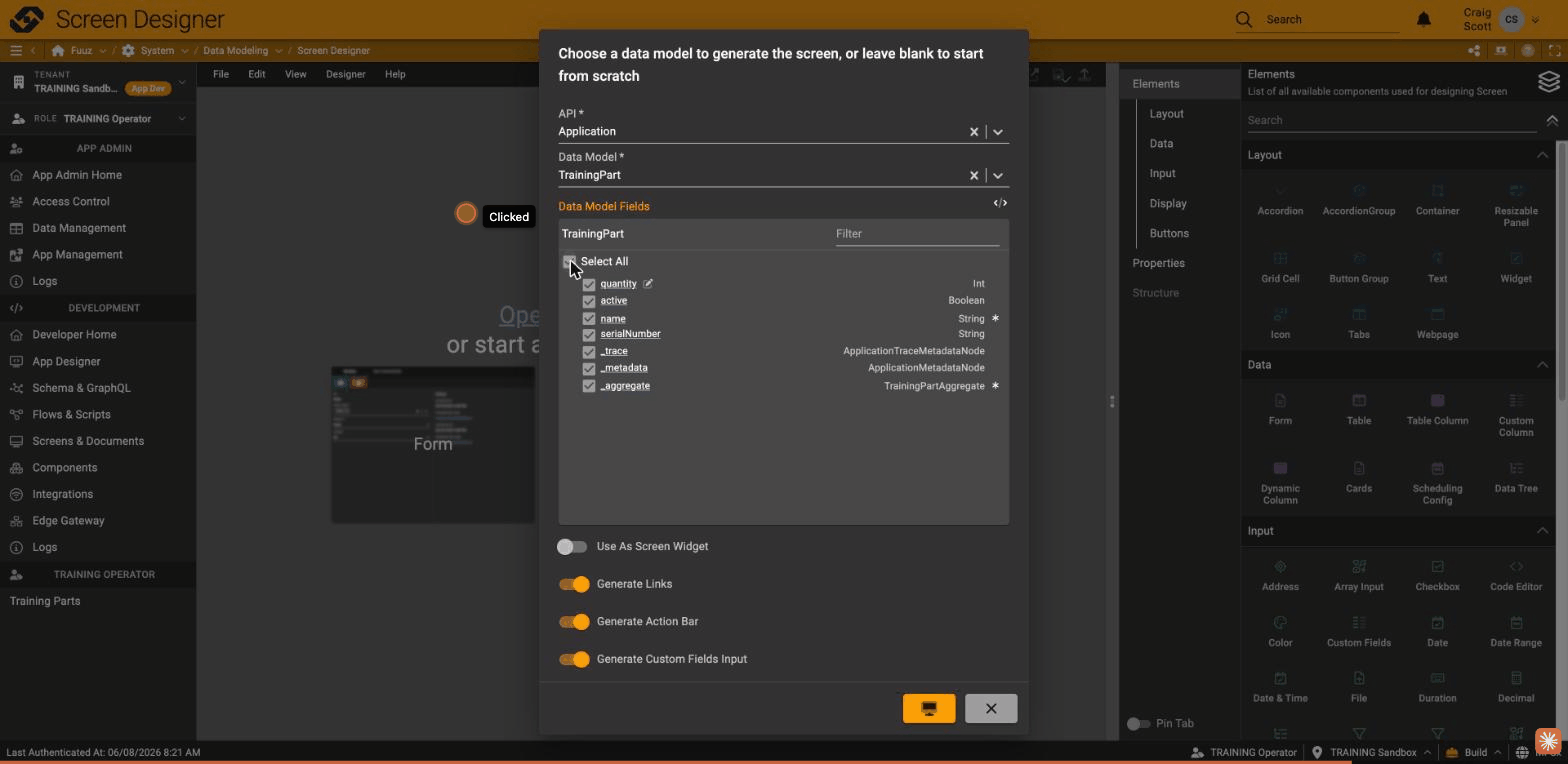
- Pick the Type: Table (list with filters) or Form (single record) → click ✓. The Screen Designer opens with the generator wizard.
-
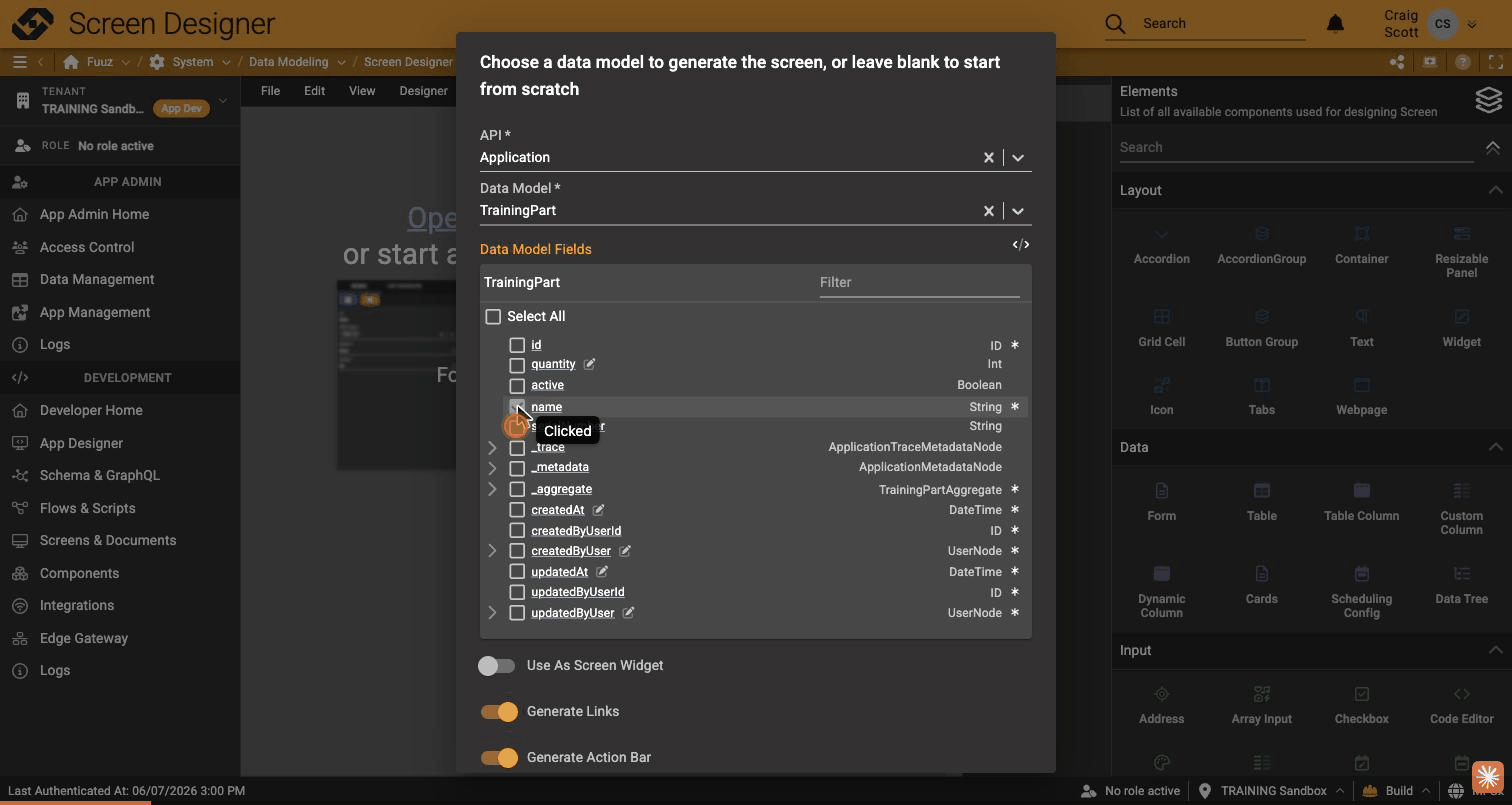
Check the fields the screen should show (business fields like name, serialNumber, quantity, active — system fields such as createdAt are optional).
-
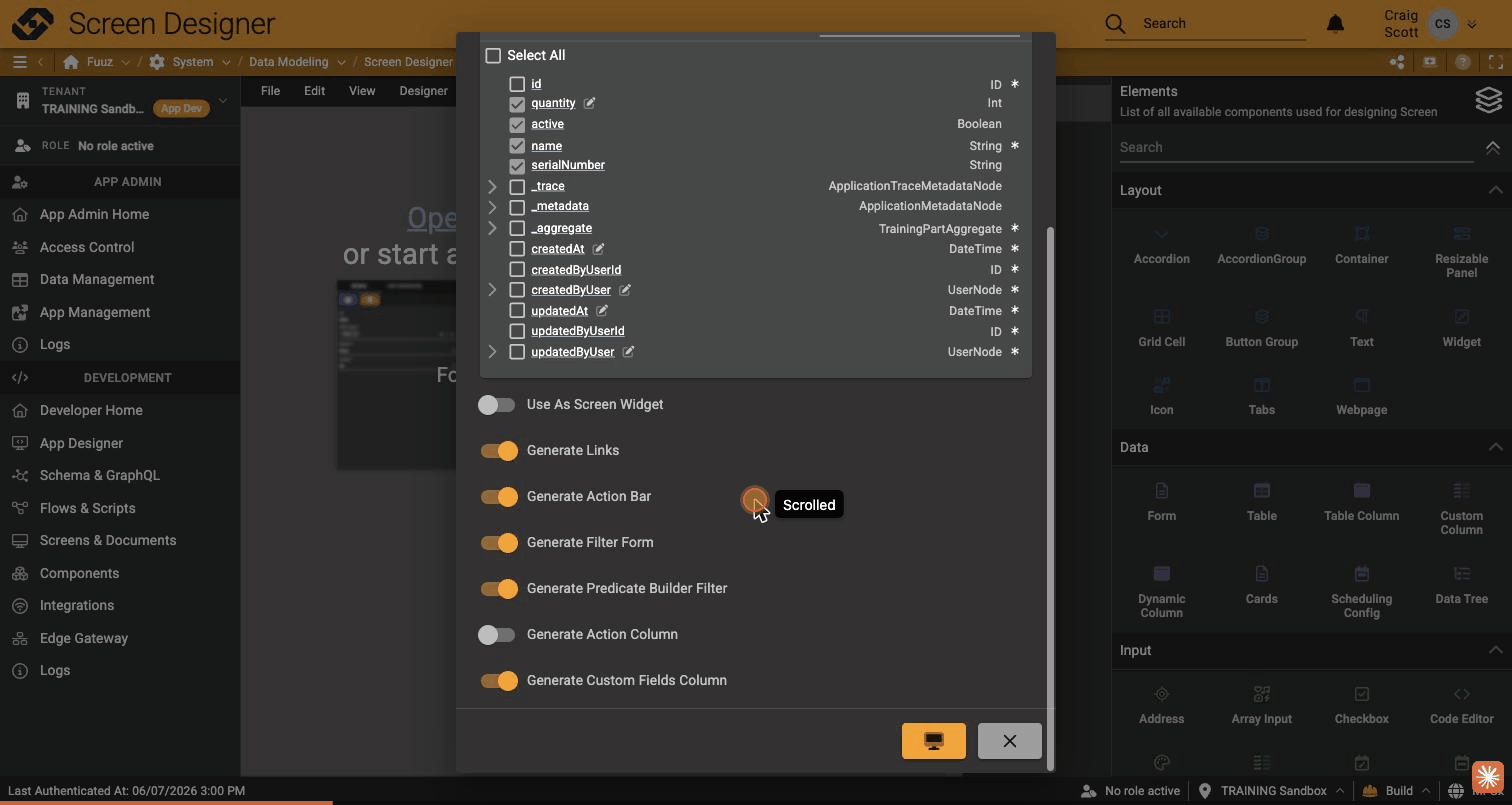
Review the toggles: Generate Links, Generate Action Bar, Generate Filter Form, Generate Predicate Builder Filter, Generate Action Column, Generate Custom Fields Column.
-
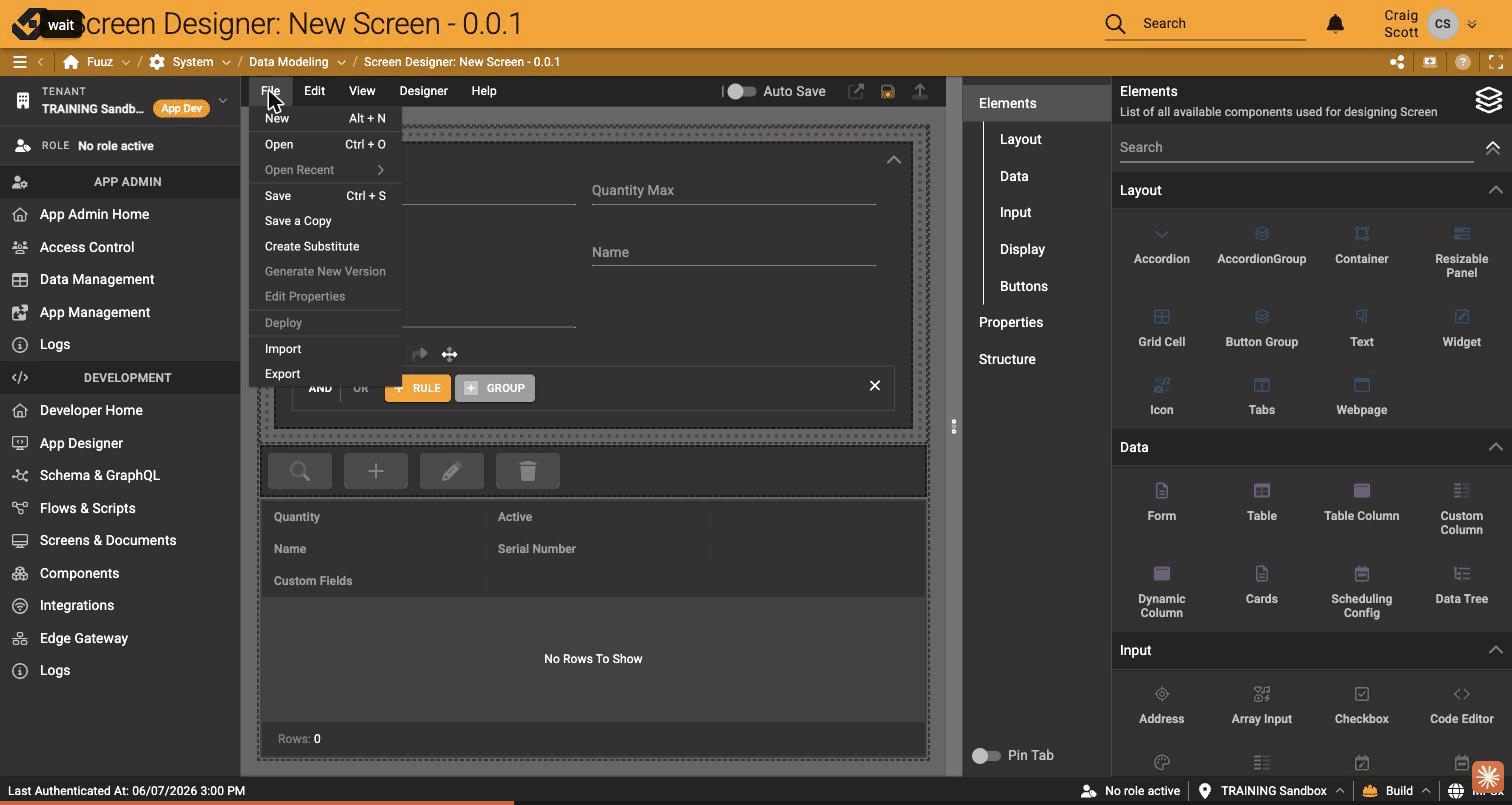
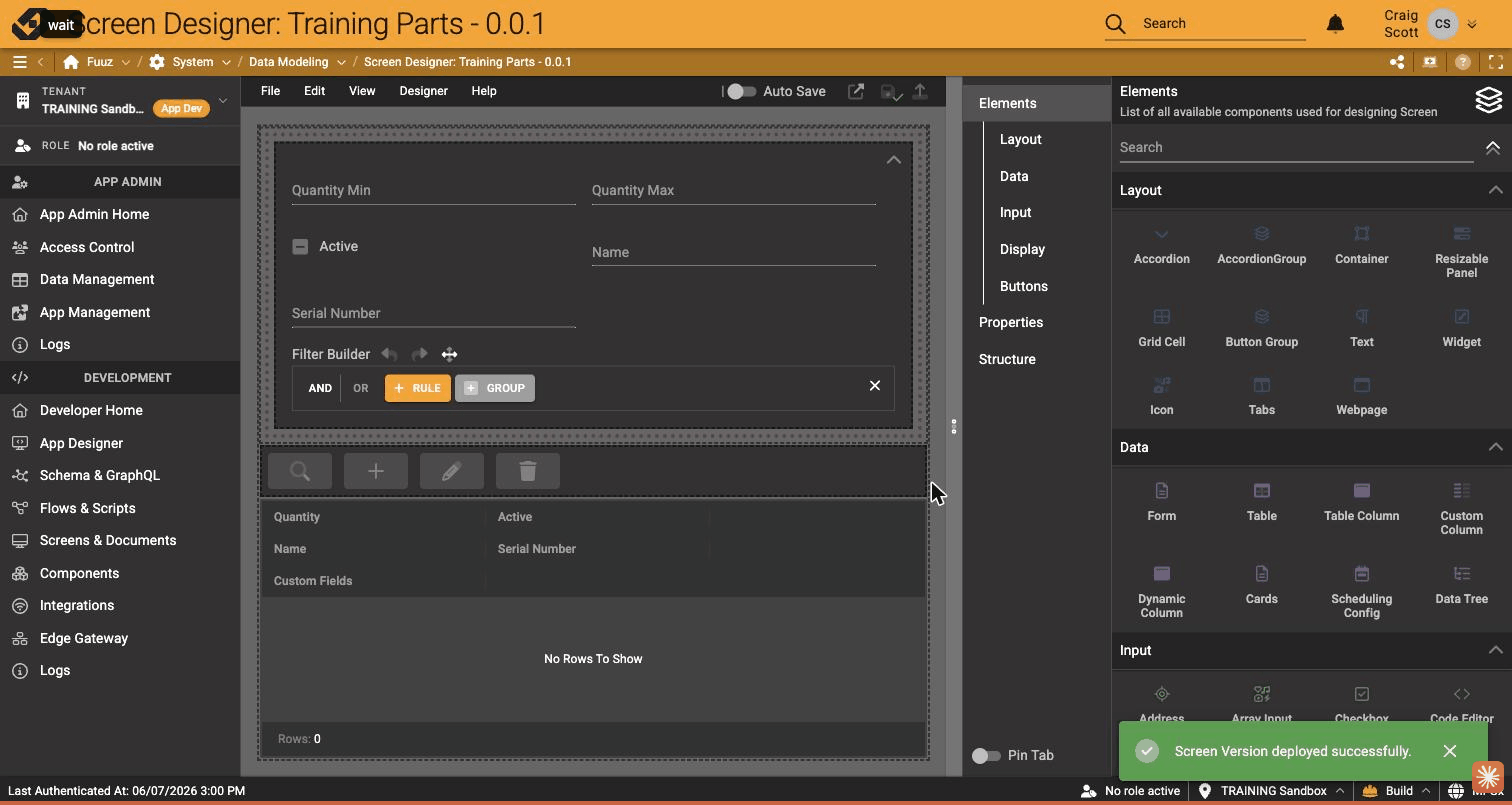
Click the orange generate button. The designer builds the screen: filter form, action bar (search / + / pencil / trash), and the table.
-
Click File → Save. In Save New Screen, type the Name (e.g.
Training Parts), a Description, set Usable as Widget explicitly (it's required), and pick the Module → click 💾.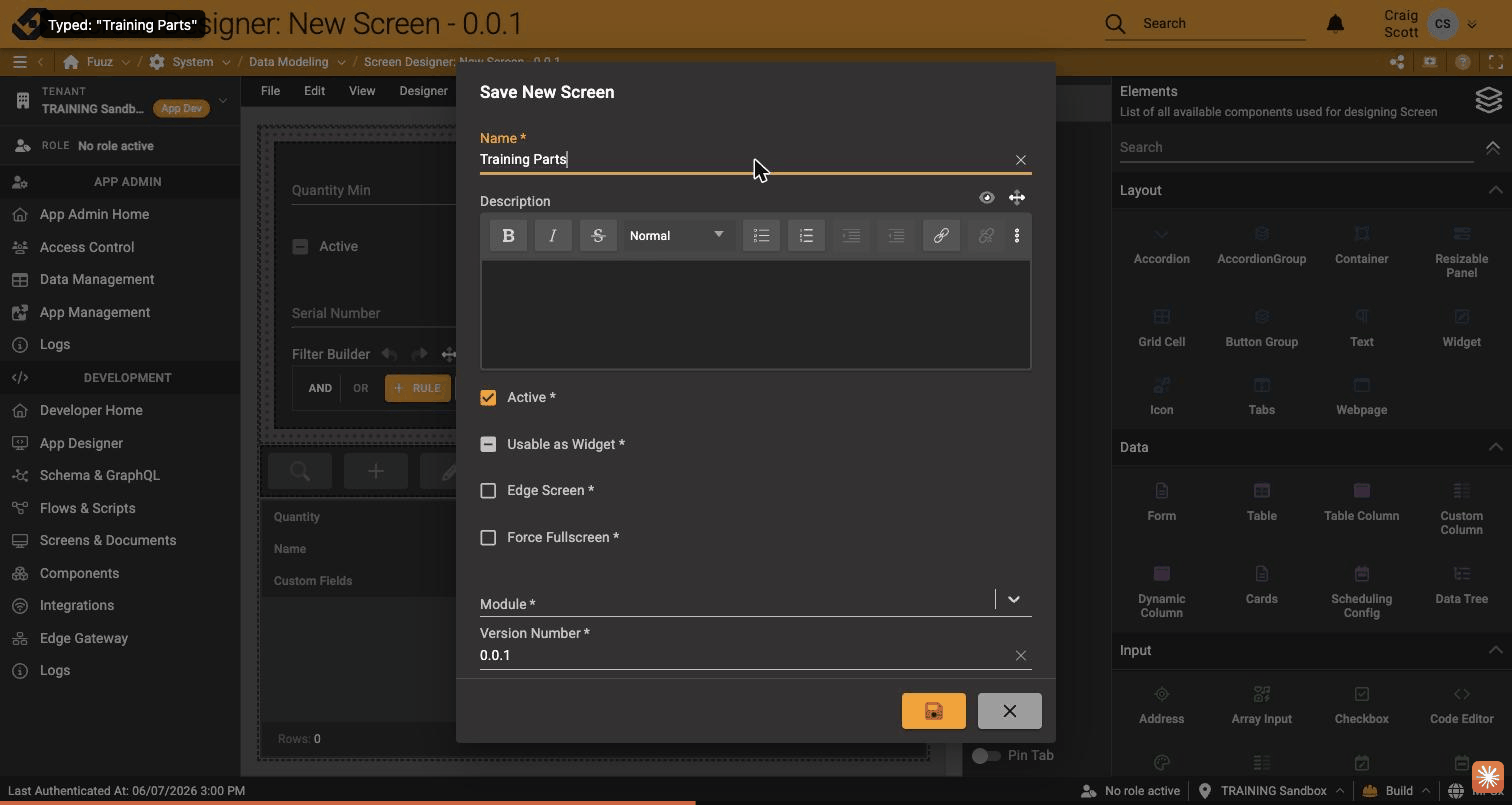
- Click the deploy arrow (⬆) in the designer toolbar → confirm in Deploy Screen Version → ⬆.
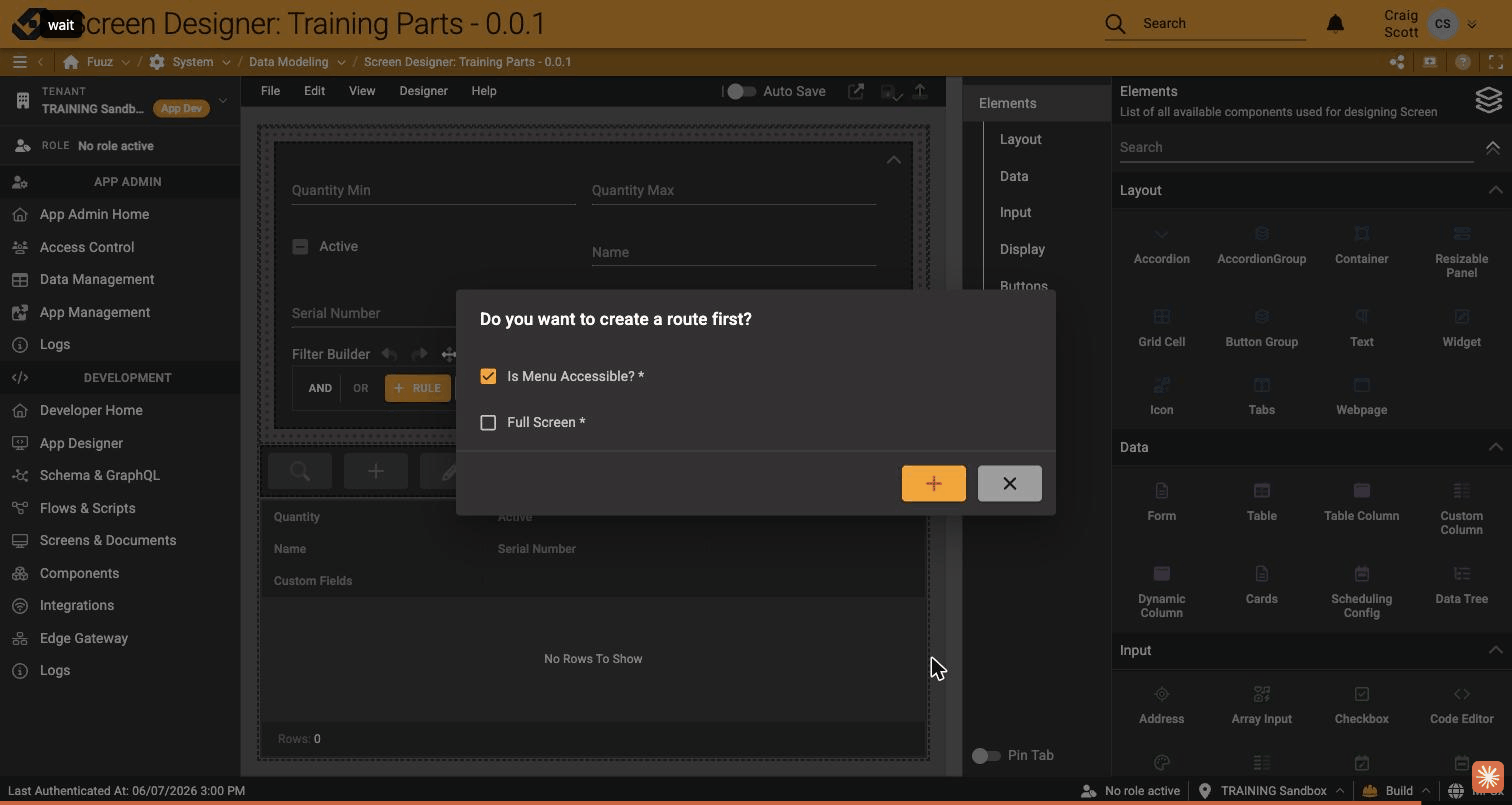
- The deploy flow asks: "Do you want to create a route first?" with Is Menu Accessible? pre-checked. Click the orange + to create the route in the same step.
The Type you pick in step 3 changes the generated layout:
- Table — a list of records with a filter form, action bar (search / + / pencil / trash), and a data table. Best for browsing and managing many records.
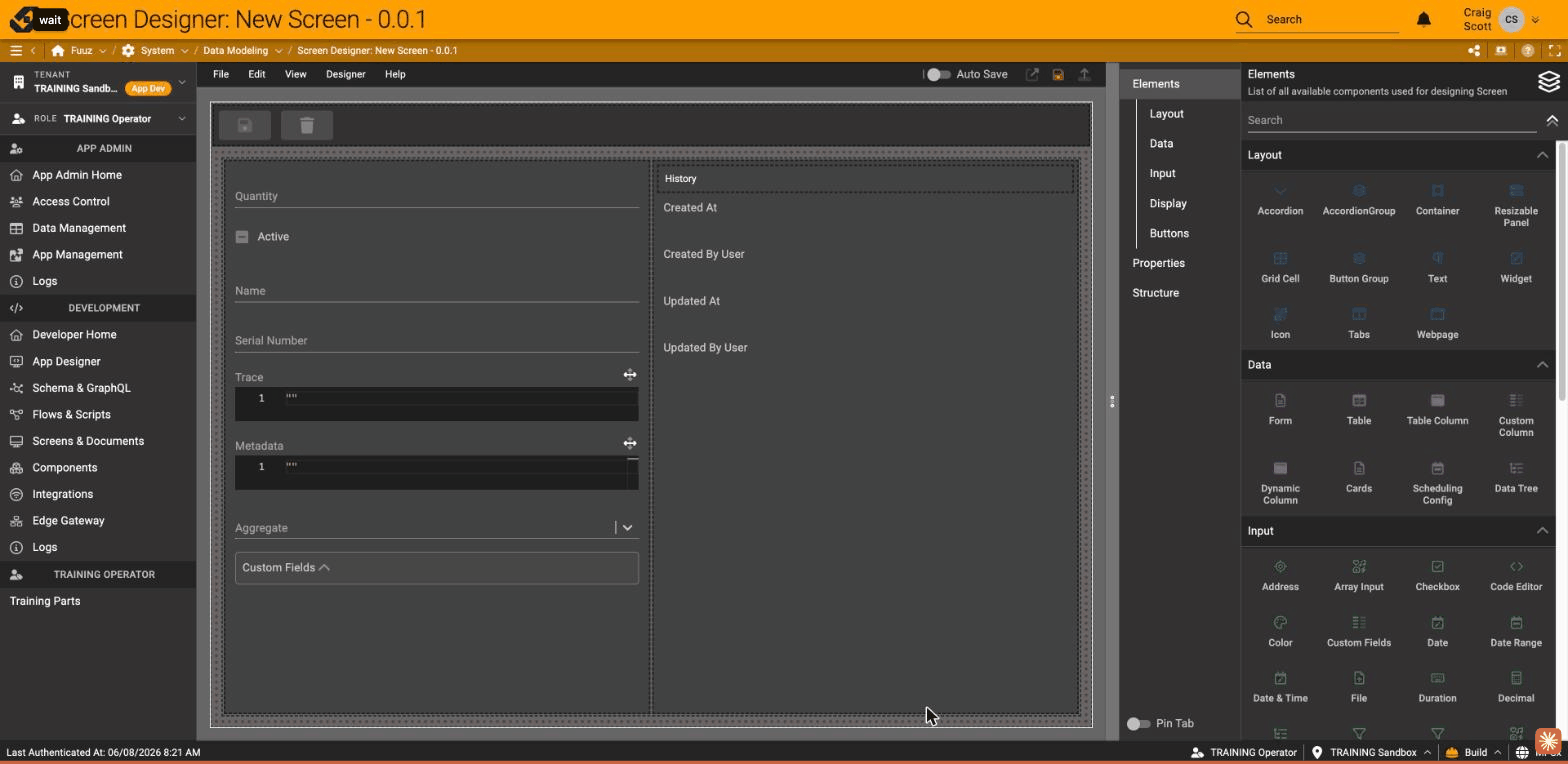
- Form — a single-record layout: each field is laid out vertically (e.g. Quantity, Active, Name, Serial Number, plus JSON fields and a Custom Fields section) with a History panel (Created At / By, Updated At / By). Best for viewing or editing one record at a time.
The generator wizard is the same for both — you pick the model, check the fields, and set the toggles; only the resulting layout differs.
Save and deploy a Form screen exactly as you would a Table screen (steps 7–9).
Toast: "Screen Version deployed successfully." The screen appears under Screens & Documents → Screens, its route under Routes (path like /productDataManagement/engineering/trainingParts), and opening that path shows the live screen — the status bar reads "Screen Version: 0.0.1" with the deploy date.
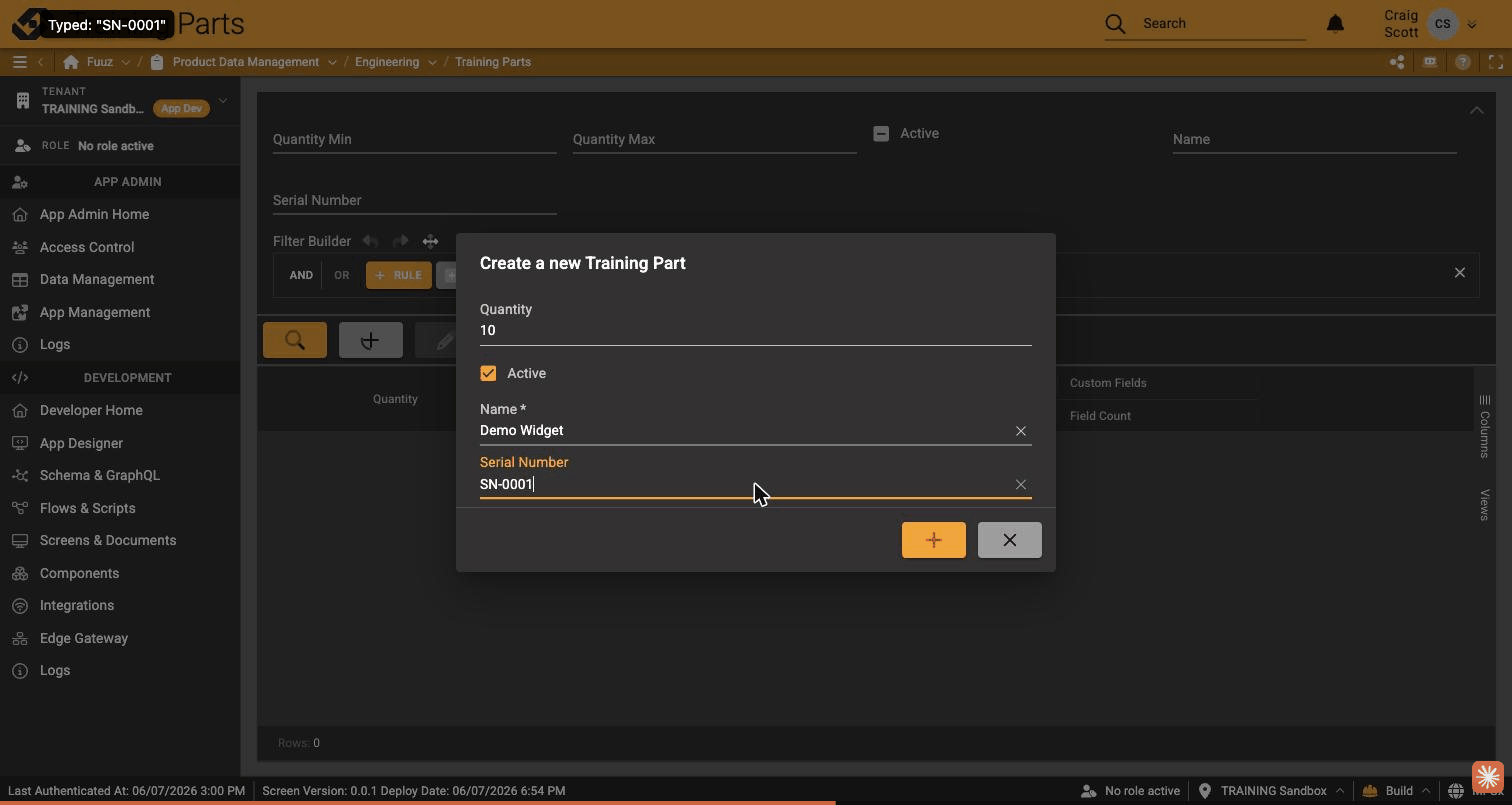
Open the live screen and click + — the create dialog enforces your model's Required fields. Add a record and watch it appear in the table.
Training: Design Model Fields in the Schema Designer · Training: Expose a Screen with Routes and Menus