Tags Attachments and Related Items
Beyond its core fields, an item can carry tags for flexible grouping, attachments like datasheets and photos, and links to other items it relates to. These live across a couple of tabs in an item's details.
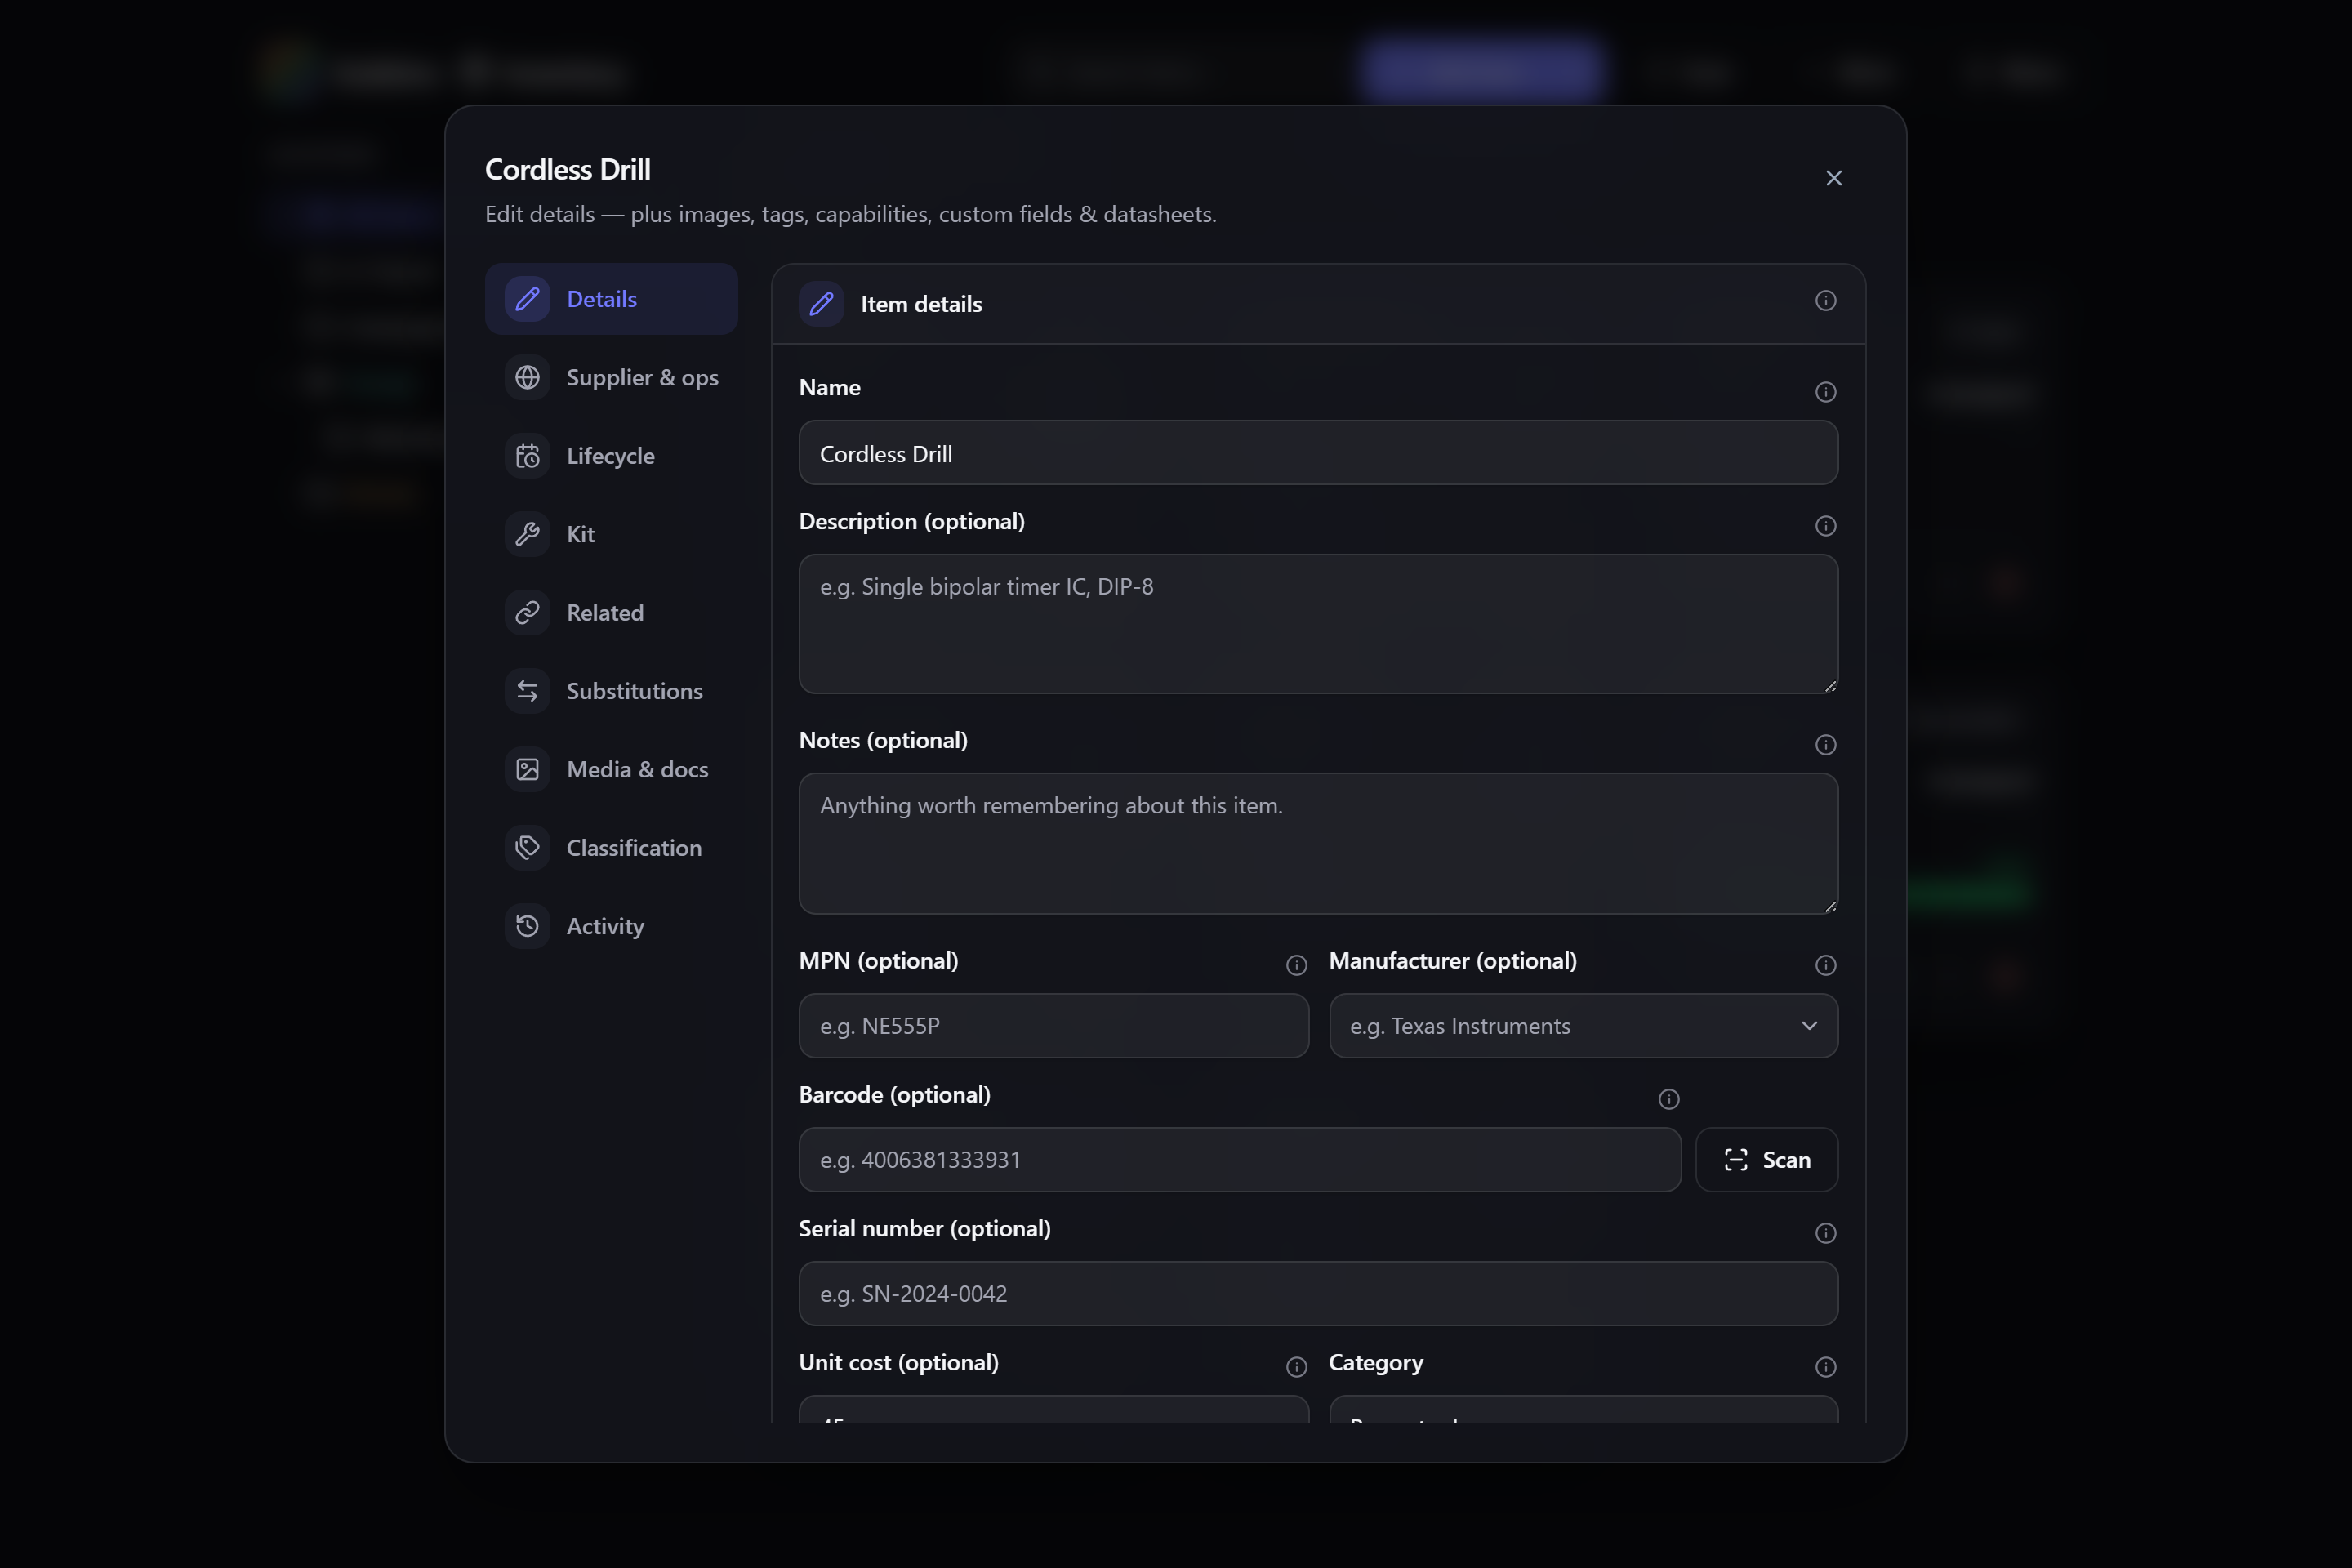
Where to find it: the Classification tab of an item's details (for items), the Edit location dialog (for locations), and the Tags management screen (to tidy the whole set).
A tag is a freeform label you can stick on any item or location — fragile, on-loan,
project-x, vintage. Unlike a category (an item has one), a thing can have many tags, and
you can filter and search by them. Tags are perfect for cross-cutting
groupings that don't fit a single category.
The tag box is a drop-down you can also type into. Click it to see the tags you already use
and pick one from the list, or just type a new name — you are never limited to what's in the
list. Press Enter (or a comma) to add whatever you've typed; as you type, the list narrows to
matching tags. A brand-new name creates the tag, and existing names are reused
case-insensitively, so Fragile and fragile are always the same tag.
The same dictionary is shared between items and locations: tag an item waterproof and a
location waterproof, and they use one tag — so a rename or a merge tidies both at once.
💡 Tip Tags shine for temporary or overlapping states — tag everything going to a show
expo-2026, then filter to that tag to pack, and remove it afterwards.
Open a location's Edit dialog to give it tags — mobile, off-site, climate-controlled.
The location sidebar then grows a row of tag chips at the top: tap one (or several) to narrow
the tree to the locations that carry them, keeping their parents in view so you never lose your
place. Tap Clear to show everything again.
Tags can appear right on the item cards, rows and table so you can eyeball them without opening an item. Turn it on from the inventory ⋯ → Card fields picker: add Tags to the shown fields (and drag it into whatever position you like). It's off by default, so cards stay uncluttered until you ask for it.
Where to find it: the Manage tags screen — from the inventory ⋯ (More) menu
(Tags, right below Categories), or the command palette (Ctrl/⌘ + K).
This is the place to tidy the whole dictionary. Every tag is listed with how many items and locations carry it, and you can:
- Add a tag up front, before you attach it to anything.
- Rename a tag — the new name flows to every item and location at once.
-
Merge two tags into one (handy for folding a typo like
fragilintofragile) — every item and location on the old tag moves to the one you keep. - Delete a tag, which removes it from everything that carries it.
ℹ️ Note Renaming to a name that already exists offers to merge into that tag instead — so you never end up with two tags that mean the same thing.
If you collect a lot of tags, the list splits into pages using the same pagination control as the rest of the app — turn it on with Paginate list (or Settings → Inventory → Lists), and every tag stays reachable however many you have.
Where to find it: the Media & docs tab of an item's details.
Attach the documents and images that belong with an item:
- Photos — snapped or uploaded, compressed and stored on your device.
- Datasheets and files — either a link (a URL to a datasheet online) or a local file pointer. Great for keeping a part's datasheet, manual, or receipt one click away.
ℹ️ Note Whether attachments can be external URLs, local file pointers, or both is a setting under Notifications & files — see Settings. Local file pointers refer to files on this device; the export vault can bundle full-resolution images so they travel with a backup.
Where to find it: the Related tab of an item's details.
Link an item to others it has a relationship with — reciprocal and always shown from both sides:
- Works with — two items that go together.
- Requires / Required by — a hard dependency: the first is unusable without the second.
- Accessory for / Has accessory — an add-on and its host.
- Spare for / Has spare — a replacement part and what it replaces.
The other links are descriptive: Gubbins records them and shows them, but never does anything with them. Requires is different — it means "you can't use this without that", so Gubbins watches for the gap:
- Checking the item out offers to lend its prerequisites at the same time, each with the number on hand, so a loan doesn't leave without the part that makes it work. See Loans: check out & in.
- A project's bill of materials flags any part whose prerequisite isn't also on the list. See Projects & BOM.
Both are prompts, not blocks — you can always go ahead without the prerequisite.
💡 Tip Record the dependency on the item that needs it (the access point requires the injector), not the other way round. Gubbins prompts on the end that would be left unusable, so a link recorded backwards prompts at the wrong moment.
Where to find it: the Substitutions tab of an item's details.
Mark items that are freely interchangeable — any of them can stand in for another in a project or list. If a build calls for one and you're out, Gubbins knows a substitute will do.
ℹ️ Note These three groupings are distinct on purpose:
- Related — items that work together, or that one needs to work (but aren't swaps).
- Substitutions — items that can replace each other.
- Variants — the same product in different sizes/colours.
- Custom fields & capabilities — structured attributes, also on the Classification tab.
- Variants & SKUs and Kits & bundles — the other ways items relate.
- Search overview — finding items by tag.